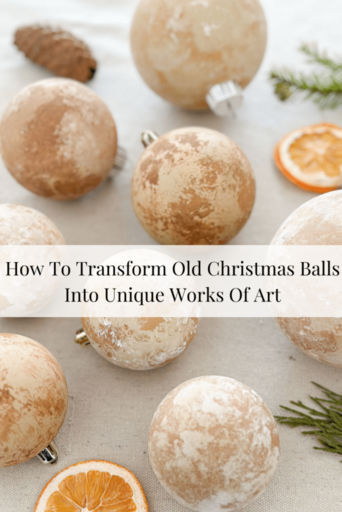
Transform Old Christmas Ornaments Into Stunning Distressed Works Of Art
What do you do with all those old Christmas ornaments? Don’t throw them out! Transform them into beautiful and unique works of art to hang on your tree or give as a gift.
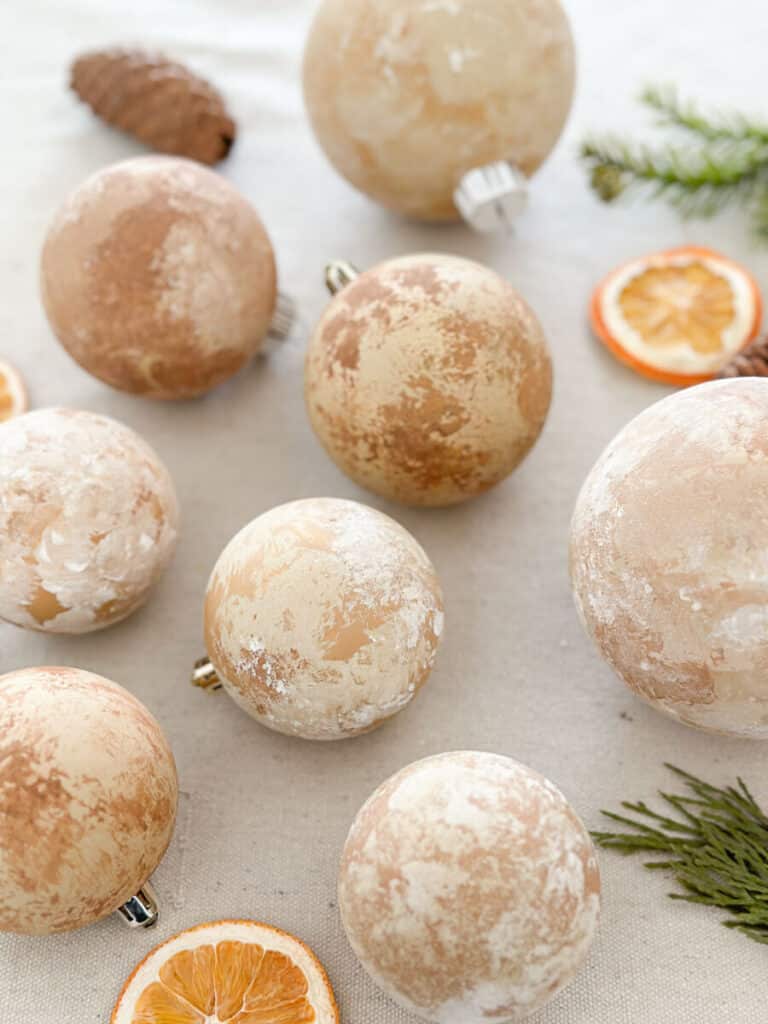
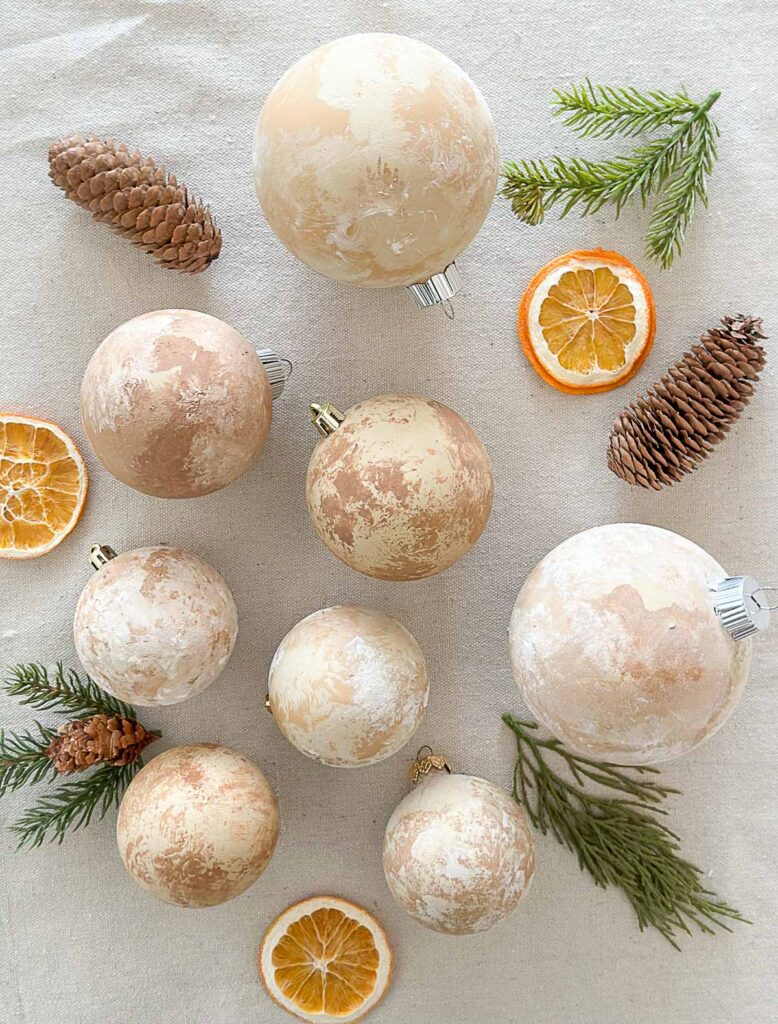
It takes a lot of Christmas ornaments to decorate a tree. And I seem to love to collect lots of those single-colored plastic Christmas balls. They are great for adding a specific color to my tree inexpensively. But what do you do with all of them when one (me) has collected way too many? Instead of throwing them out because no one wants them, they can easily be transformed into beautiful distressed ornaments that have a lovely velvety look.
I’m thrilled to be sharing this easy-to-make recycled ornament DIY as part of Homespun Holiday Hop, hosted by Laura from Decor To Adore. Thanks for including me, Laura! Make sure you check out all the Holiday ideas at the end of this post.
Welcome to all, and a special welcome to anyone coming from Wendy at WM Design House. She has an amazing, detailed post about decorating a tree. So many fabulous ideas!
If you have old Christmas balls lying around in your basement, up in your attic, under your bed, or in a closet, get them out and make something special to hang on your Christmas tree or to give as a gift. Even if you are not a crafty one you can create pretty new ornaments from old ones with a little bit of paint and a couple items found in your kitchen.
There is really no right or wrong way to create these distressed ornaments. Everyone is unique and perfect!
Affiliate links may be included at no additional cost to you. For more information, see our Discloser Policy. As an Amazon Associate, I earn from qualifying purchases.
Why You Will Love This DIY
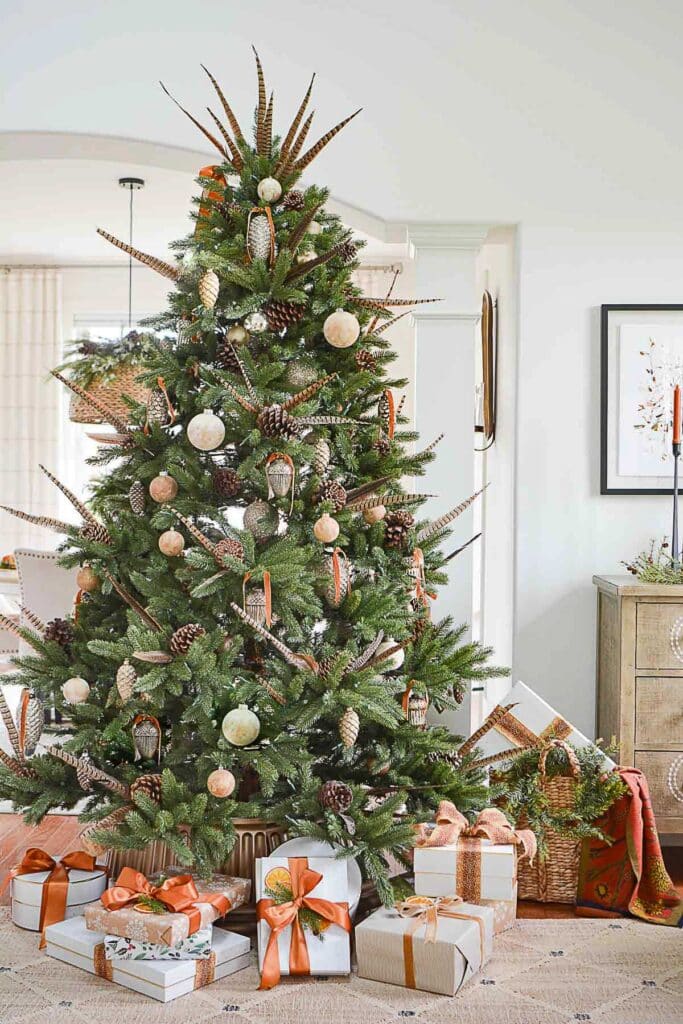
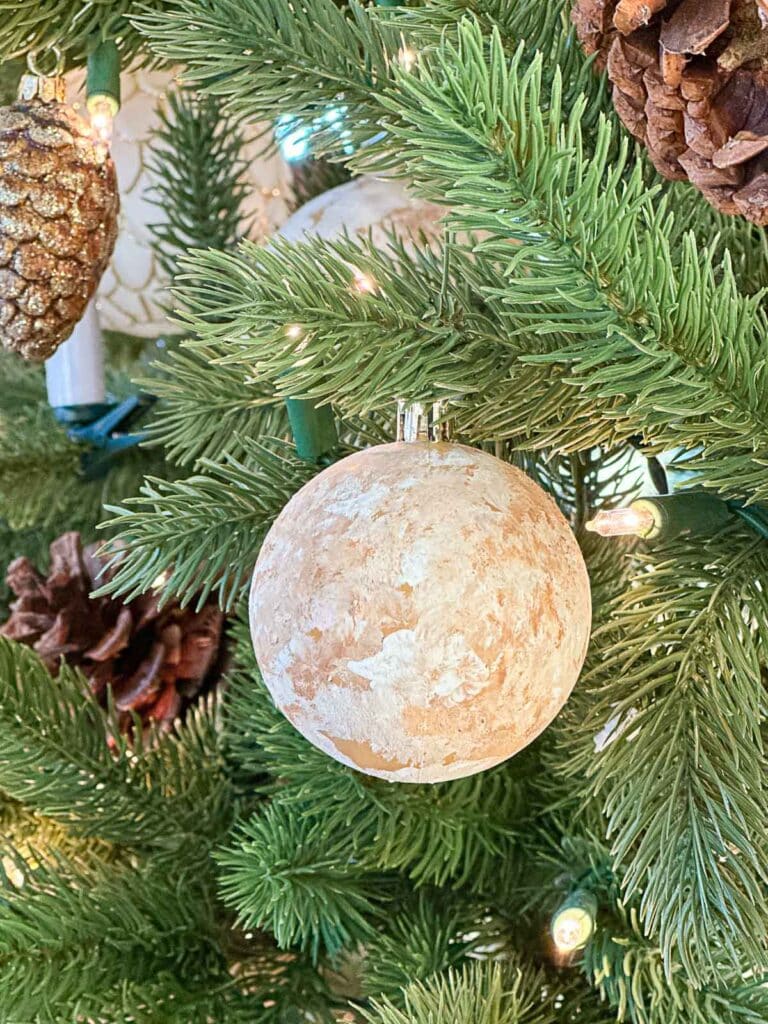
Here’s how the distressed ornaments look on our tree this year…
Tips For Creating Distressed Christmas Ornaments
Round, neutral colored ornaments work best.
If you use colored ornaments like red or green ones, make sure to spray them with an acrylic sealer so the ornament’s color does not bleed.
Use ornaments without glitter or texture.
Remove the ornament cap from the Christmas balls before painting the ornaments.
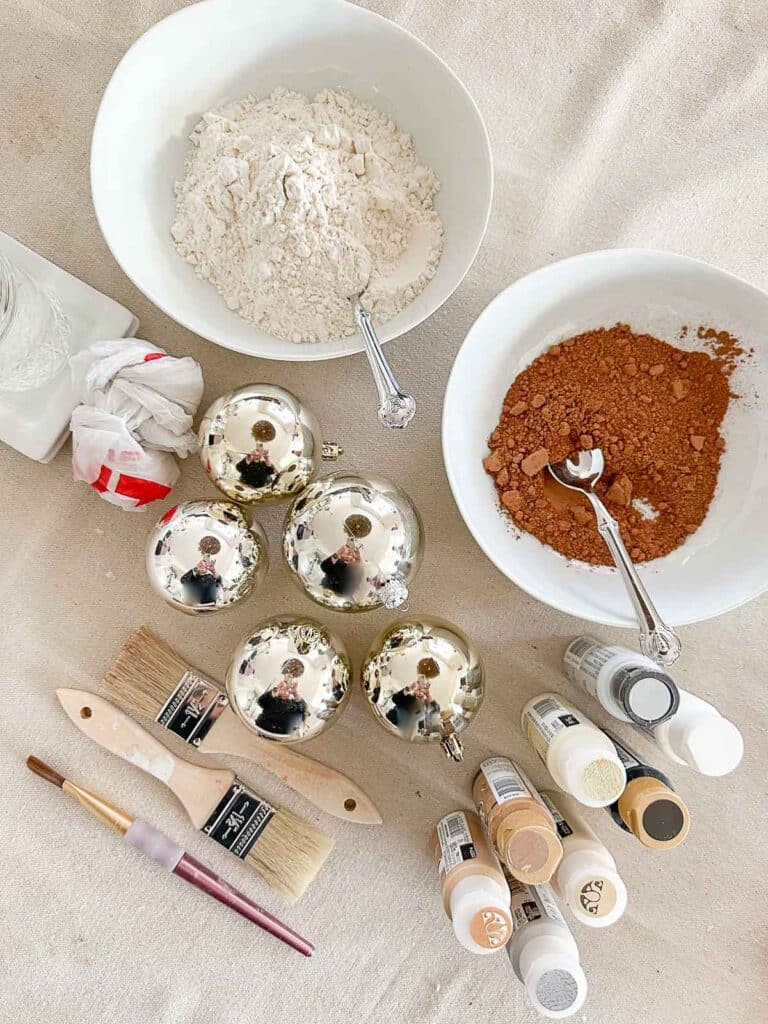
I used cocoa powder and white flour to distress my Christmas ornaments.
You can repeat the process until your ornament is distressed the way you like it.
If you like a bit of bling, you can dab a piece of crumpled-up plastic grocery bag in metallic paint, dab some of the paint off on a paper towel, and lightly dab the bag on the ornament. This will leave small areas of soft metallics.
You can change the color of your ornament cap by using Rub N Buff. Or add glitter to the cap.
Materials You Will Need
This is such an easy, creative project. Here is a list of items to make these beautiful ornaments…
- Old Christmas balls
- Acrylic paints
- Paintbrush, small for painting ornaments and larger (chip brushes) for dusting off the cocoa and flour
- Plastic grocery bag
- Cocoa powder
- White flour
- Container for water
- Bowls and spoons
- A piece of cardboard, a non-porous plate, or something to put the acrylic paint on
- Paper towels
How To Dry Ornaments
It’s important to think about how you will let the paint on your ornaments dry. Here are a few ideas…
You can paint the ornaments on one side at a time and put the dry side of the ornament on waxed paper or in the well of an egg carton or a small cup to dry.
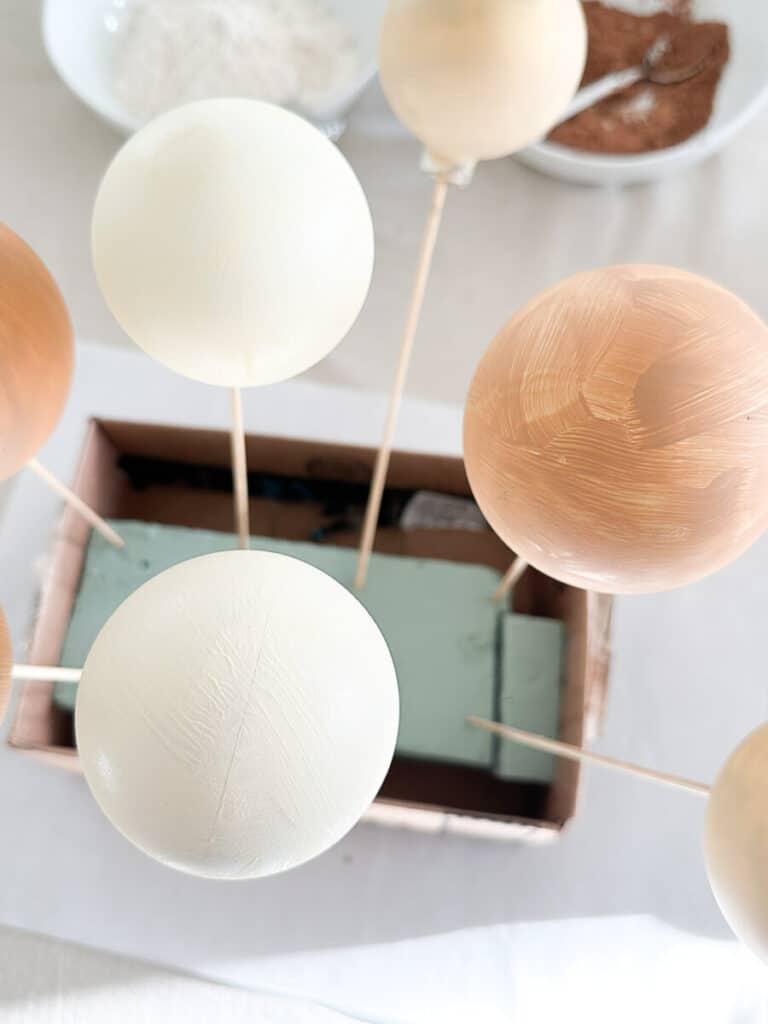
My favorite way is to use a small Amazon box, dry florist foam, and wooden skewers. I snuggly fit dry florist foam in a small Amazon box. Then I stuck wooden skewers into the foam. When I painted a ball or added flour/cocoa powder to it, I put the ball on the skewer to dry.
Instructions For Distressing Ornaments
Get all the materials together in your workspace.
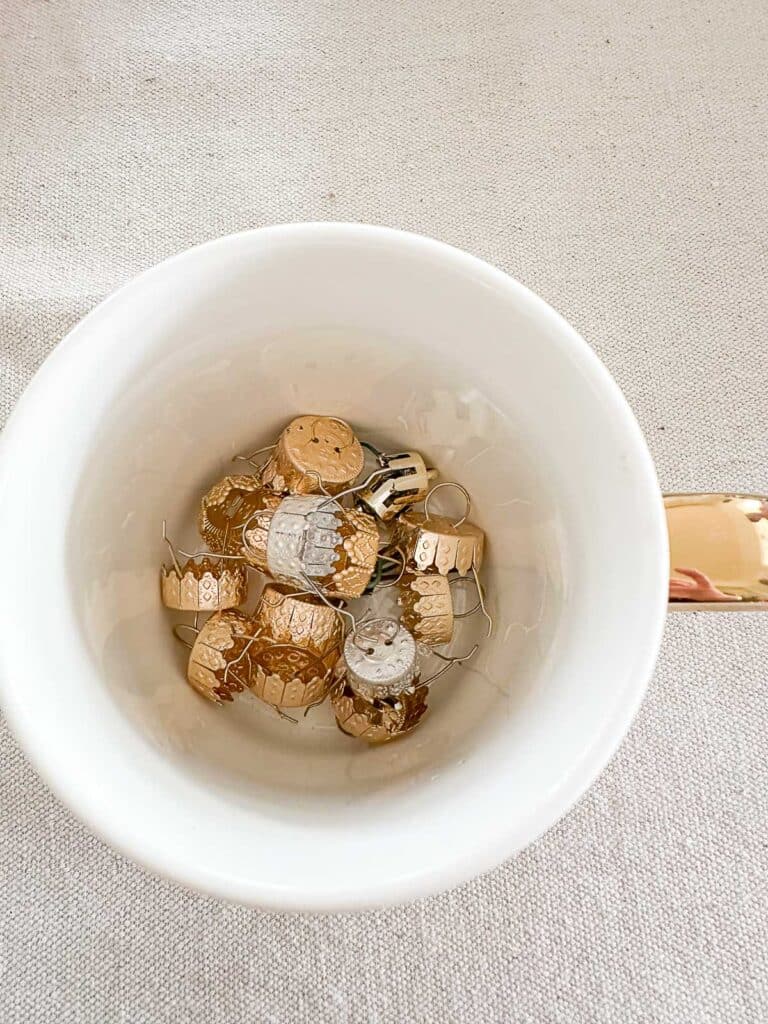
Remove the ornament caps from the ornaments and set them aside. I put mine together in a coffee cup so I wouldn’t lose any.
I worked on one distressed ornament color combination at a time.
Here are the colors of acrylic paint I chose. I had them on hand.
- dark tan acrylic paints- Folk Art: Camel Chameau and Teddy Bear Tan, Americana: Cocoa
- creamy white acrylic paint- Terra Cotta: Dune du Desert
- light gray- Terra Cotta: Fresh Granite and Craft Smart: Métallisée
- white paint- Apple Barrel: White
Choose the neutral colors that work best with your color palette. You will want darker paint and lighter paint for each ornament. One paint will be the base coast and the other the contrasting color.
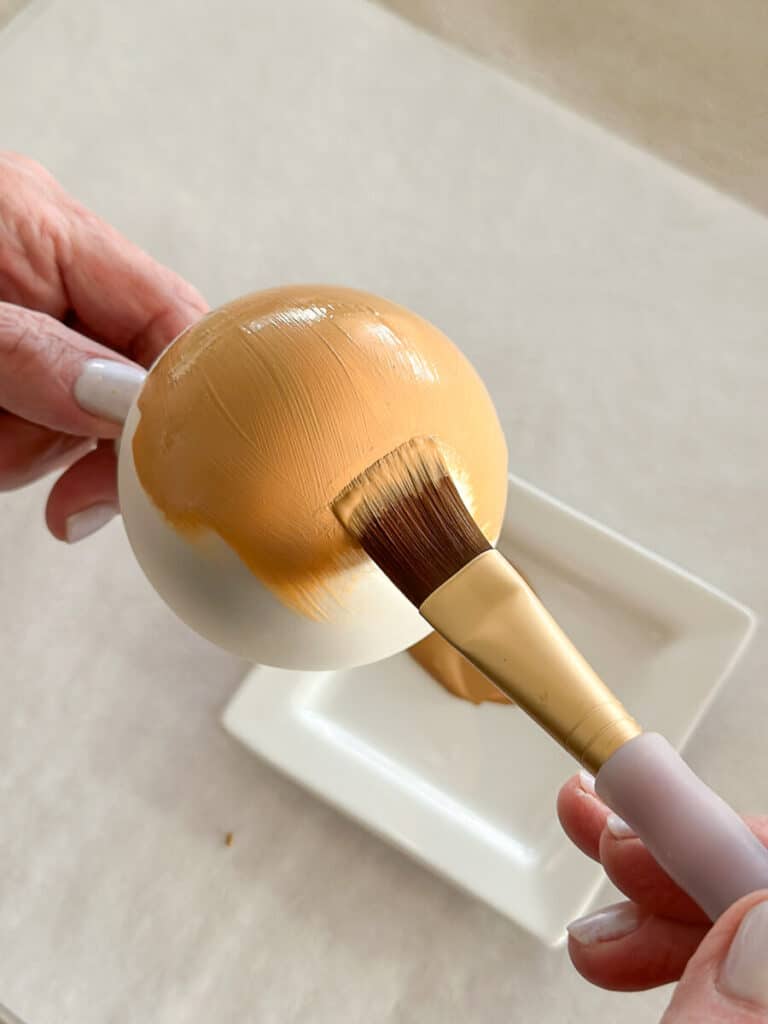
Paint a base coat on the ornaments. I brushed two coats of acrylic paint on each ornament. It really does not matter if you miss a spot, you can dab another color over it in the next step. Make sure each coat of acrylic paint is dry.
Just a side note- my friend, Julie who blogs at My Wee Abode is visiting me from California and took these action shots! Thanks, sweet friend!
Work quickly for this part of the DIY…
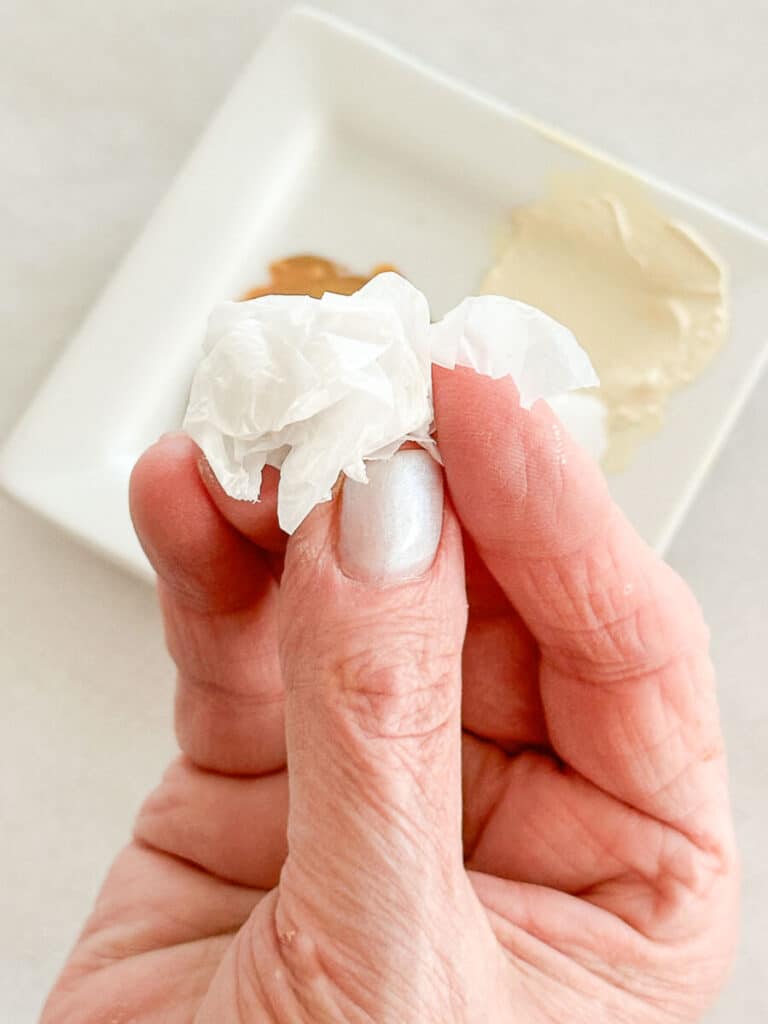
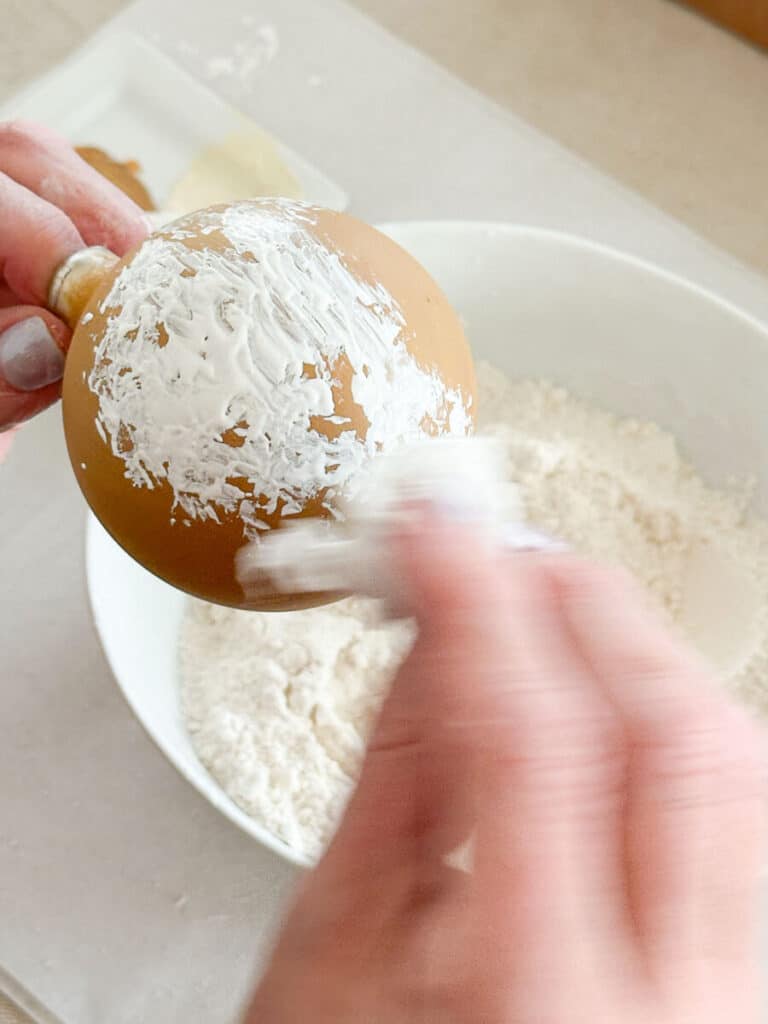
Crumple up a small piece of a plastic grocery bag and dip it in the contrasting color of acrylic paint. Dab the ornament with paint on the crumpled paper bag. If you want less coverage, dab some of the paint off on a paper towel.
This is not rocket science, so experiment on one ball. Try adding less paint in some places and more in others.
In order to take the picture above, I dabbed a bit too much paint in one area. 🫤
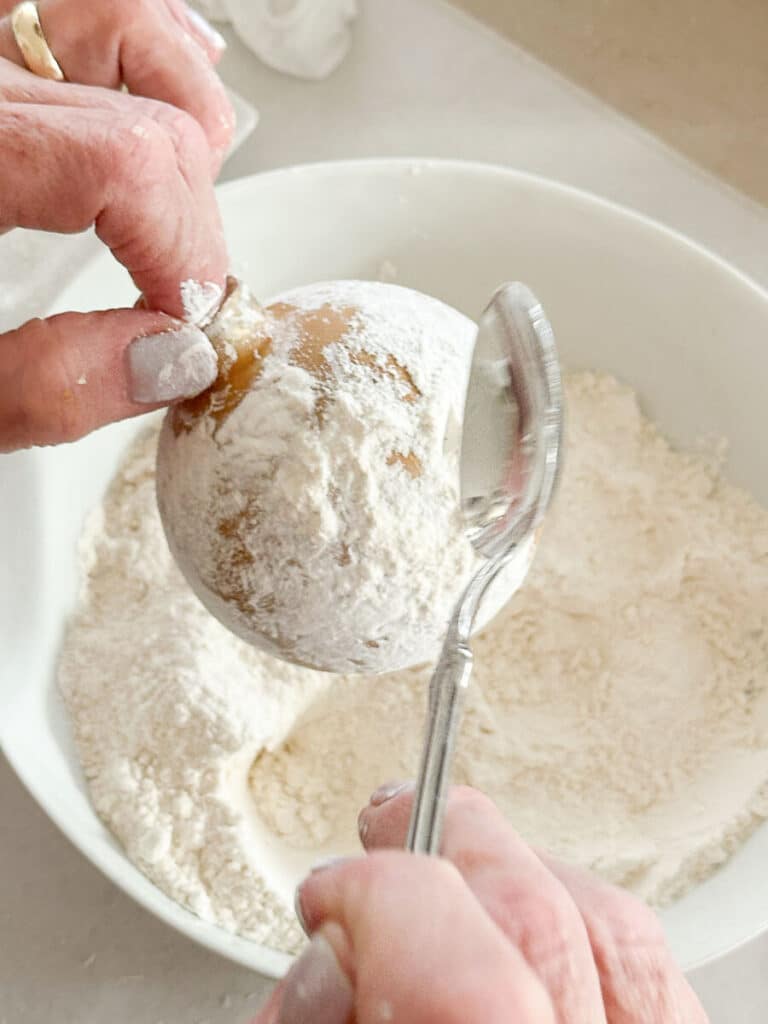
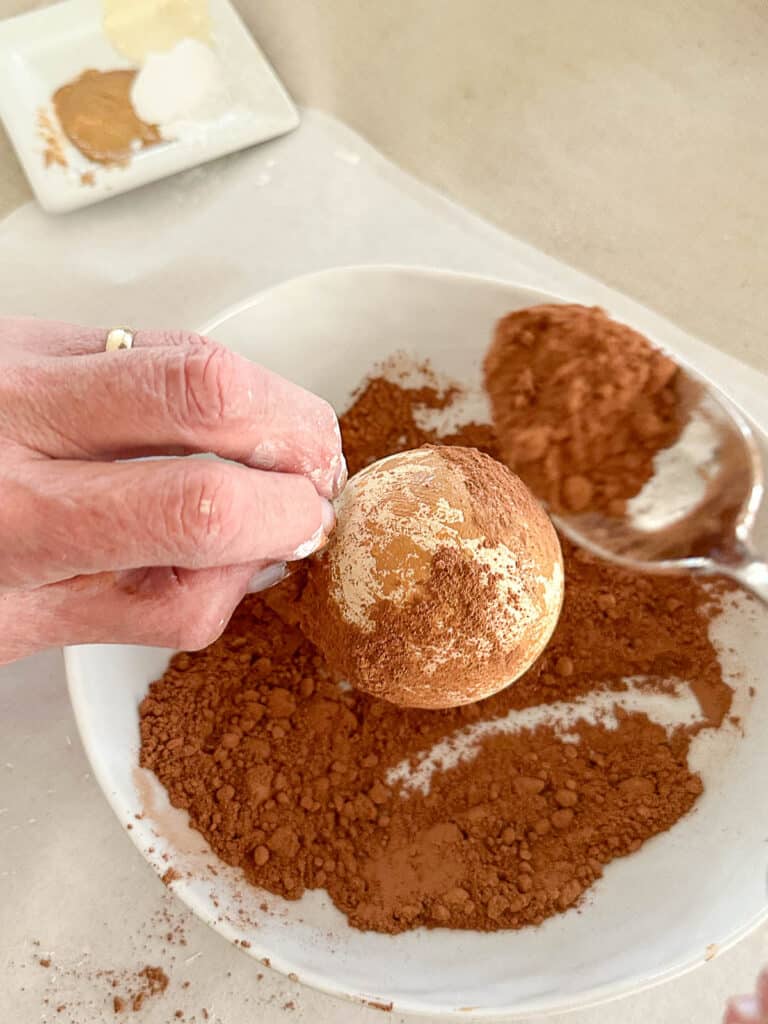
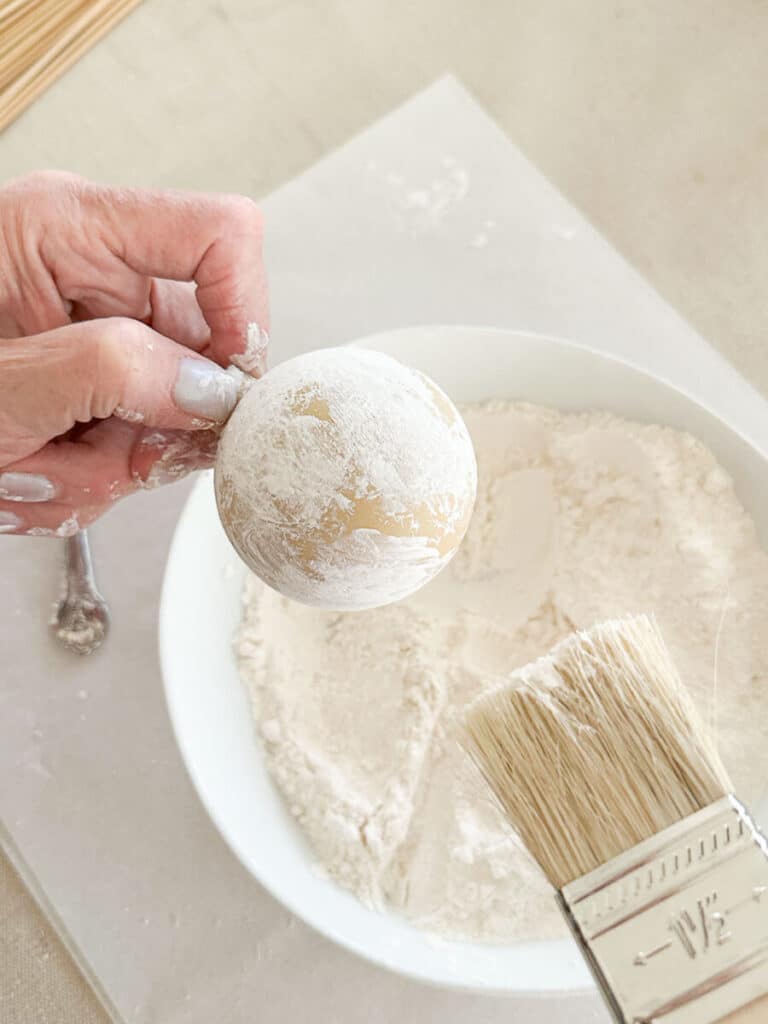
If you are dabbing a light color onto a darker ball, sprinkle white flour all over the ball using a spoon. If you are dabbing a darker color onto a light ball, sprinkle cocoa powder onto the ball with a spoon.
I tap the spoon on the side of the ornament to knock off the excess flour/cocoa powder back into the bowl. Wait for the paint to completely dry.
When the paint is completely dry, take a chip brush and dust off the flour/cocoa powder.
Put the ornament cap back on the ornament and hang it on your tree.

FAQs About Distressed Christmas Ornaments
Click The Video Below For More Christmas Inspiration
I hope you will make these beautiful distressed ornaments as a last-minute addition to your tree. Turn on some Christmas music, eat some cookies, and enjoy making these ornaments!
Cindy, is waiting for you at DIY Beautify. She’s sharing how to make primitive painted gingerbread men. Please head over there and visit her.
Please join my friends and see their Homespun creations!
Merry Christmas!



Everyone needs to make these! They were so fun to make with you, and so easy! I love that we got to do a craft together, and now I have a couple to take home with me!
Thanks for helping me take action shots, Julie. It’s be so wonderful having you here.
So happy you shared this at Tuesday Turn About, Yvonne! You better believe I’m featuring your post at the last party of 2023!
Thank you dear friend. Did you hang your’s on your tree?
This is such a neat idea, Yvonne! They really do look like crushed velvet when finished!! Such a cool way to re-purpose ornaments!! Happy Holidays! Rachel @ The Antiqued Journey
Thanks, Rachel! Merry Christmas.
so pretty, Yvonne. Love how you’ve distressed them with flour and cocoa, adding a bit of metallic paint too. Your tree is amazing with the rust colored ribbon accents. Happy Christmas!!
Merry Christmas, Debra! Thank you.
I love the way these came together, Yvonne, they’re so pretty and they look fabulous on your tree too. I’ll definitely be looking at the old ornaments we have in a completely different way now. Can’t wait to try your technique and make some of my own! I hope you and your family have a warm and blessed holiday season, CoCo
Merry Christmas, Coco!
I have quite of few Christmas ornaments in need of a makeover, and this project will be perfect for that. Excellent tutorial Yvonne! Your ornaments are beautiful and I love the softness that the flour and cocoa create! Happy Christmas!
Hi Michelle, Oh, I hope you do make some! Merry Christmas!
Yvonne these ornaments are truly stunning! They add such olde world elegance to your tree and other holiday decor. Thank you so much for adding such beauty to the hop. Have a wonderful holiday season!
Merry Christmas, Laura.
Thank you for the tutorial Yvonne. I can’t wait to make these. Merry Christmas!
I’m so in love with these distressed ornaments Yvonne! I can’t wait to try this idea on my own ornaments that have been collecting dust in the closet waiting to be reinvented. Beautifully done my friend.
Thanks so much, Kim! Merry Christmas.
Yvonne, these are gorgeous! and would be perfect for my tree this year. Thanks for the tip about sealing them before we paint them. You always have such great ideas.
I hope you will give them a try, Wendy.
Very unique way to give a makeover to old ornaments; I never would have thought about doing this. They look great on your tree; great tutorial! Hope you and Julie had an enjoyable visit:)
Yvonne, these ornaments are so unique and different! I love the soft, velvety look and hope to make a few next year, as i too have so many ornaments and love to upcycle them! How fun that Julie was visiting with you and took these action shots!! Merry Christmas sweet friend! Pinned xx
Thank you, Cindy. Julie and I had so much fun together. Suzy from Worthing Court was here too.
MERRY Christmas to you, Bobby and your BIG, beautiful family, Yvonne!!!
So nice to hear from you, Pinky! The Merriest Christmas to you too.