Brambly And Bright Leafy Fall Wreath DIY
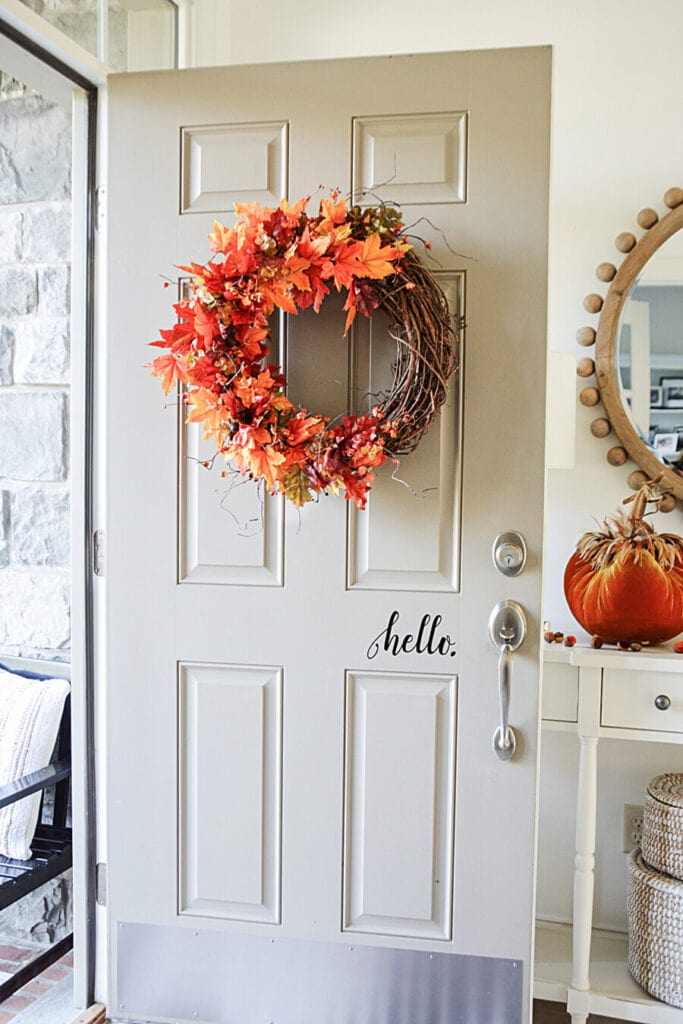
Need a pretty fall wreath for your front door? Make this very easy and fall diy wreath diy to welcome guests to your home. This is a wreath that will get noticed!
Let’s make an easy and bright and brambly fall wreath DIY. And the emphasis is on easy and bright!
The goal today is to give you a recipe and a tutorial to make an autumn wreath you love! And make it with the fall decorations you just might already have.
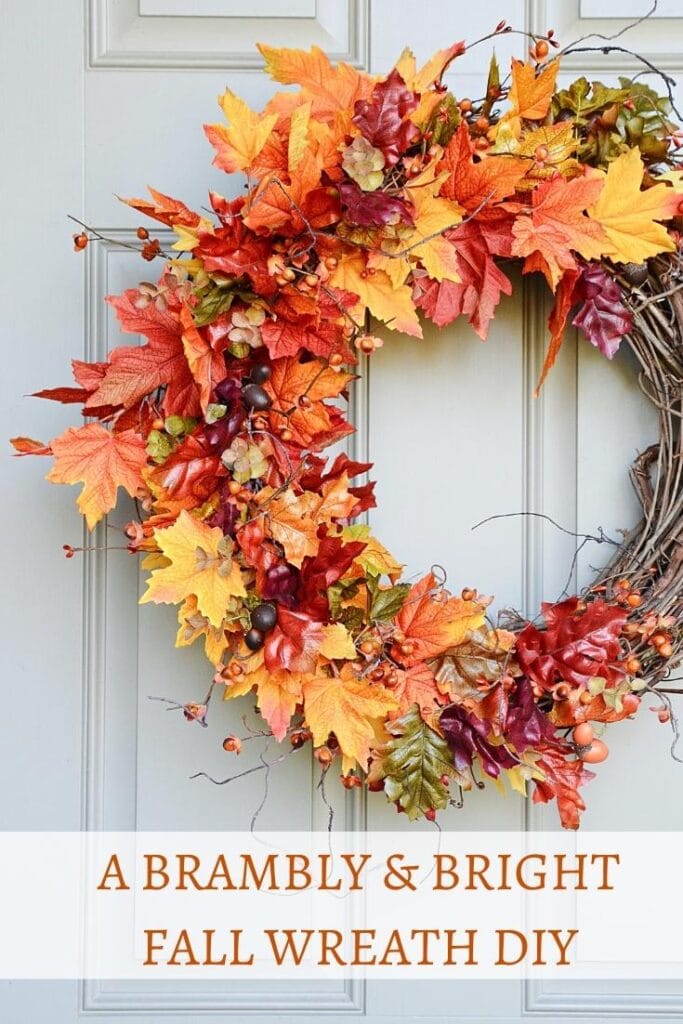
The wreath I made is bright and super saturated with fall color. This wreath is not shy, it wants to be noticed!
This post contains affiliate links. That means when you click on some of the links in this post and you make a purchase I earn a small commission at no cost to you. All my opinions are my own. You can view my full disclosure here.
MY DIY FALL WREATH STORY
For me, fall decorating begins by putting a wreath on my front door. A wreath is a warm welcome and a nod to just how beautiful the fall season is.
I’ve been making new fall wreaths for decades! It is a fun ritual and part of the beginning of the autumn season for me.
Over the years I’ve come up with a few recipes for creating wreaths so I can easily make the same wreath in different ways over and over again.
And since I’ve been blogging (13 years on September 20th) I’ve made lots of wreaths to be used as a pretty door decoration for all seasons and Christmas to share with you!
Here are just a few fall wreaths DIYs I’ve shared…
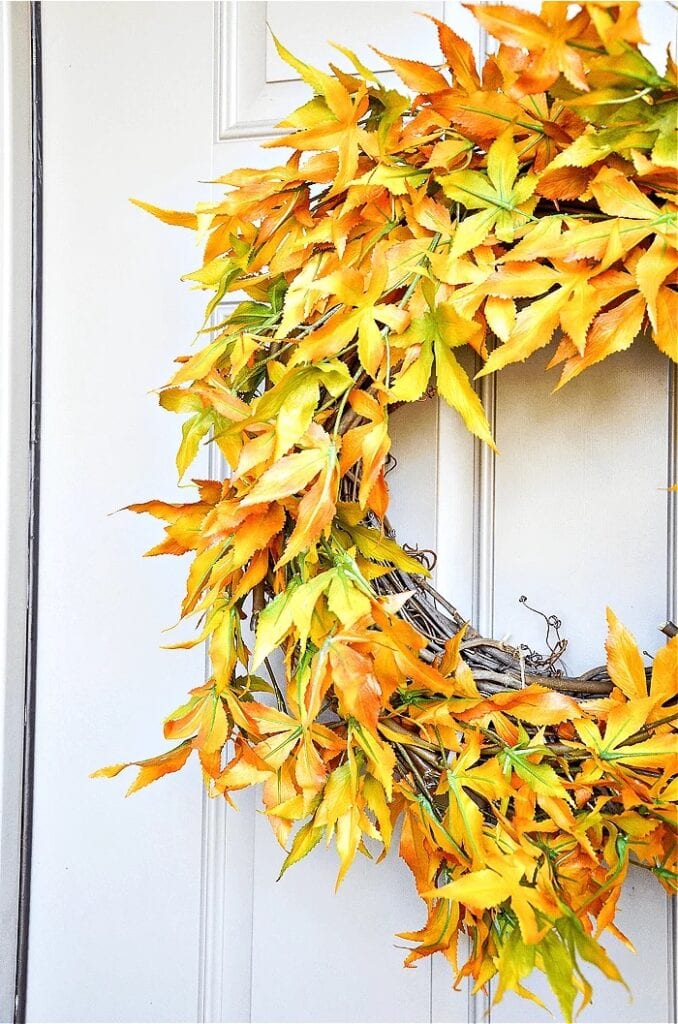
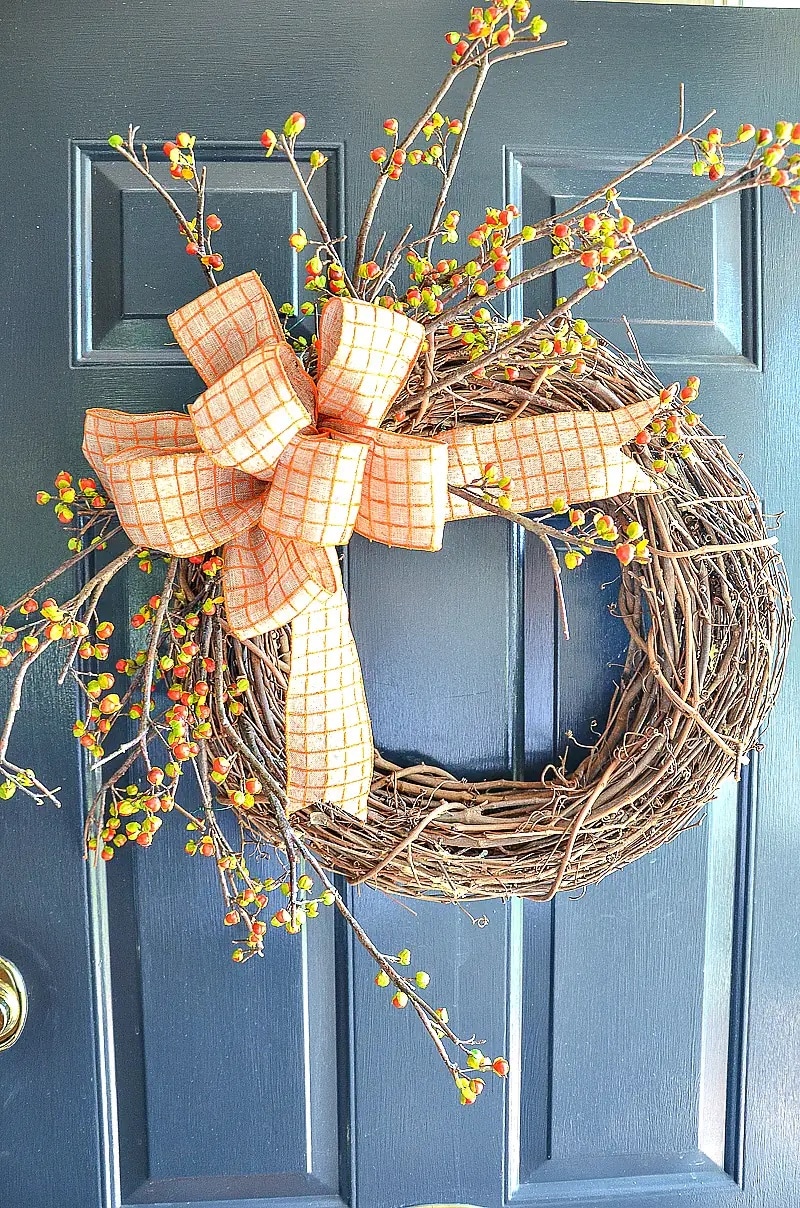

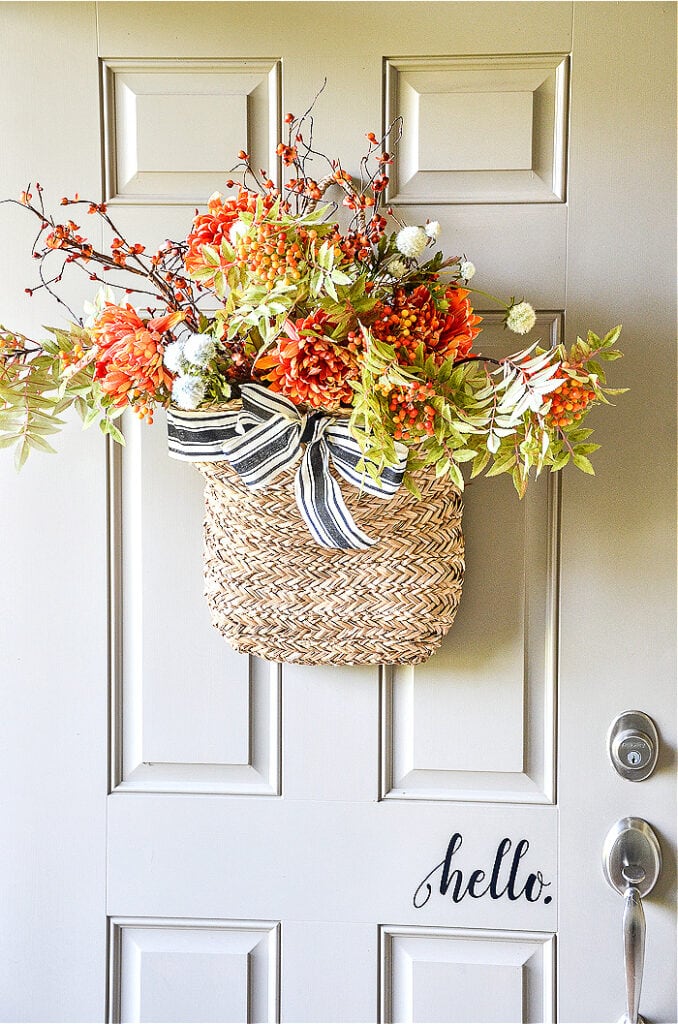
Although this is not a wreath, this BRAMBLY FRONT DOOR BASKET is one of my favorites!
The leaf wreath we are making today will look fresh and pretty on your door through Thanksgiving. And then I hope you will try making a Christmas version!
A SIMPLE FALL LEAF WREATH RECIPE
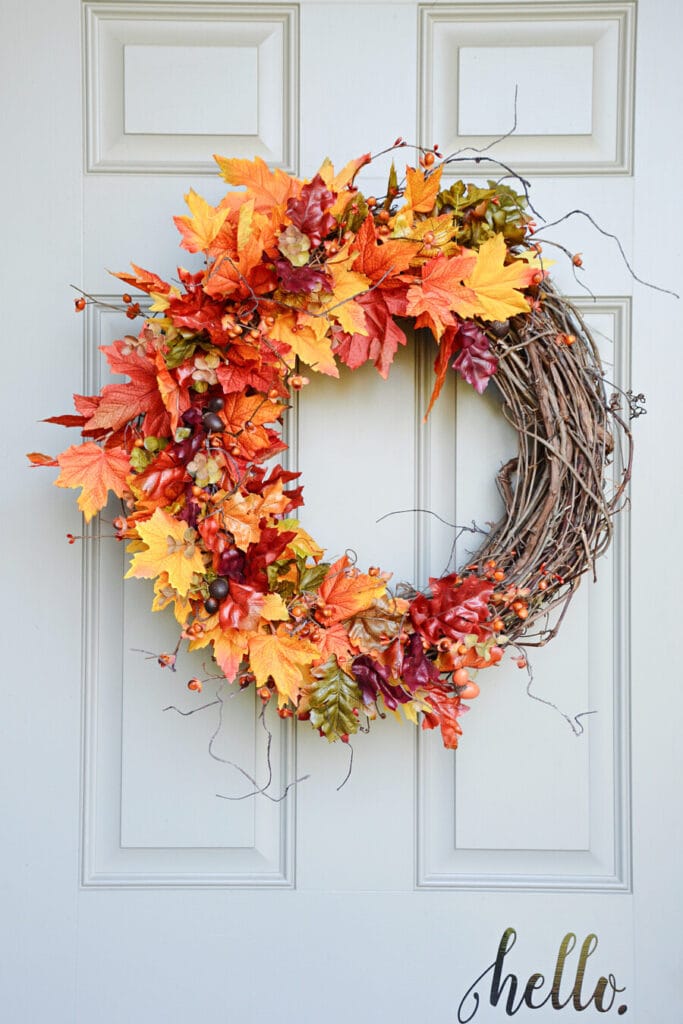
Let’s look at one of the recipes I use for making a beautiful fall grapevine wreath. This wreath features fall leaves, bittersweet, and beautiful saturated traditional fall colors.
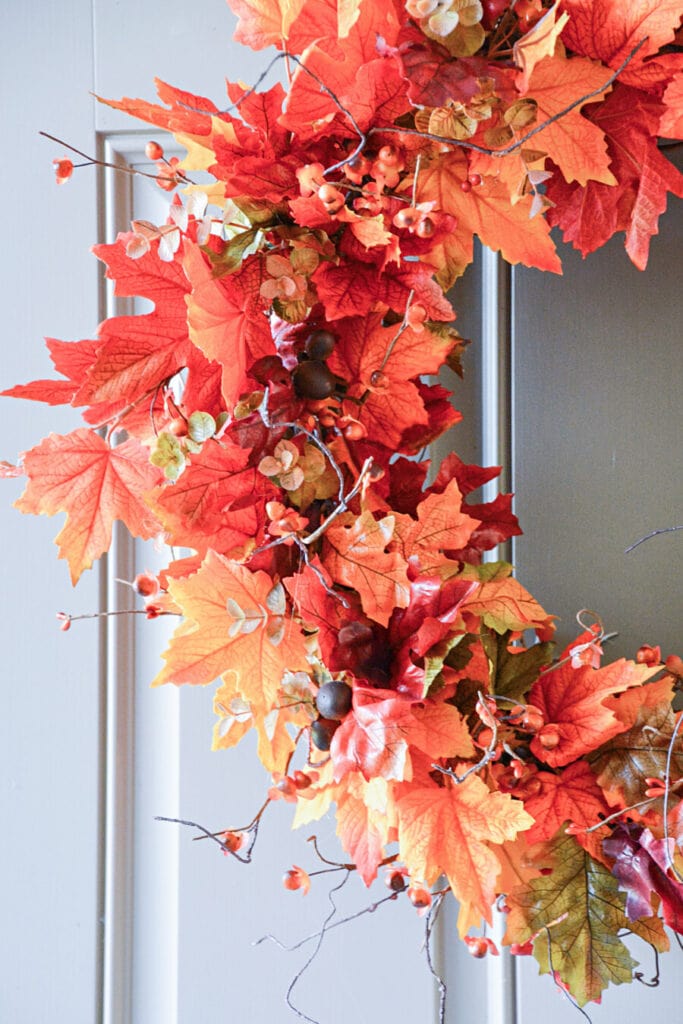
The wreath also has a lot of texture and will add a big pop of color to a front door!
However, you could use any kind of fall leaves and add lots of different fall accents like…
- pumpkins
- acorns
- pinecones
- wheat bundles
- fall tinged hydrangeas
- corn husks
- orange berries
- faux apples
- mini pumpkins
- fall florals
- a bow using fall-inspired ribbon or burlap ribbon
- or any other harvest accent that looks nice with your wreath
I opted to leave a bow off my wreath, but you could easily add a bow to yours if you like.
Here’s the easy recipe for making this fall wreath…
Fasten two grapevine wreaths together.
Create a C shape with fall leaves on the grapevine wreath.
Add textural accents to the wreath.
Fluff the wreath.
And hang it on your front door.
Yes, it is that easy!
WHAT I ALREADY HAD TO MAKE THIS WREATH
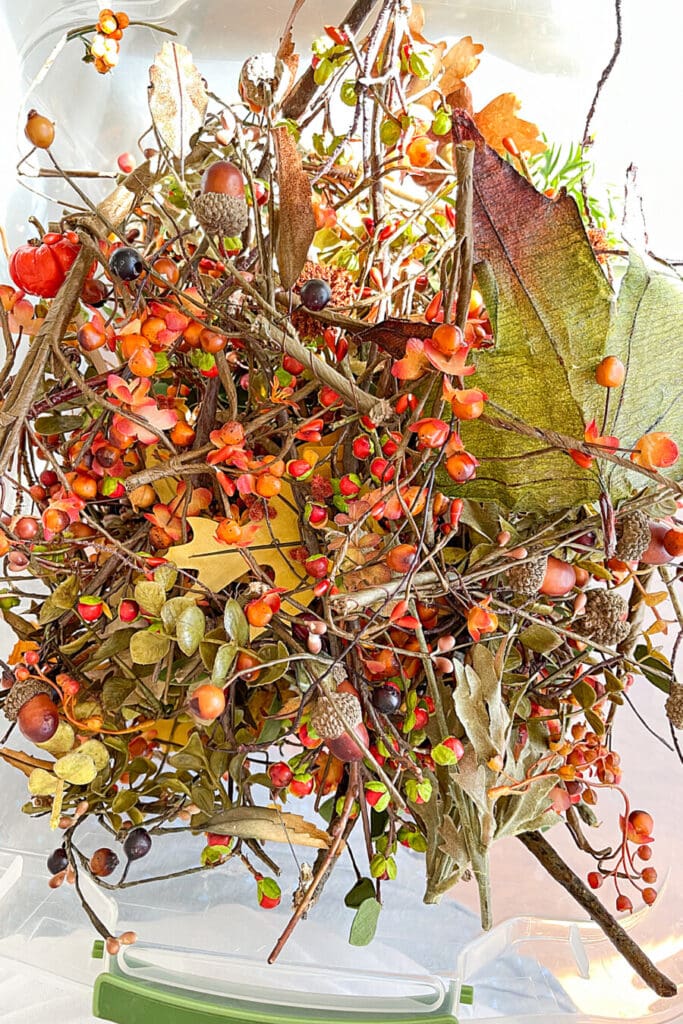
I started out by foraging around in a container or two of fall leaves and other bits and pieces I had in the basement. There is a serious treasure trove of fall things in this container!
After digging around I pulled out a few options like acorn candle collars, tiny pinecones, and berries. But I decided to use faux bittersweet and clumps of small burnished leaves.

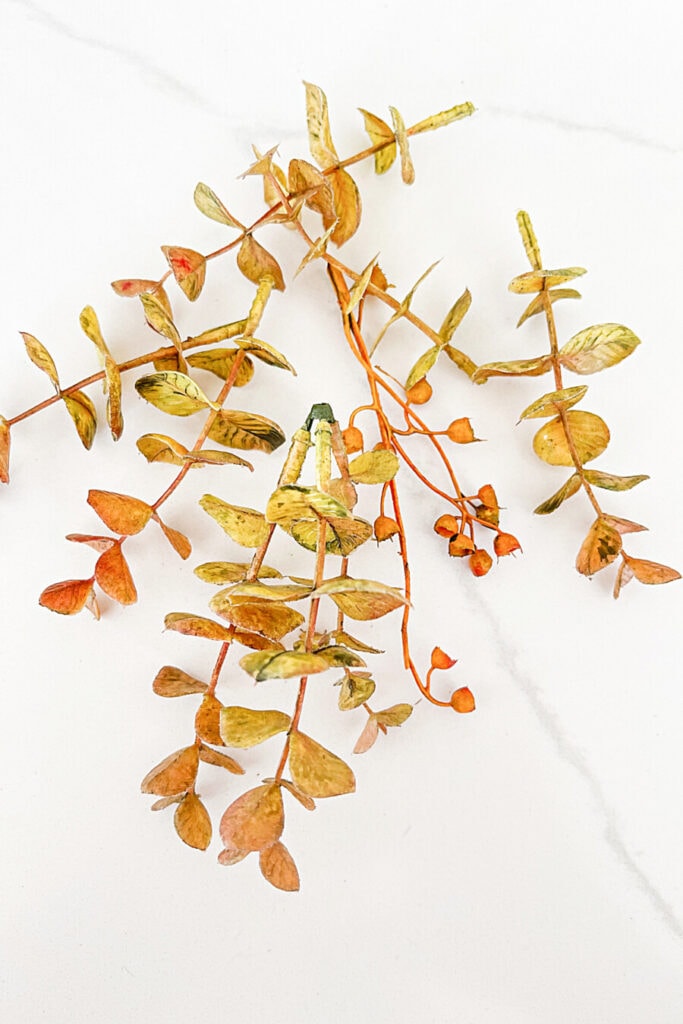
It’s good to have options! You might have lots of fall bits and pieces you can use as accents for this wreath.
HERE ARE THE BASIC THINGS YOU WILL NEED TO MAKE THIS WREATH
A WREATH FORM: For this wreath, you will want to use a grapevine wreath. My best suggestion for giving this wreath a designer look is to use two wreaths of the same size on top of each other. See the directions for how to fix the wreath together.
It’s important to buy a sturdy and full grapevine wreath. You can use it over and over again to make wreaths for different seasons. See my grapevine wreaths HERE.
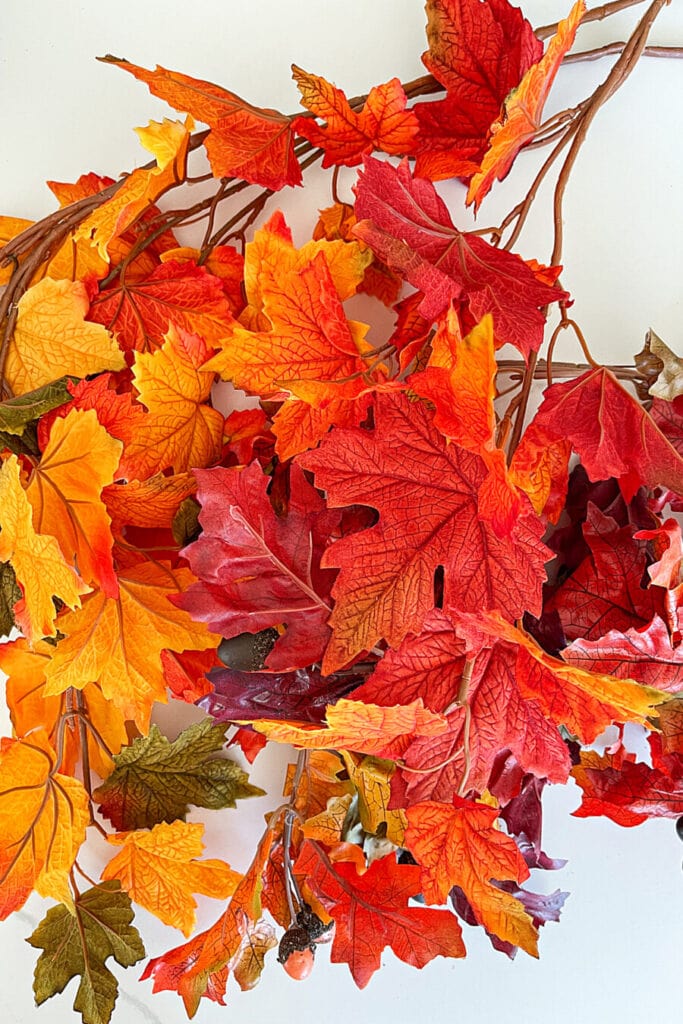
FALL LEAVES: Use a garland of fall wreath or stems of fall leaves for this wreath.
I chose two different kinds of leaves for my fall wreath DIY…
Cut them apart to make small clusters of leaves that are easy to hot glue on the grapevine wreath.
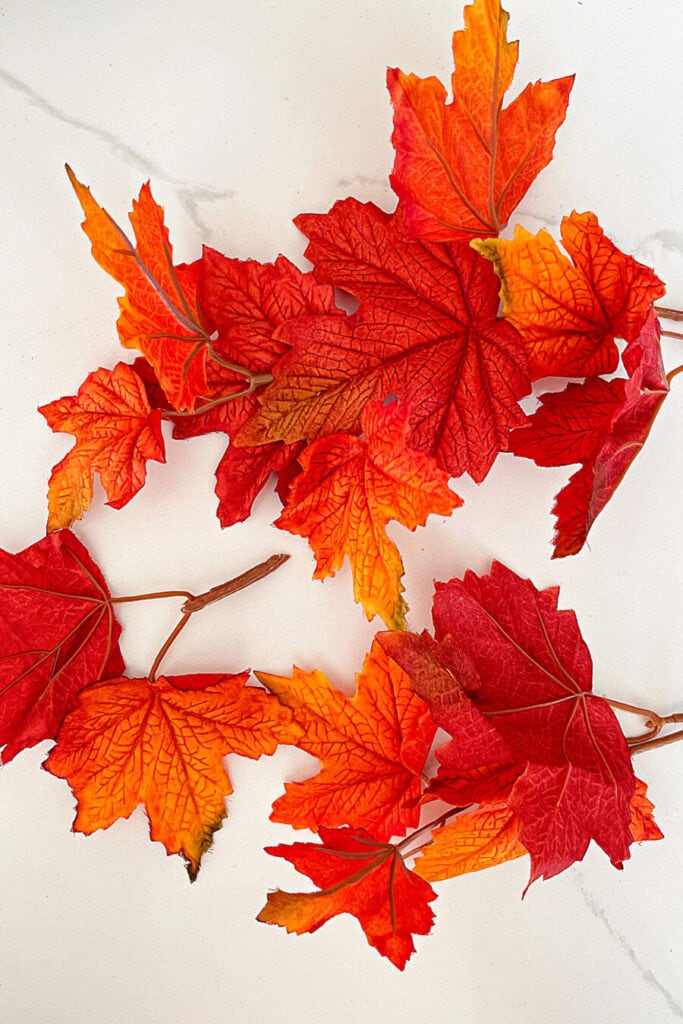
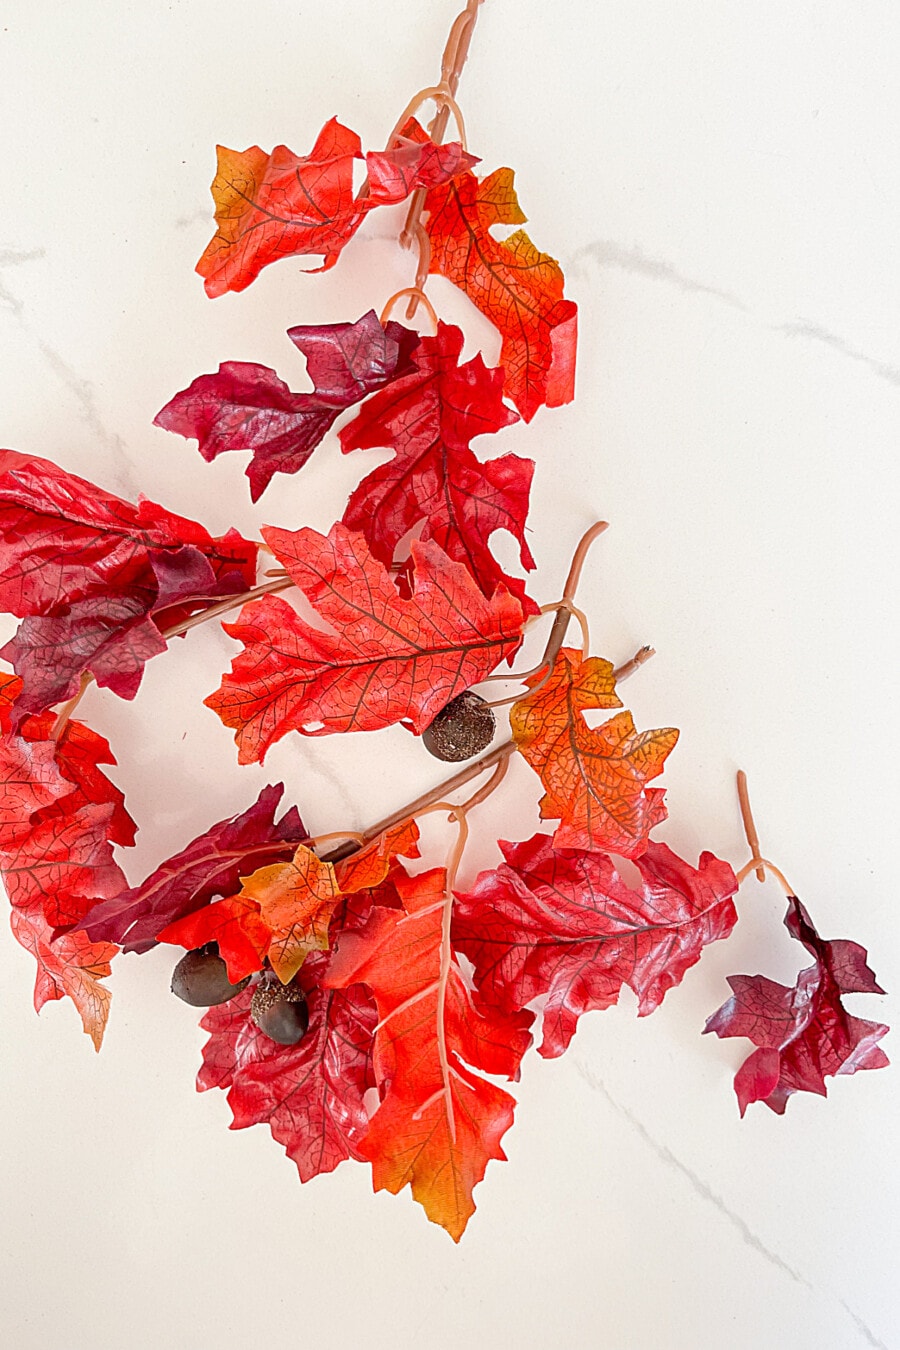
There are so many different colors of fall wreaths so choose the leaves that work with your front door color.
This year I wanted to make a bright colored wreath to celebrate fall!
You can see the leaves I chose HERE and HERE.
BITTERSWEET: I chose to use bittersweet as a brambly accent on this wreath. I like the tight color palette of this wreath and the bittersweet work with it. You can see some faux bittersweet stems HERE.
LITTLE FALL LEAVES- These little leaves come in handy to cover any spots that are not covered by the larger leaves.
FLORAL WIRE OR ZIP TIES: Use the florist wire or zip ties to fasten the two grapevine wreaths together. You can see the zip ties I like to use HERE.
WIRE CUTTERS: I’ve ruined many a pair of scissors trying to cut florist wire. Make sure to use a pair of wire cutters. I keep two pairs in my craft toolbox. One for floral wire and a more heavy duty pair for cutting the stem of faux leaves, branches, flowers, and any other heavy gauge thing. You can see a good multi-purpose pair of wire cutters HERE.
HOT GLUE GUN: For this project, it’s best to hot glue everything into place on the wreath. I use a high temp glue gun because I think it sticks everything to the wreath better than a low temp glue gun. You can see the glue gun I use HERE.
HAIR BLOW DRYER: this is optional. See instructions for how to use it to clean up all the hot glue spider webs on a wreath.
LEAF WREATH DIY INSTRUCTION
Gather all your material and begin.
I made this wreath on our kitchen island but if make it on a table you might want to cover it with a piece of fabric like a drop cloth. The grapevine wreath could cause scratches,
Start by attaching two grapevine wreaths, that are the same size, together. This is a great designer trick!
A QUICK POSITIONING TRICK
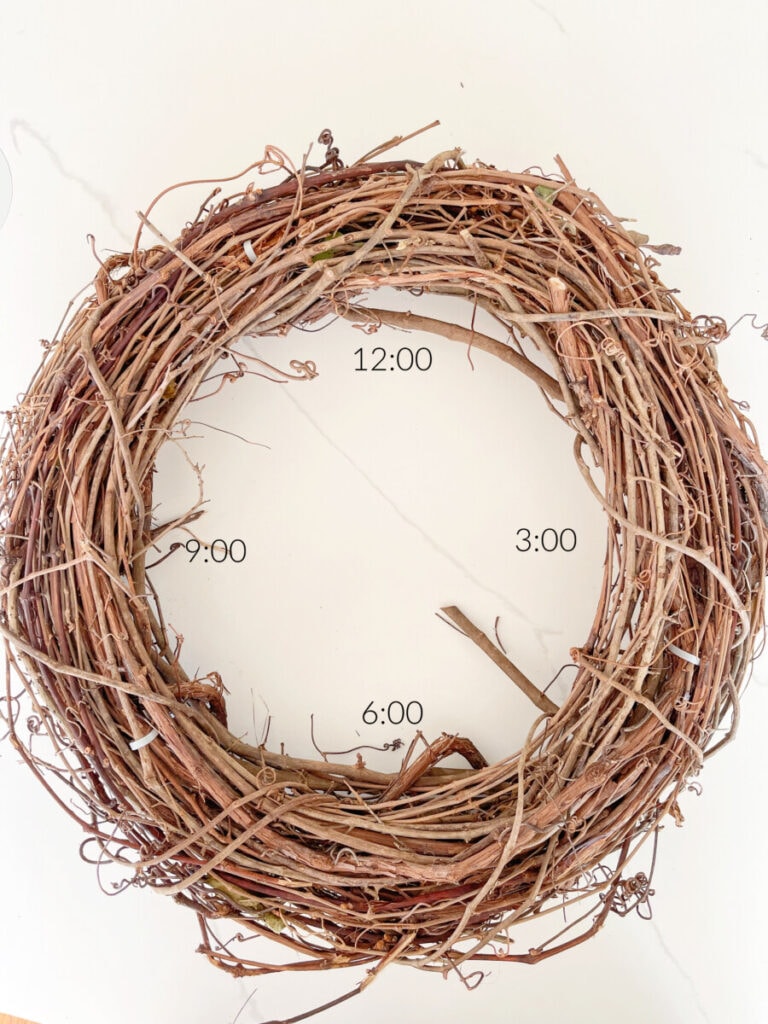
Think of your fall wreath as a clock. The top center of the wealth is 12:00.
This always helps when we talk about where to position fall items on the wreath.
ATTACH THE WREATHS- STEP 1
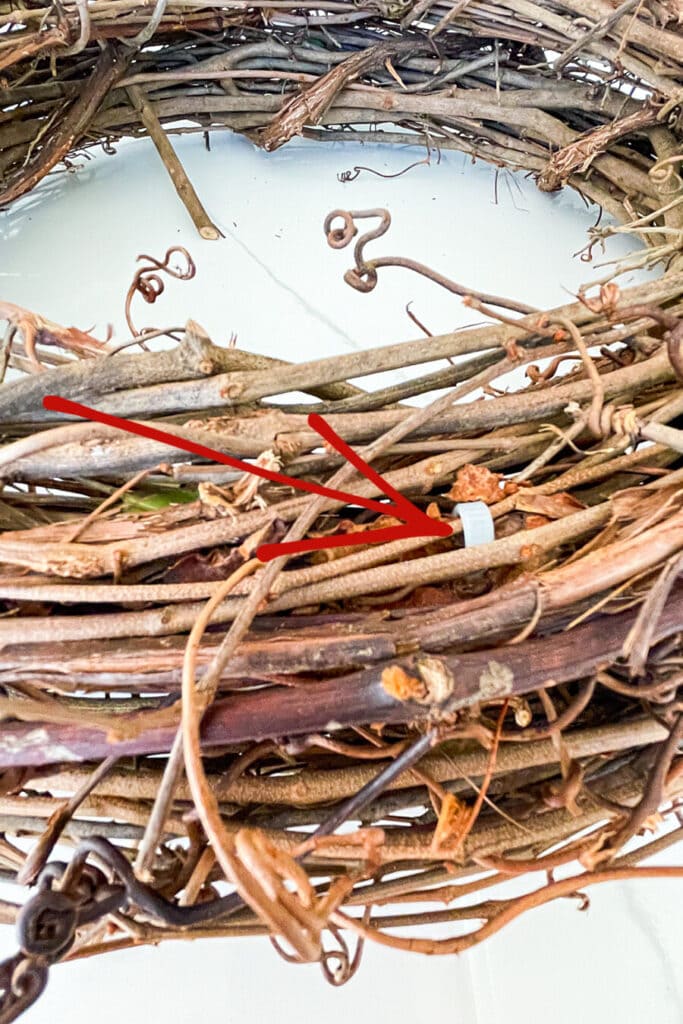
First start by attaching the two grapevine wreaths together at 10, 2, and 6 o’clock on your wreath.
I like to use zip ties. They make attaching the wreaths snugly to each other easily.
ADD THE LEAVES- STEP 2
Leaves can be added to part of the wreath or the whole thing. It’s up to you and your vision for this wreath.
When I think the grapevine wreath will add beauty to the wreath design then I keep some of it exposed.
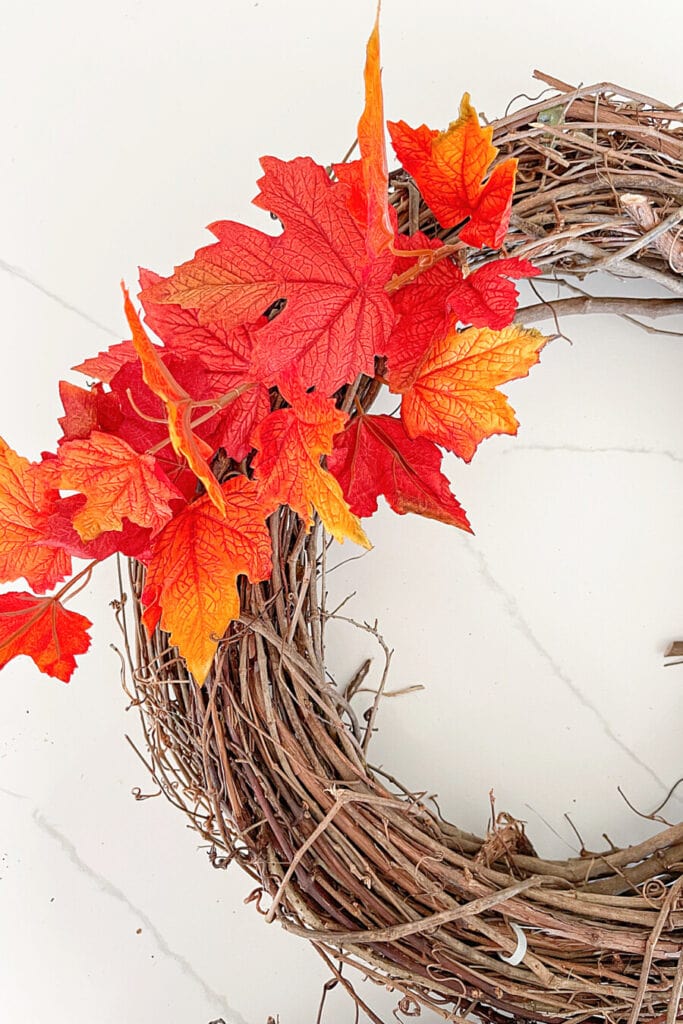
I like to start adding sprigs of leaves at about 11:00 on the wreath. When I cut the larger stems of leaves I left a little bit of the stem attached to the leaves when I could. This gives me something to anchor down into the grapevine wreath.
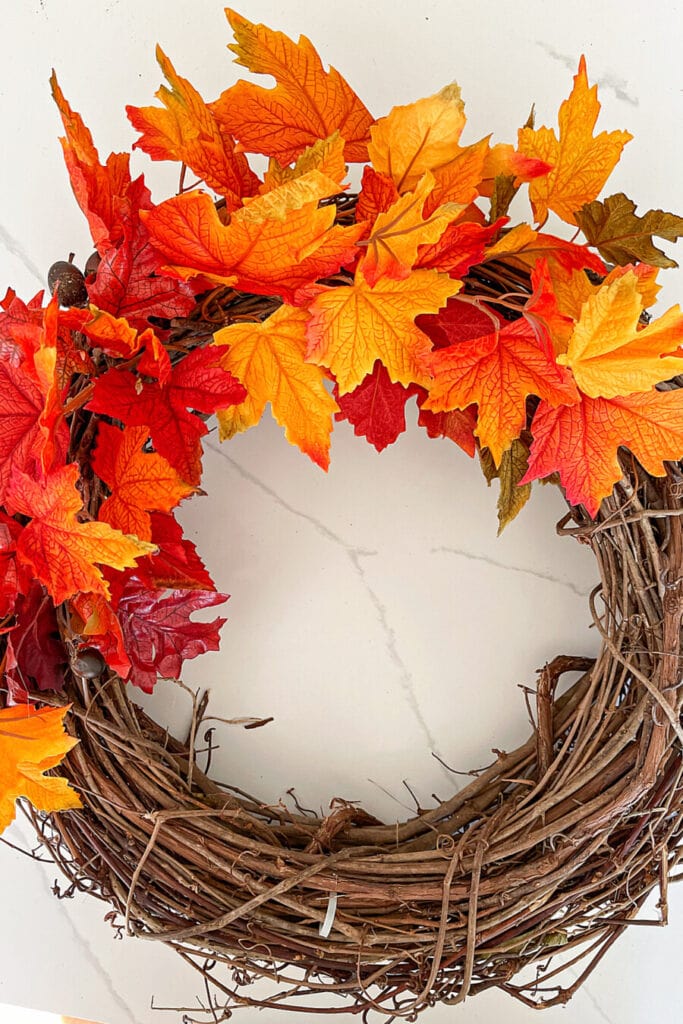
Add more leaves going down the left side of the wreath to about 9:00. Adjust the leave and as you go and hot glue the stems to the wreath.
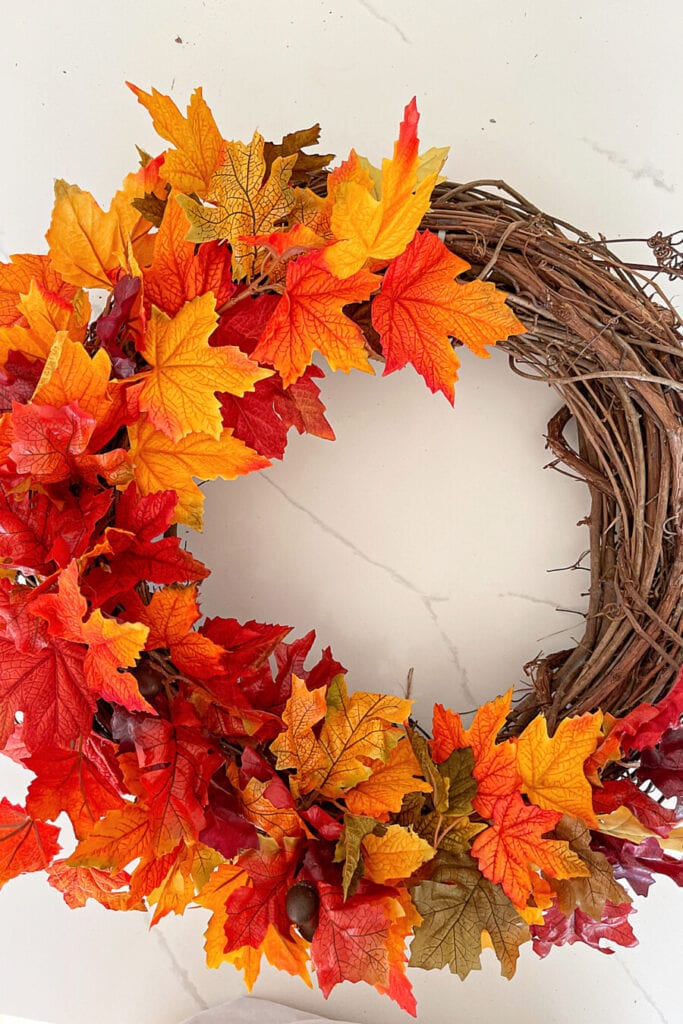
Start working around the right side of the wreath. Continue adding the base of leaves where you started and work your way around the right side of the wreath to about 2:00. Adjust the leaves as you go and hot glue the stems to the wreath.
Going back to the left side of the wreath, add more leaves where you stopped and continue around the wreath to about 4:00. Adjust and glue.
3. ADDING ACCENTS TO THE FALL LEAF WREATH
This is my favorite part of the wreath making process. The wreath could be finished without adding any accents however why not embellish it?
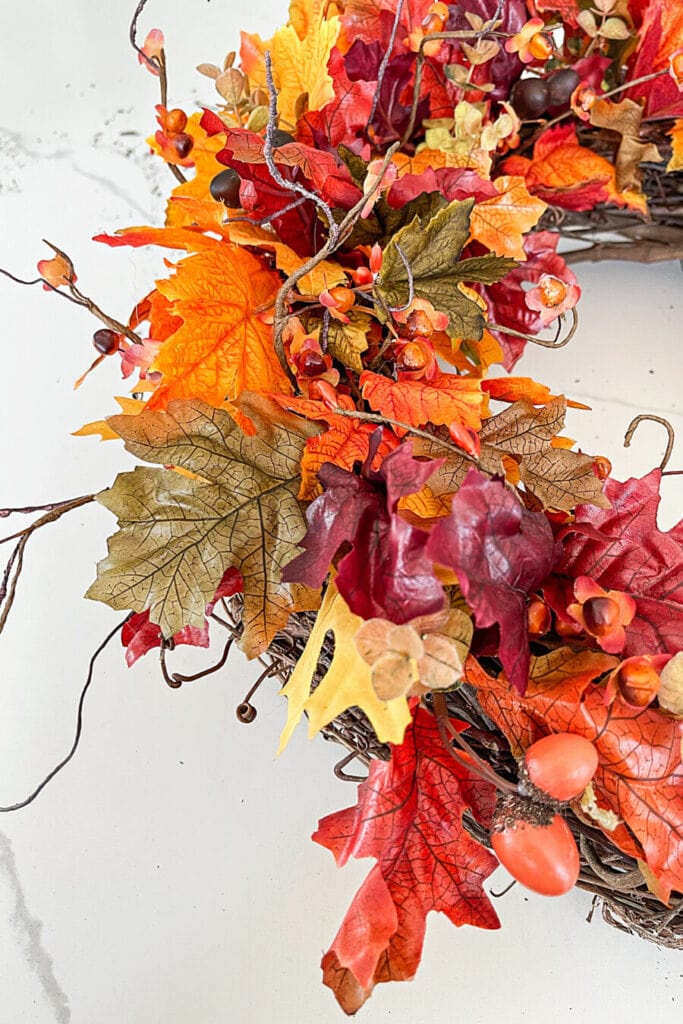
I chose faux bittersweet and little green leaves from my stash of bits and pieces and found enough to embellish the wreath.
Whatever the accent, tuck it into the leaves making it look somewhat evenly spaced. When you like how they look hot glue them on the grapevine wreath.
4. FLUFF THE FALL LEAF WREATH
When you are finished making the wreath give it a good fluff. Fluff is not a technical word, but it is a word with a perfect visual meaning for the process of making sure all the details on the wreath are perfect.
Check that the leaves are spread apart and there are no big holes in them so parts of the grapevine wreath show through.
Check all the accents on the wreath. Are they where you want them? Do you need to move any? Do you need to add or edit?
Don’t neglect this important step, shake the wreath vigorously and make sure everything is secured to the wreath. Reglue any loose items.
And lastly, if there are any hot glue spider webs on the wreath dissolve them. With a blow dryer set on low and warm, blow dry the wreath and spider webs will melt away. Pretty neat tip, right?
HANG THE WREATH UP ON YOUR DOOR
Hang your brambly leaf wreath DIY project on the front door and give it a once-over look to make sure you like how it is positioned and to double check that everything is in place.
Then stand back on your front porch or walk and enjoy your pretty fall wreath! Savor the fact that you made this one-of-a-kind fall wreath.
OTHER FALL DIY WREATH IDEAS AND MORE
Here are more creative wreath fall wreaths…





Love the simplicity of your wreath and the vibrant colors.
Thank you, Doreen. This was such an easy wreath to put together. Happy fall.