Pumpkin Candle DIY
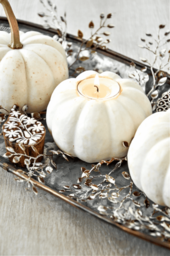
It’s time to carve a pumpkin and put a candle in it! Carving a pumpkin is a rite of fall! But this is not any ordinary pumpkin carving! It’s pretty and sophisticated and takes less than 20 minutes! Let’s get carving!
This post contains affiliate links. That means when you click on some of the links in this post, and you make a purchase, I earn a small commission at no cost to you. All my opinions are my own.
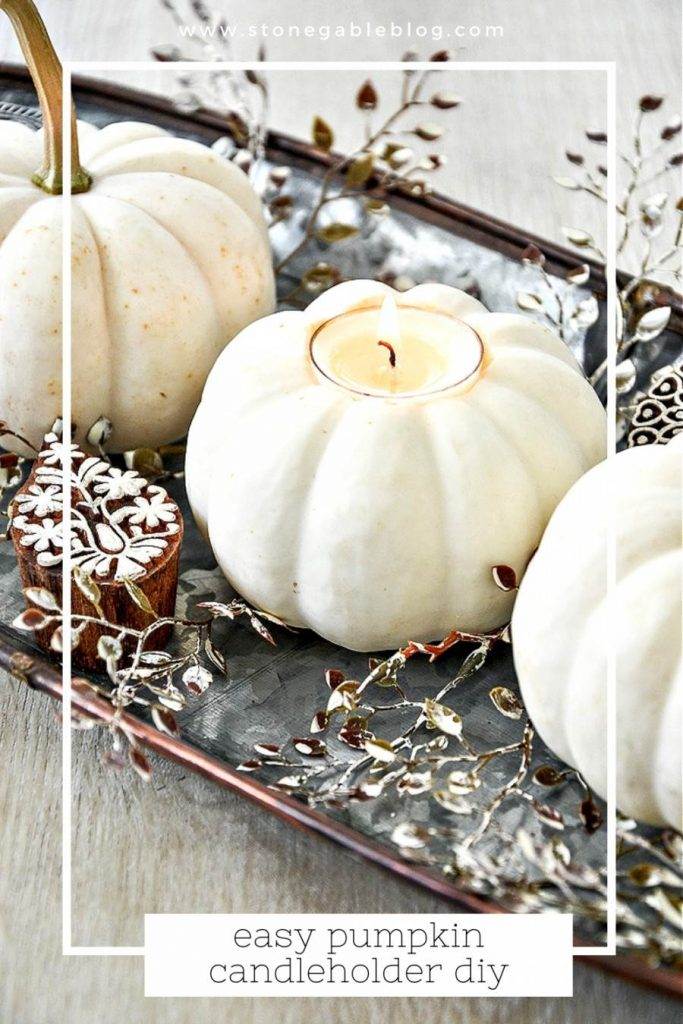
I love the idea of carving a pumpkin and putting a candle in it! So today, I’m sharing an easy-peasy fall decor!
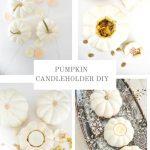
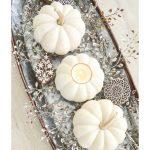
How sweet is this trio of pumpkins?
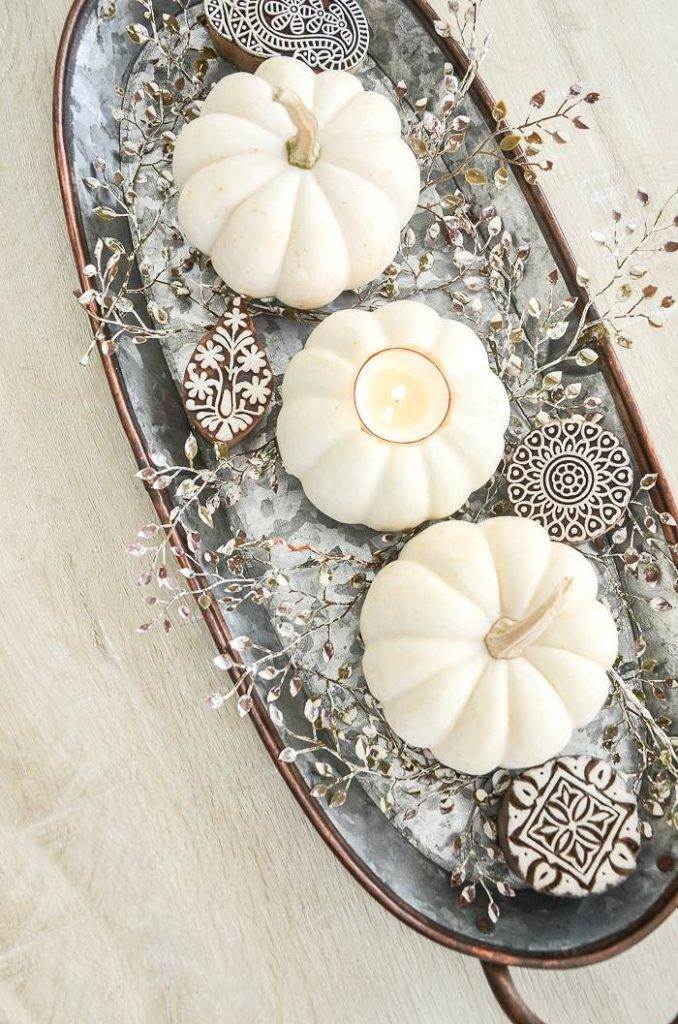
And creating pumpkin candleholders is so easy!
What You Will Need
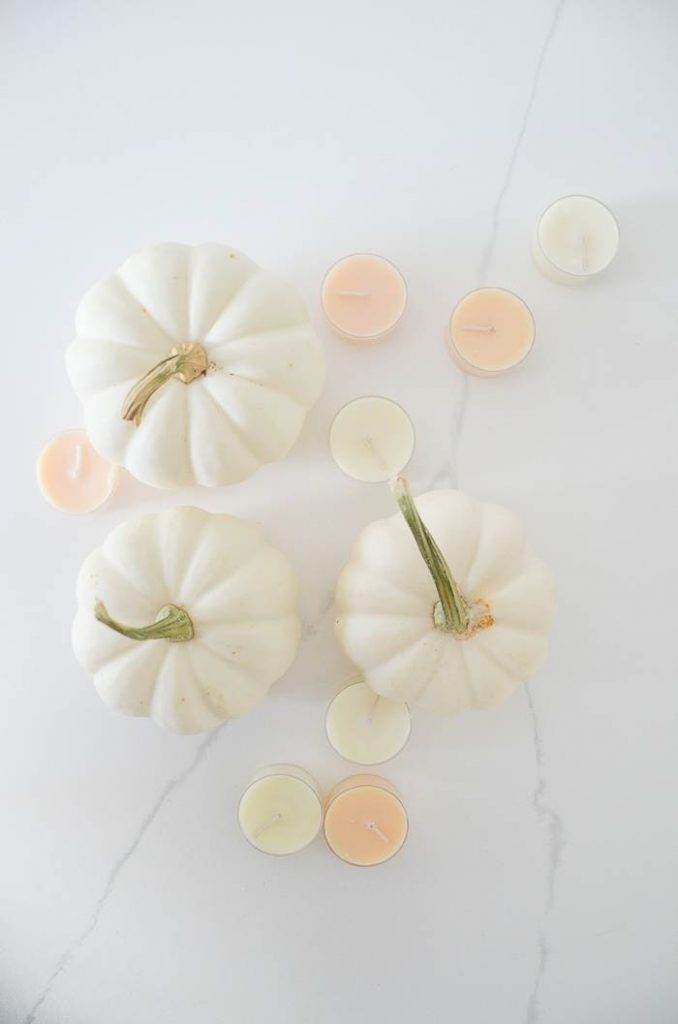
- little pumpkins like BABY BOO PUMPKINS
- a pencil
- a small sharp knife or pumpkin carving tool
- teaspoon
- tea lights (SEE MINE HERE)
How To Make A Pumpkin Candle
First, pop off the stems of the pumpkins. I do this by putting pressure on it by laying the heel of my thumb at the base of the stem. It should pop right off!
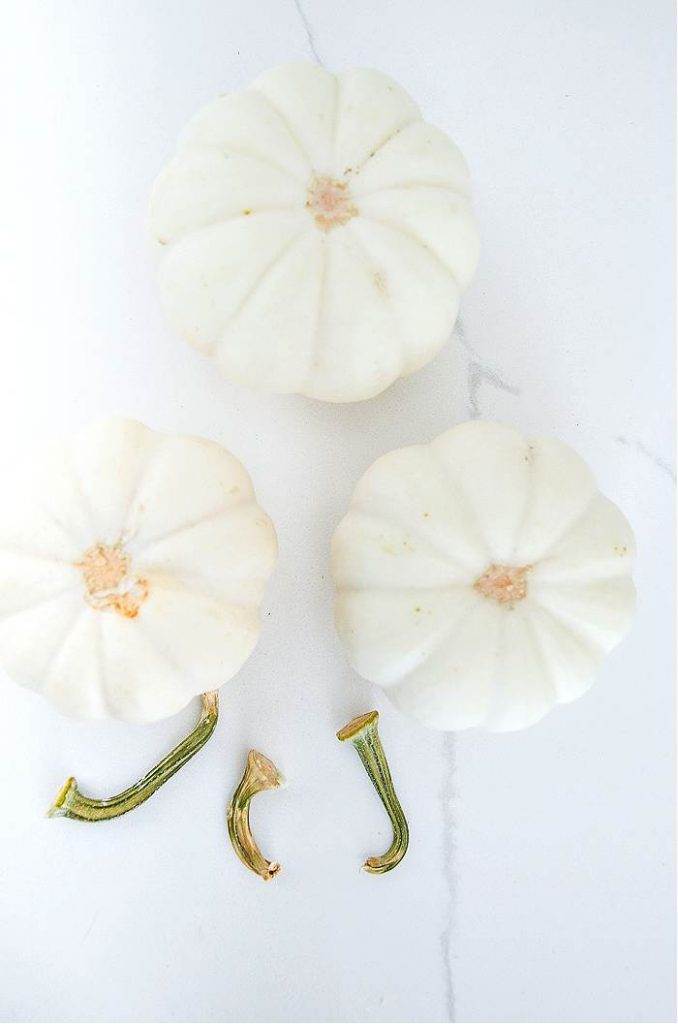
Save the stems. You can glue them onto faux pumpkins to make them look more realistic!
Dry the stems out and put them in a paper bag. Just don’t forget where you put them!
You can see how to MAKE FAUX PUMPKINS LOOK REALISTIC HERE.
After the stem had been popped off, I gave my pumpkins a good wash! This helps real pumpkins stay fresh longer.
You can see 8 TIPS FOR KEEPING PUMPKINS FRESH HERE.
After the pumpkins had dried, I placed the votive on top of the pumpkin, centered it, and then drew around the votive with a pencil.
Using a sharp knife, I cut along the pencil line, popped the pumpkin top off, and scooped out the pumpkin “guts.”
And finally, I put the candle in the pumpkin. If the votive does not fit, shave out a little bit more from the hole in the pumpkin.
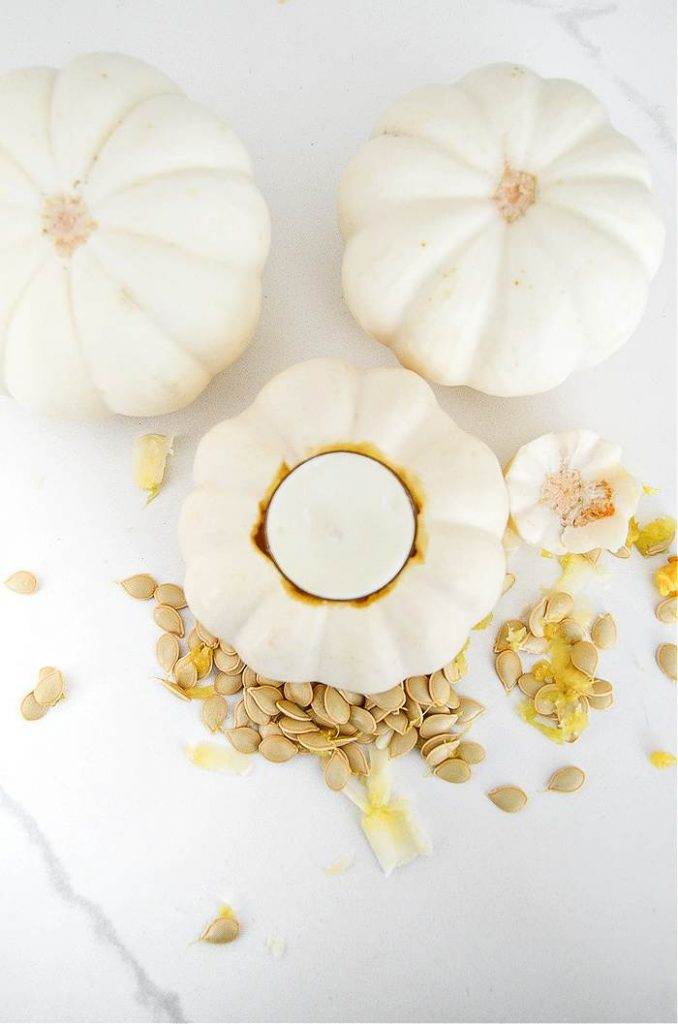
Eeasy! And so so pretty!
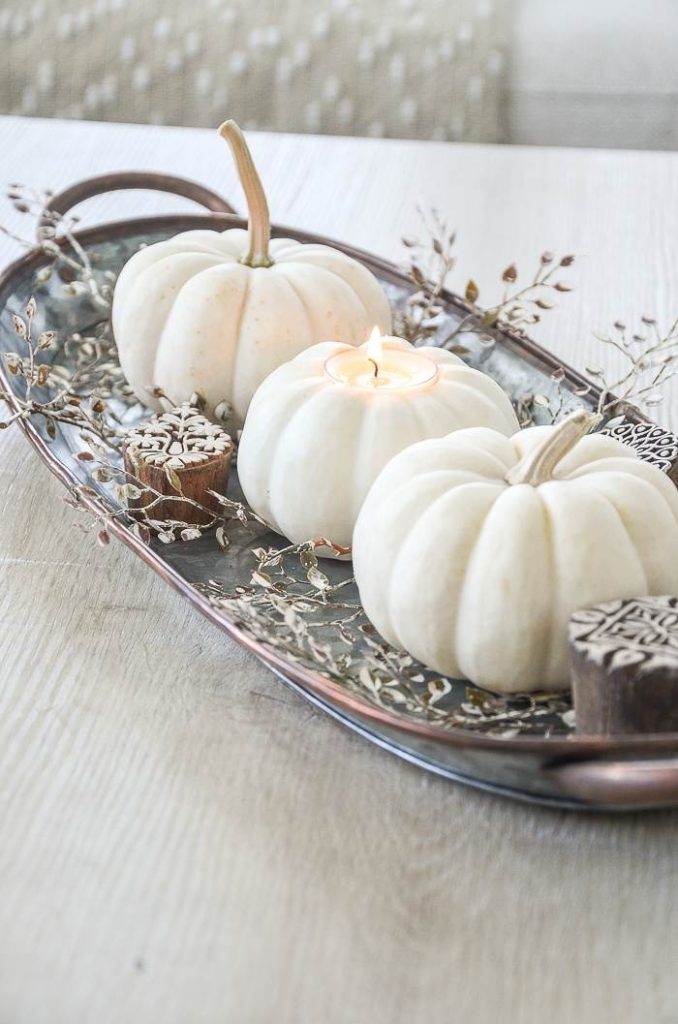
Other Ways To Use A Pumpkin Candle
There are so many ways I can think to use these pretty pumpkin candleholders!
- on a fall table
- topping a place setting on a fall table
- as part of a vignette
- on a mantel
- in a lantern
- in a glass hurricane
- perched on a cupcake pedestal
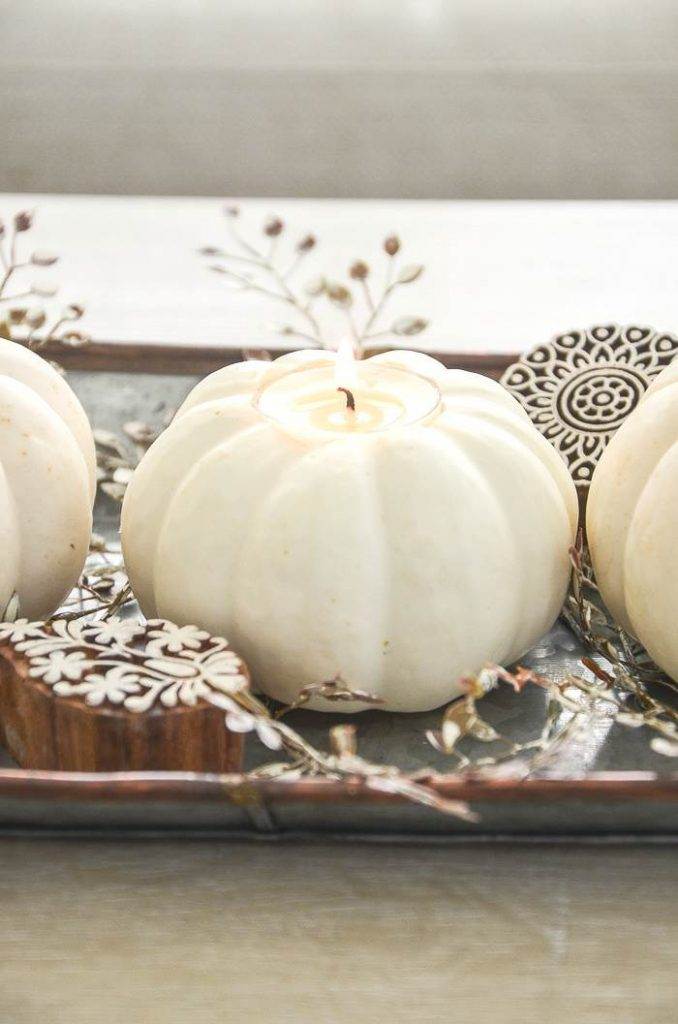
As with all things with a flame, please do not leave it unattended. But you knew that!
I hope you will give this easy fall pumpkin diy a try!
More Pumpkin Ideas
If you like pumpkins, you might also like…
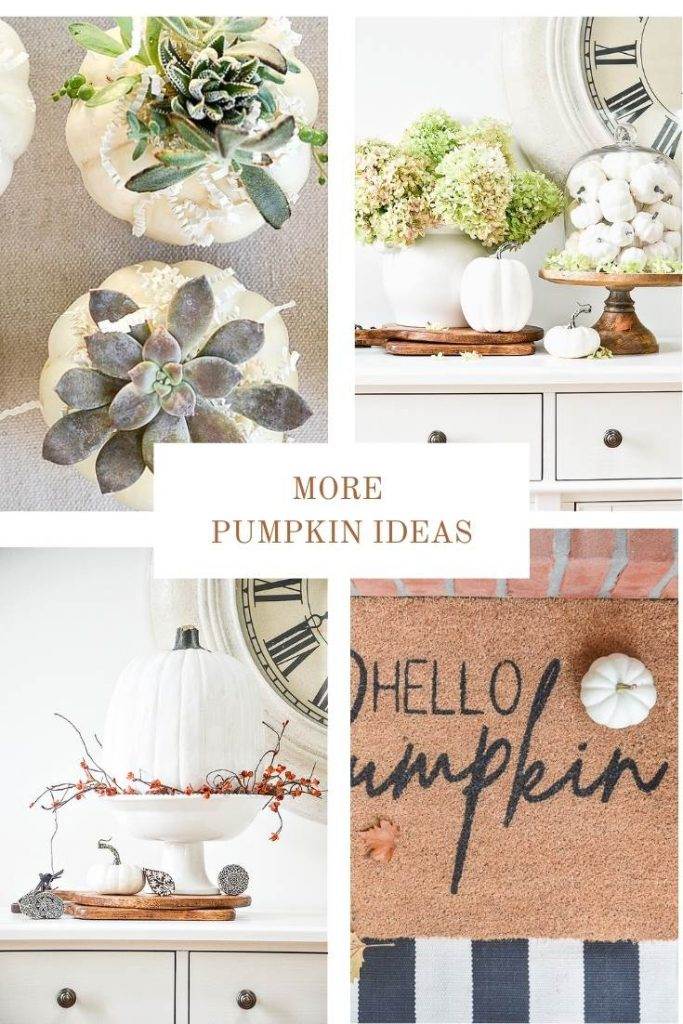
MINI SUCCULENT TOPPED PUMPKINS
5 MINUTE WHITE PUMPKIN ARRANGEMENT
Check out what my blogging friends are sharing!

These are so pretty and amazingly simple! I’d love to know what those other decorations are that are pictured. Beautiful! Thanks so much.
Hi Nancy, I’m so glad you like them!
Hi Yvonne, those pumpkins turned out really sweet. What type of leafy plant is on your tray? So far I have made your fall leaf candleholder and two leaf wreaths and really love them. Thanks for your easy, doable DIYs.
Hi Cathy, so glad to hear you are enjoying the easy StoneGable diy’s! The little leaves in this arrangement came from a garland I got at a local shop. I just cut it apart.
I love white pumpkins and this is super cute. Are those stamps on the tray as well? If so, where did you get them? So pretty!
Hi Cindy, you have a great eye! Yes, they are! I found them at Heritage Lace. You can see them here:http://www.heritagelace.com/store.cfm/Products/Detail/All-Brands/Home-D%C3%A9cor/Decorative-Accessories?Id=4C0D817C-075A-E70E-881F-76DBBD825F95
Yvonne, you have such flair. Natural pumpkin candles really show off your vignettes. I, too, have set votive candles into pumpkins – and large apples – and have a time-saving tip for you and your readers. I use a hole saw bit affixed to the end of my cordless power drill. These bits are available at any hardware store (think Home Depot and Lowes) and Amazon . If you put ‘hole saw kit’ into Amazon’s search field, it will bring up a wild price range – after all, these are used by professional tradesmen and carpenters. But a decent set for light crafts use can be had for under $20. Mine was $15 and handles everything I throw at it. For votive candles, the 2.5″ bit is perfect. One holiday, I used the 1/2″ bit to bore holes all over hollow pumpkins that I then fitted with candles. Since I also use my bits for wood, I simply boil them after usie on pumpkins/apples and dry them before returning to the kit. Honestly, the size variety in the kit allows your inventive mind imagination to run wild. Best regards. Chasya in Colorado
Wow! What a great tip Chasya! Thanks so much!
Love the pumpkin centerpiece ! Where did you get the greenery? Did you buy it that way or did you brush the paint on it yourself ? I love your blog and all your ideas!
Hi Robin, I found it at a local shop. It was a garland I cut apart. Sorry I don’t have a source.
That is such a pretty trio of pumpkins! Pinned.
I love pinners!!! Thank you1
These are so charming! I think this might be something I’d like to try for Thanksgiving this year. Thanks so much for sharing!
Hi Rachael, so glad you liked them.
Such a great idea! I love decorating with pumpkins during the Fall, but this takes it to a new level and cuteness!
These are beautiful! What a simple project for a Thanksgiving tablescape—I wonder if after awhile they even smell a little like pumpkin?
Good thought! I’m not sure.
Thanks for sharing so simple yet so adorable craft. Definitely I’m gonna try this on Thanksgiving this year.
Aren’t they cute? And they look so pretty lit!