Large Decoupage Pumpkin DIY
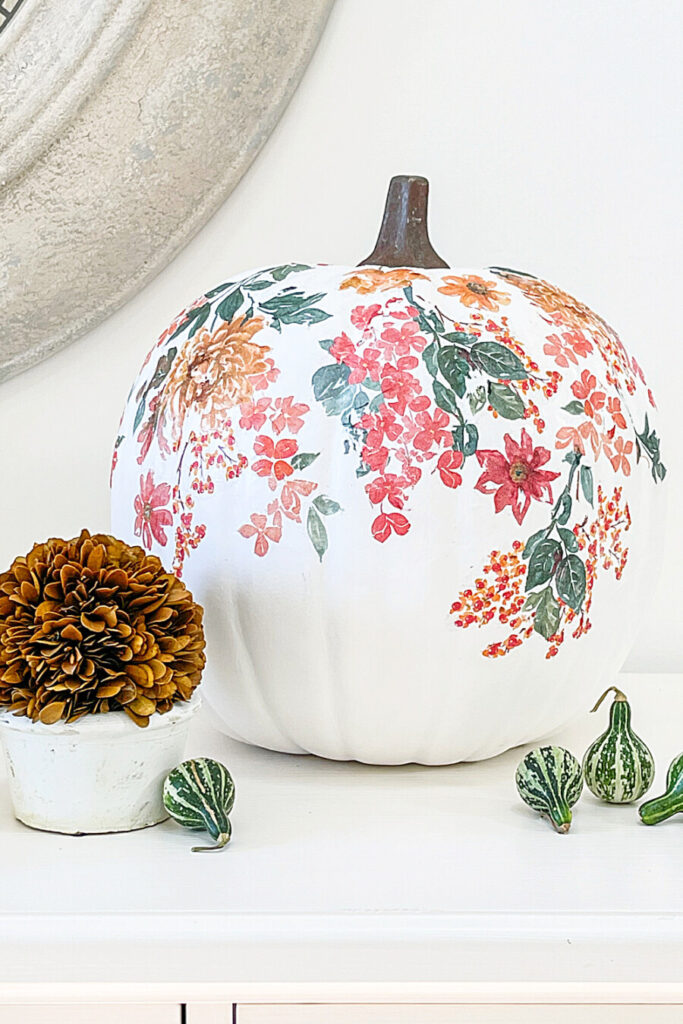
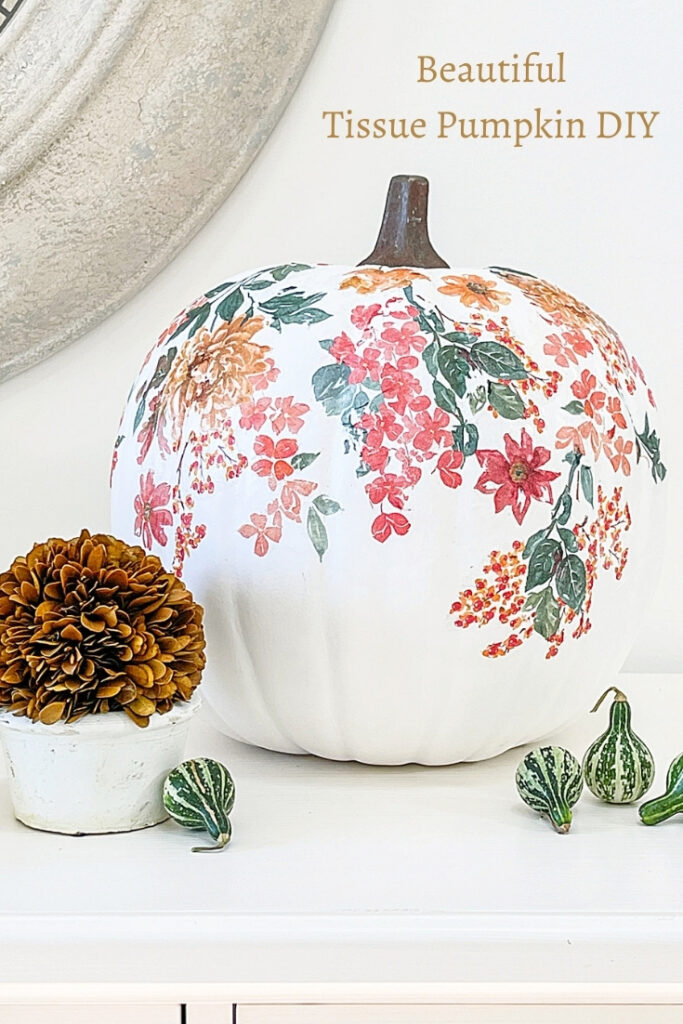
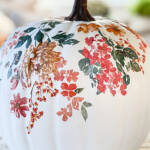
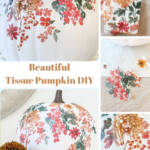
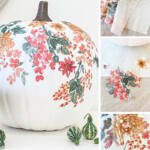
This is the easiest and prettiest pumpkin diy! With just a few items you can make a custom designed pumpkin for your fall home! Even if you are not crafty you can make this beautiful pumpkin!
Don’t you love fall?
I sure do! And I love adding fall elements to my home. I think my home looks best in the fall!
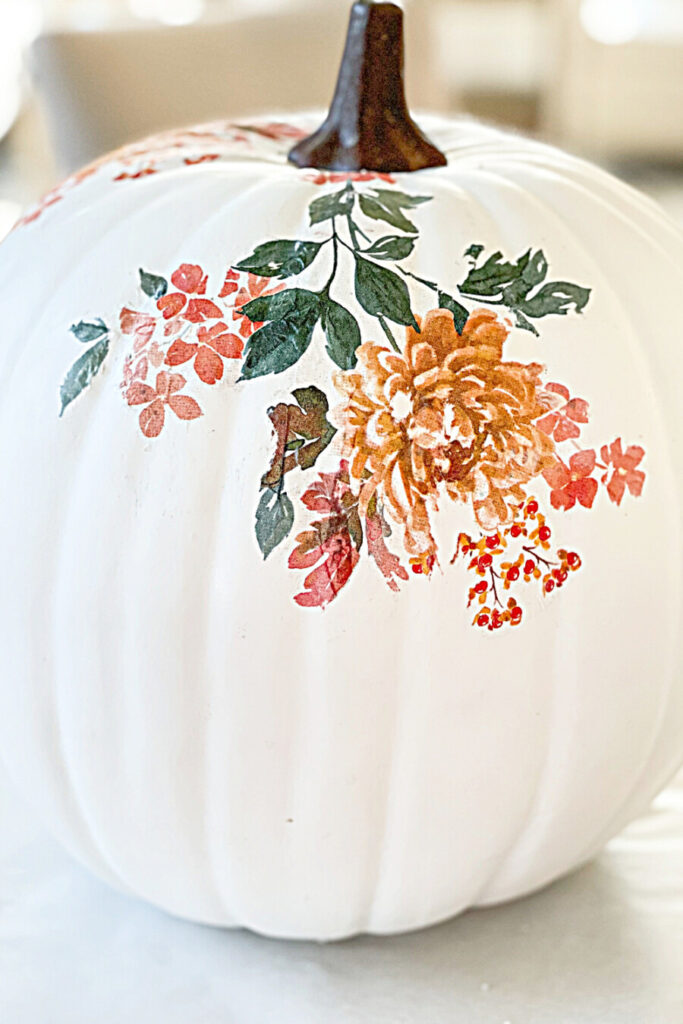
This pumpkin is really a show stopping addition to my fall decor! And it is so so easy to make!
I’ve been adding interesting and non-traditional fall colors to my home this year! You can see my Fall Home Tour HERE.
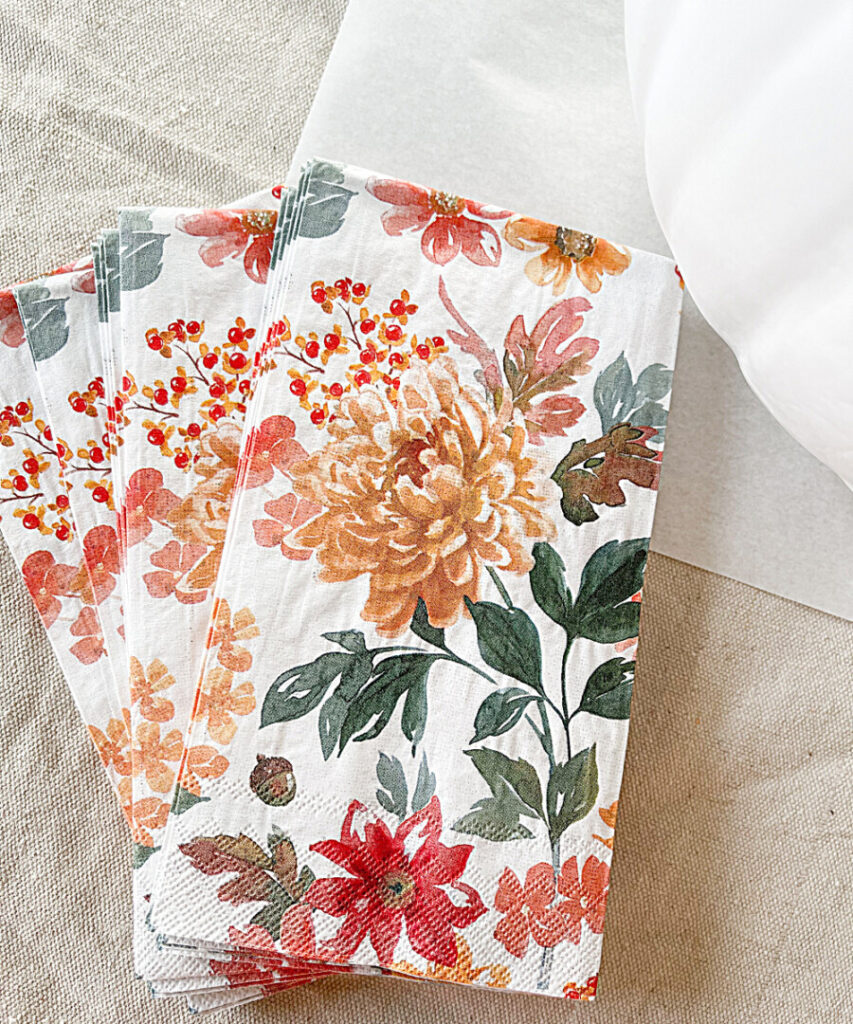
So when I saw the napkins I knew I wanted them to make a pretty tissue pumpkin!
As I was making this pumpkin my sister and my daughter called me and I showed them how I was transforming this plain white pumpkin into a work of art. They loved it! My sister asked if I had painted it!
I think I’ll make one for each of for them!
I just showed a picture of the pumpkin to my daughter-in-law Abigail and she thought I painted it too! Abigail’s getting a pumpkin too!
This post contains affiliate links. That means when you click on some of the links in this post and you make a purchase I earn a small commission at no cost to you. All my opinions are my own.
WHAT YOU NEED FOR THIS TISSUE PUMPKIN DIY
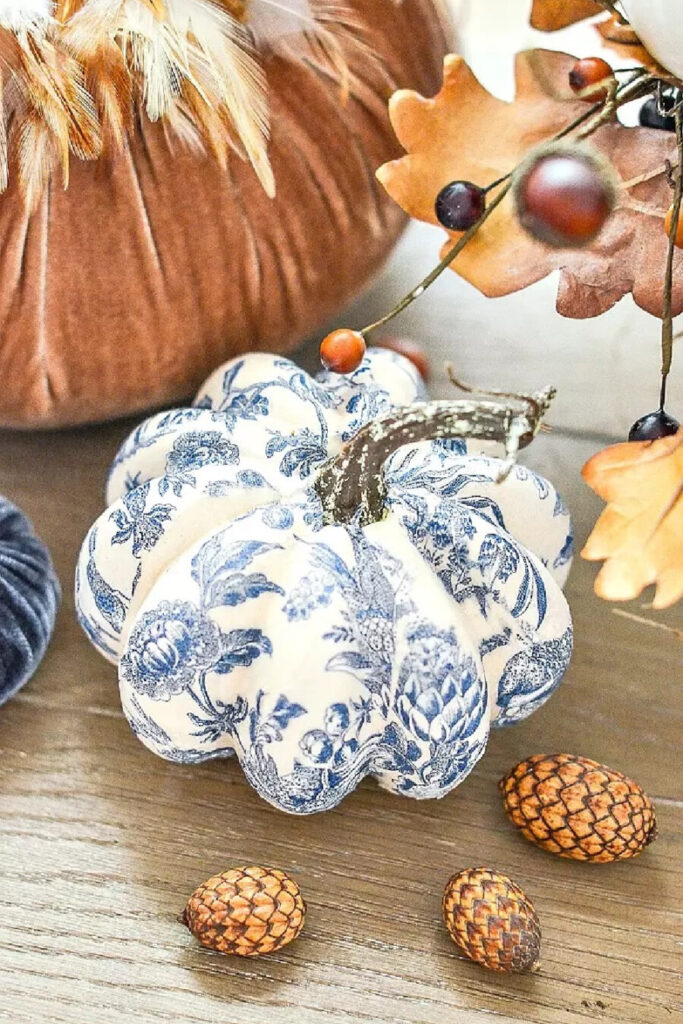
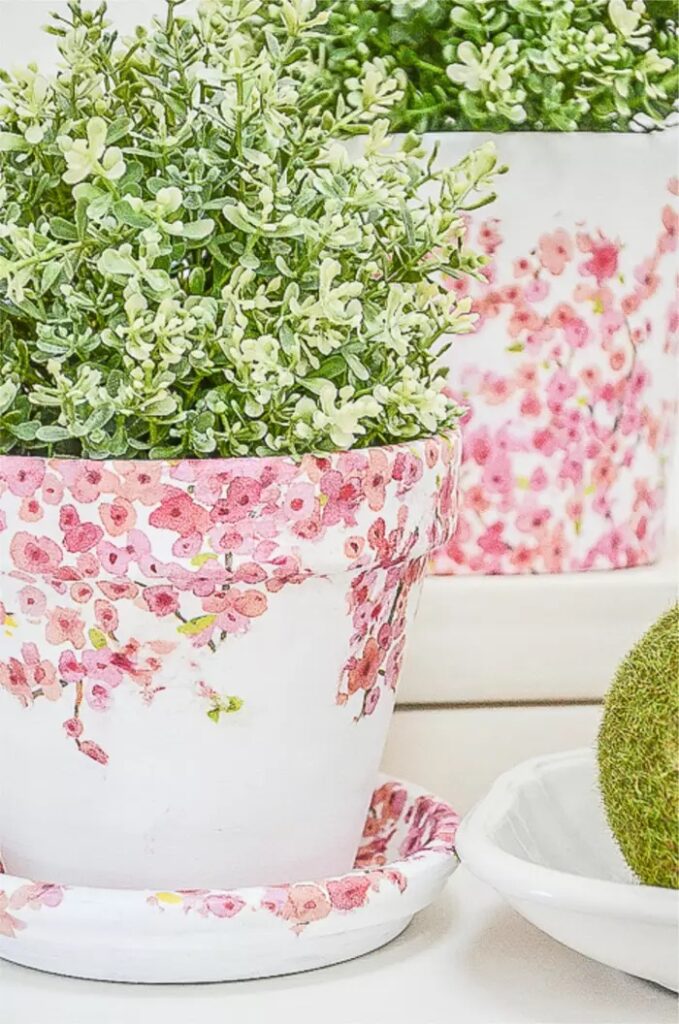
I’m wild about decoupaging pretty cocktail napkins onto things, especially pumpkins! I made Chinoiserie Pumpkins a few years ago and they were a hit on Pinterest! I’ve also added a cocktail patterned napkin to some little clay pots. You can see both of these diy’s at the bottom of this post.
Here’s what you need to make these delightful pumpkins…
- large faux pumpkin
- printed cocktail or guest napkins
- Matte Mod Podge- see it here
- scissors
- sponge brush or old brush
- paper towels
- container of water
THINGS TO KNOW TO MAKE YOUR PUMPKIN MORE SUCCESSFUL
Here are a few things to know that would make your tissue pumpkin more successful…
The first thing I did was to give my faux pumpkin a bit of a wash with soapy water, then rinsed it well and dried it.
This project works best with napkins with white backgrounds if you are using a white pumpkin.
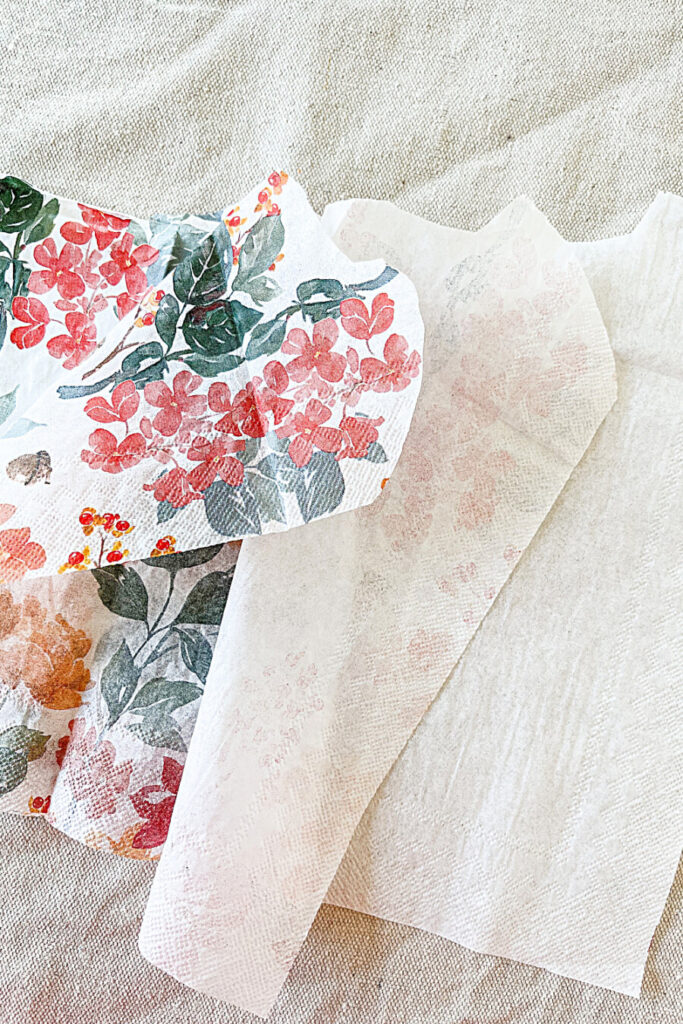
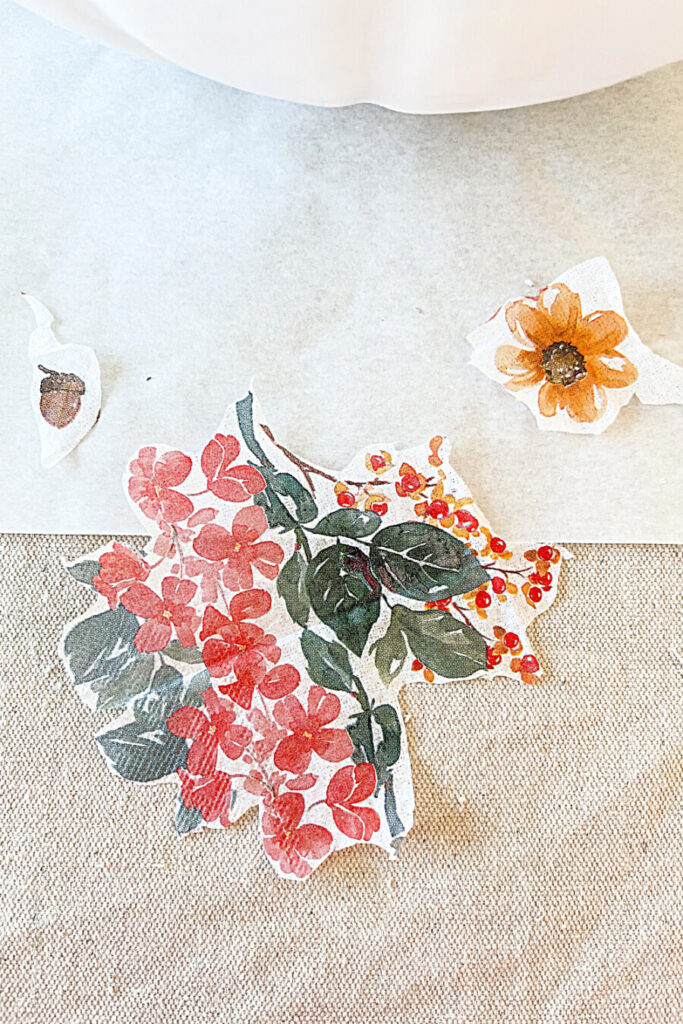
This pumpkin diy is an easy cut and paste project. Cut out the design on your napkin after you pull apart the different layers of ply. Only cut the printed ply.
The napkins I chose have a watercolor feel so any mistakes are hard to find!
Instead of cutting you can also carefully tear the napkin instead.
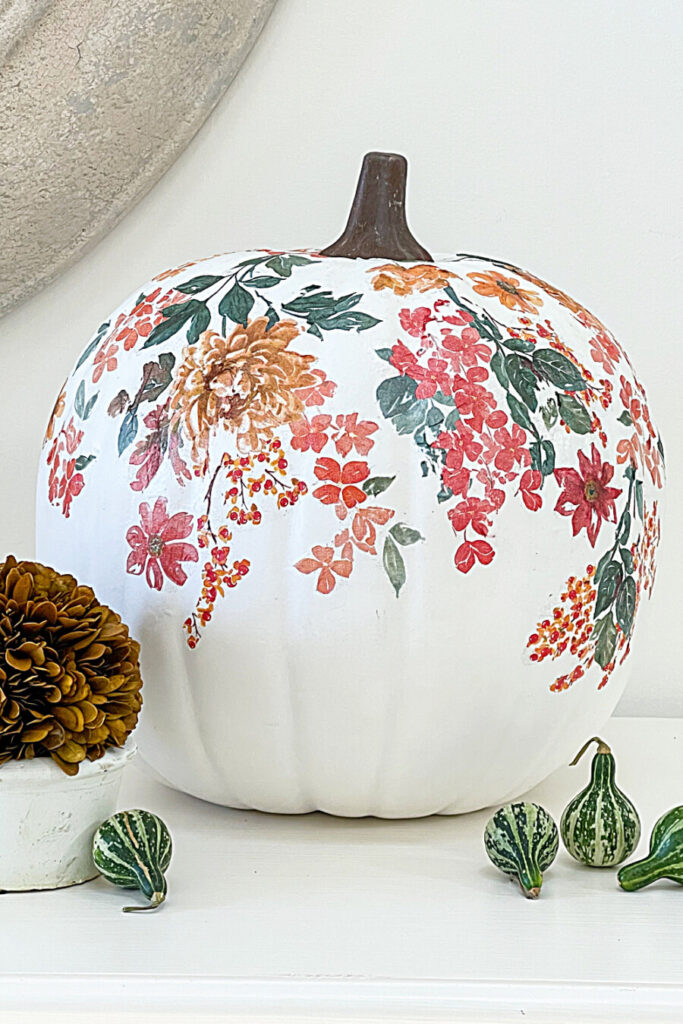
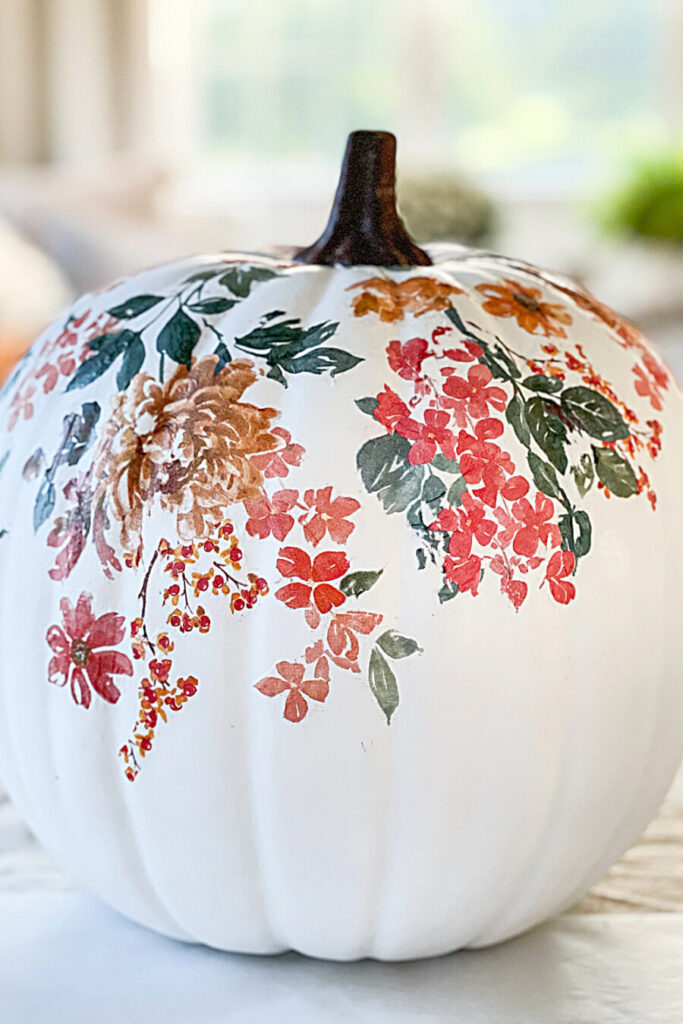
The goal is to make the design look like it is flowing or cascading from the top of the design down.
Put heavier and bigger flowers or design elements near the top of your pumpkin and more lacy or lighter elements at the end cascade.
Don’t overcrowd your design. Leave lots of white space.
The one-ply printed tissue is very delicate and can tear easily. Don’t let that worry you. If the tissue is not too badly torn leave it.
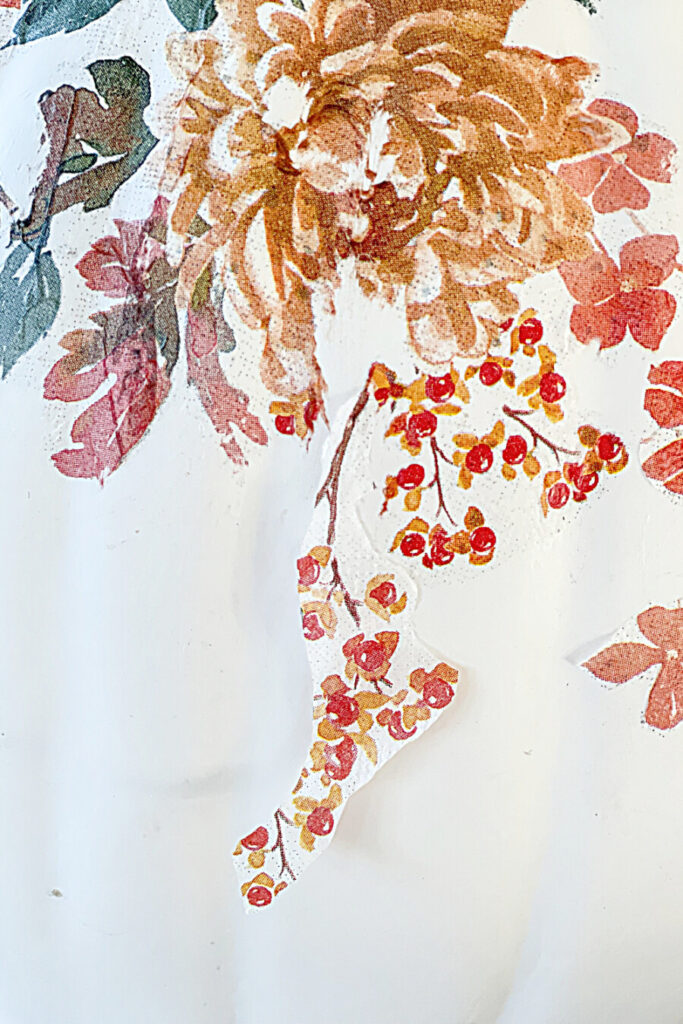
A ripped area of the design can be repairing by overlaying a cutout piece of the same design when it dries. Or remove it altogether and clean up the Mod Podge with a paper damp paper towel.
I would have not covered the hole in the image below but I wanted to show you how easily a tear can be repaired.

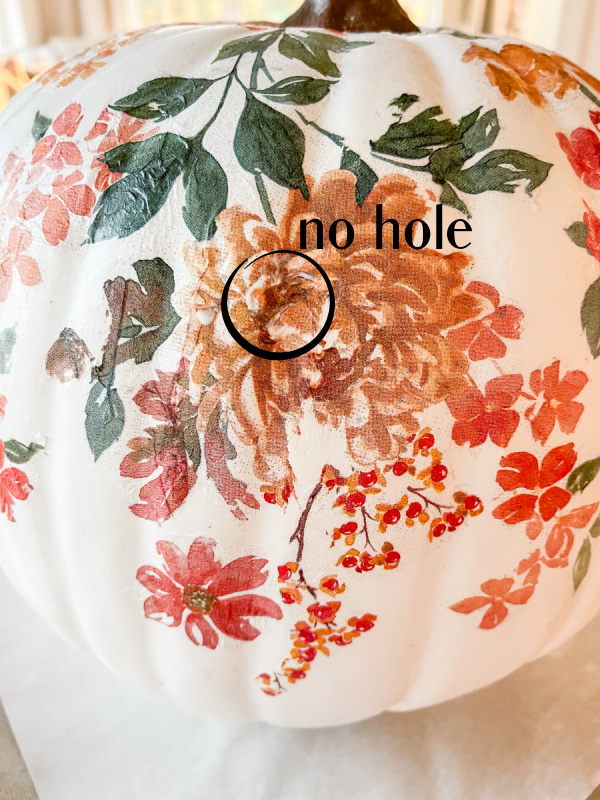
When you first lay down the design on the Mod Podge it will look lumpy and a little creased. Don’t worry it will smooth out a great deal when it dries.
Do not try to smooth out the tissue when it is first laid down on the Mod Podge and is wet. Wait a bit and go over the design with a finger dipped In Mod Podge and gently smooth out any big creases.
STILL MORE TIPS…
It’s best to use a cocktail or guest napkin that has a white background. My napkin had a white napkin but when I put Mod Podge on it tiny, tiny gray dots showed up all over it. They disappeared when everything dried.
Be careful as you apply your design to the pumpkin that you don’t touch any other area of the pumpkin that is wet.
Also, be mindful of the direction of your design. You don’t want a flower facing the wrong way!
I used the end of the napkins that had the perforated dots and they were not noticeable once the tissue was Mod Podged to the pumpkin.
This is not rocket science. There is really no right way to create your tissue pumpkin diy. Enjoy the process!
LET’S MAKE A TISSUE PUMPKIN DIY
Make sure your pumpkin is clean and dry before you begin.
PREPARING THE TISSUE
The tissue pumpkin diy hinges on how well the tissue is prepared.
- Separate the ply’s of tissue and set aside the printed ply. Discard the other tissue plys.
The ply of the tissue should be marked on the package the napkins come in so you know how many to separate.
I separated one napkin at a time. To decorate my white pumpkin I only used 3 guest napkins. You might not need more than a few to decorate your pumpkin.
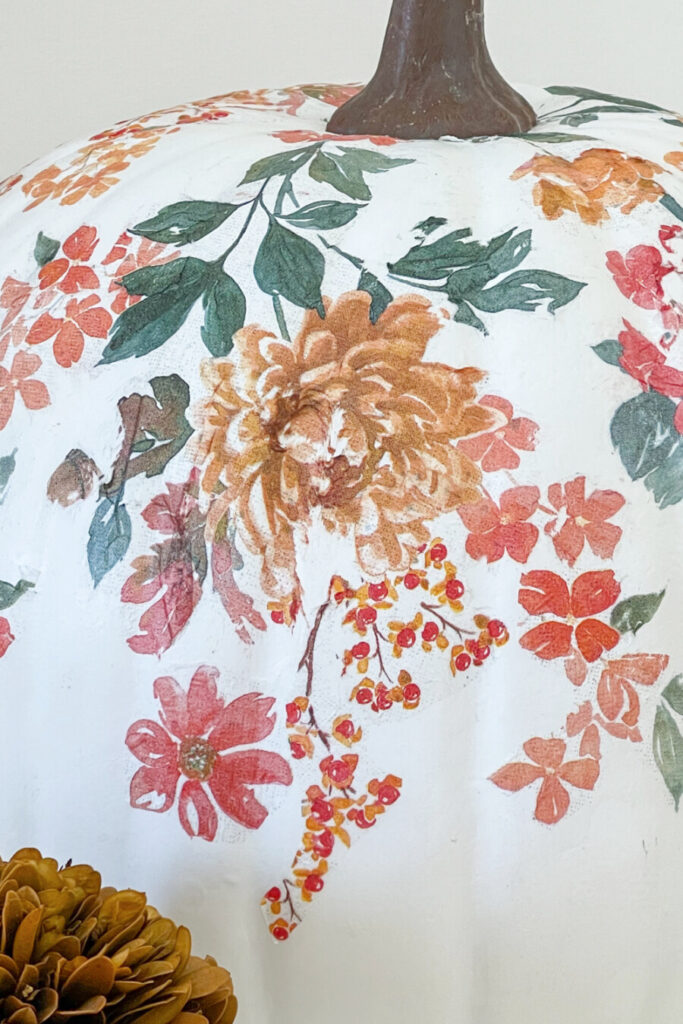
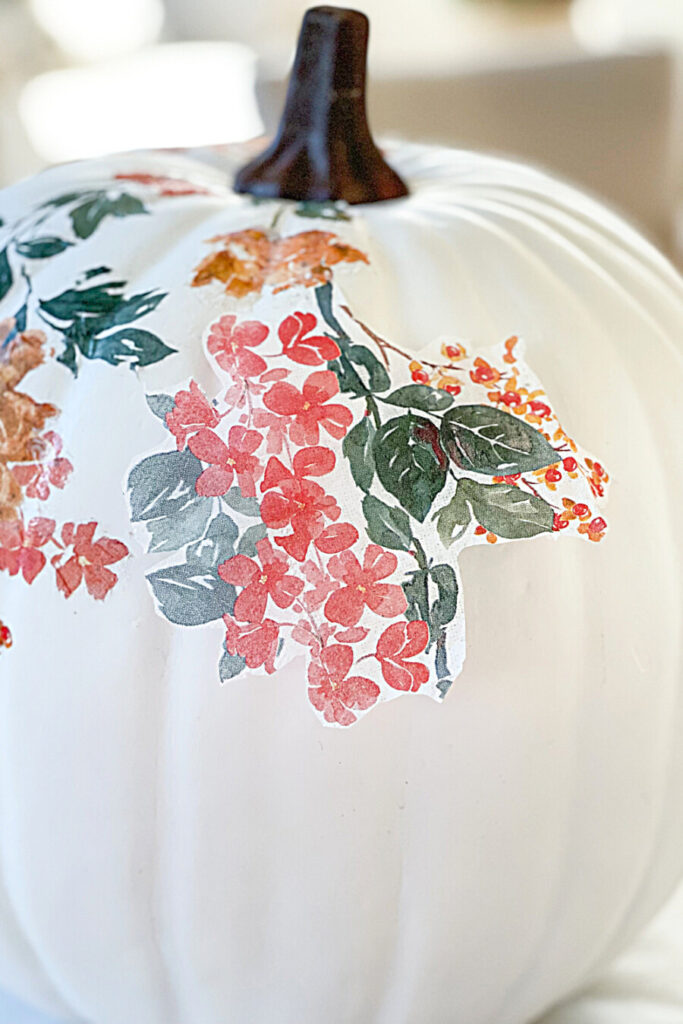
2. Cut out the designs on the napkin as needed. I started with the biggest design which was the big mustard colored mum because I wanted to use the heaviest and largest items at the top.
I also liked using some of the stems and leave attached to the flowers.
As I worked down the pumpkin I cut out smaller flowers and more open designs having more white space.
Don’t crowd the design. Use lots of white space in between.
ADDING THE DESIGN
3. This is the fun part.
To begin you might want to try adding Mod Podge and a “practice” flower to the pumpkin to determine the right amount of Mod Podge needed for your project. This practice flower can be cleaned off the pumpkin with a damp paper towel.
I cut out a large mum with the stem and a few leaves and added a small dab on Mod Podge to the top of the pumpkin near the stem.
Then I gently lifted the tissue up away from the pumpkin leaving the top of the tissue attached to the pumpkin and painted a coating of Mod Podge on the area where the tissue would lay.
I gently laid down the center of the tissue design and with a light finger tapped it down onto the pumpkin.
Then I gently smoothed down the rest of the design with my finger.
I often dipped my finger into the Mod Podge and smoothed down the tissue using a VERY LIGHT touch.
If the tissue tears don’t worry! Unless it is very damaged just leave it.
I continued to add to the design working down the pumpkin.
4. Then I continued to move around the pumpkin adding the design starting at the top of the pumpkin cascading toward the bottom.
The pumpkin looks best if the design at the bottom is longer in some parts and shorter in others. It gives it a flowing effect!
CLEANING UP YOUR PUMPKIN DIY
Here are some very handy tips to clean up your pumpkin!
This next tip made the tissue pumpkin diy so much easier!
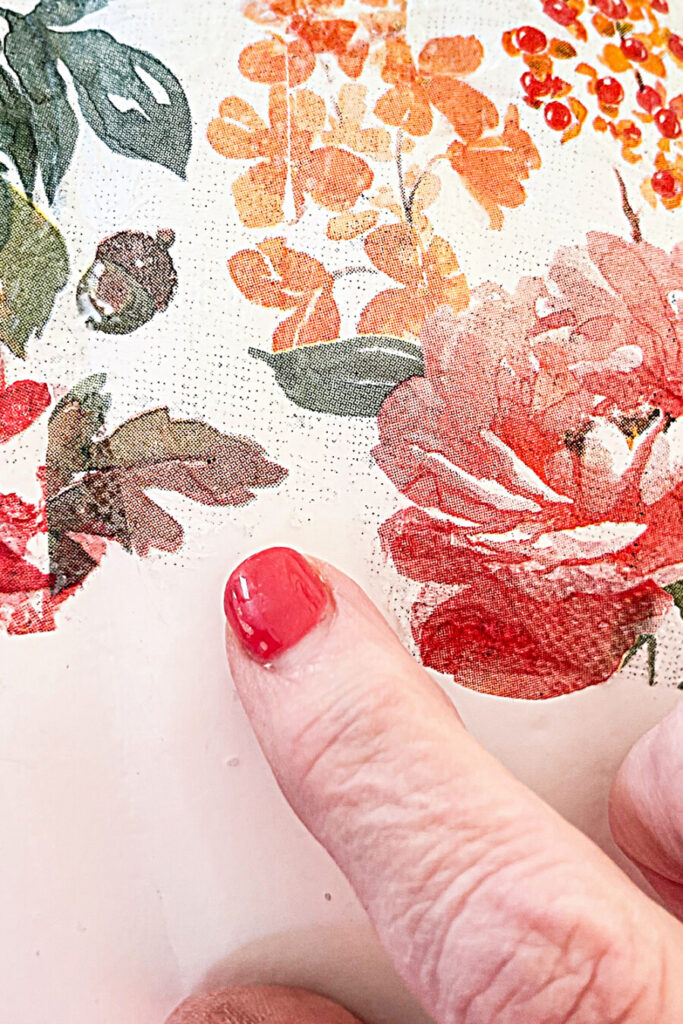
I found I could take my fingernail and rub or scrape off the excess white tissue around my design! Just make sure the tissue has had time to set a bit but the Mod Podge is still tacky.
(excuse the nail I get a manicure tomorrow)
So easy!
I got pretty good at using this technique and was able to make the design look quite crisp!
You can also rub a wet q-tip over an area you want to clean up.
DISPLAYING YOUR WORK OF A FALL ART
This pumpkin took me a couple hours from start to finish. How simple, right?
I hope you will make a pretty tissue pumpkin for your fall home!
You might also like…

So pretty! I have a set of glass pumpkins in rough shape – this project might be the way to refresh them for display. I must be the only person on the planet who hasn’t used Mod Podge, so this will stretch my creativity. Thank you for the ideas and helpful tips.
Looks beautiful!
Could you please tell us where we can find the beautiful print tissue napkins. Thank you
Also will you again be offering a home design class in the future?
Love your website and design
Warmly
Linda Muller
Hi Linda, I found these napkins when I was grocery shopping. Sorry, I don’t have a source. I’d look on Amazon for pretty cocktail and guest napkins.
You can find beautiful cocktail and guest napkins at Dollar Tree!
Thanks for the tip, Jane!
Wow, that is beautiful and unique! I’m preparing to host a Fall Afternoon Tea and these would be lovely additions to my decor. Thanks for all your wonderful and not too difficult crafts!
You could make a pumpkin using the same napkins you use on your table. Have fun!
These are beautiful Yvonne! I’m going to have to try.
I’m so glad. These pumpkins are so easy to make!
Love your napkin selection, which provided a gorgeous result. I’ve Mod Podged some pumpkins in the past using napkins, but like the way you arranged your flowers and want to try that. Thanks for the inspiration.
Hi Teddee, Thank you! So nice to hear from you.
So lovely! Thank you so much for the very clear and detailed instructions. I have been thinking of using napkins to make greeting cards, or cover boxes for gifts, etc.just haven’t done it yet. All your helpful tips will mean I’m more likely to succeed rather than fail. ?
Those ideas sound fabulous!
This is a lovely tissue paper mod-podge pumpkin! And it looks perfect with your fall decor this year! Pinned!
Thanks my friend!
I’ve seen a lot of tutorials where people used saran wrap to cover their work as they smoothed it out to keep from tearing. Have you tried this?
Oh, wow! Great ideas Sharon!
What a clever idea! I love decoupage but it’s been ages since I have done any. This may be the next craft I pick up this week. I love the final outcome.
Thanks, Autumn!
Do you know what napkins you used? They are beautiful and I would love to use the same! Thanks for sharing all of your wonderful ideas!
I love this! Heading out to purchase supplies today. Thank you for the inspiration!
Yvonne, I have been looking at your easy to follow instructions and materials list since the post you did on the flowerpots. I am finally motivated to head to Michaels today to get my supplies. This pumpkin is stunning and hopefully as foolproof as you say. Thanks for the inspiration!
Can you use a real pumpkin.?
Yes, but remember the pumpkin will only last a little while.