Patterns Painted On A Pumpkin DIY
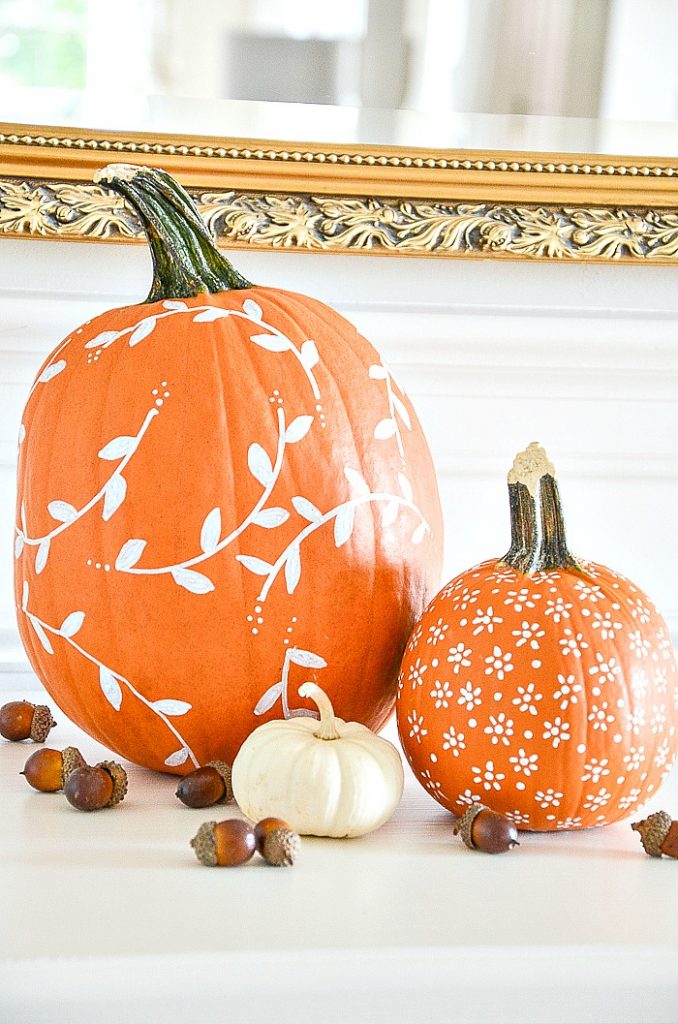
I just L-O-V-E when a little project I have in my head comes out 100 times better than I thought it would. And I thought this fun white painted pumpkin diy would be amazing! And it was! Times 100! The pumpkins are so easy to paint. You do not need to be crafty or artistic to make these beautiful pumpkins! Ready, let’s make some for our homes this fall!
Today is 20 MINUTE DECORATING and my blogging friends and I are sharing so many great ways to decorate your home in the time it takes to watch the commercials in one hour of TV! Honestly, how easy is that?
A big thank you to Lory at Designthusiam for organizing us.
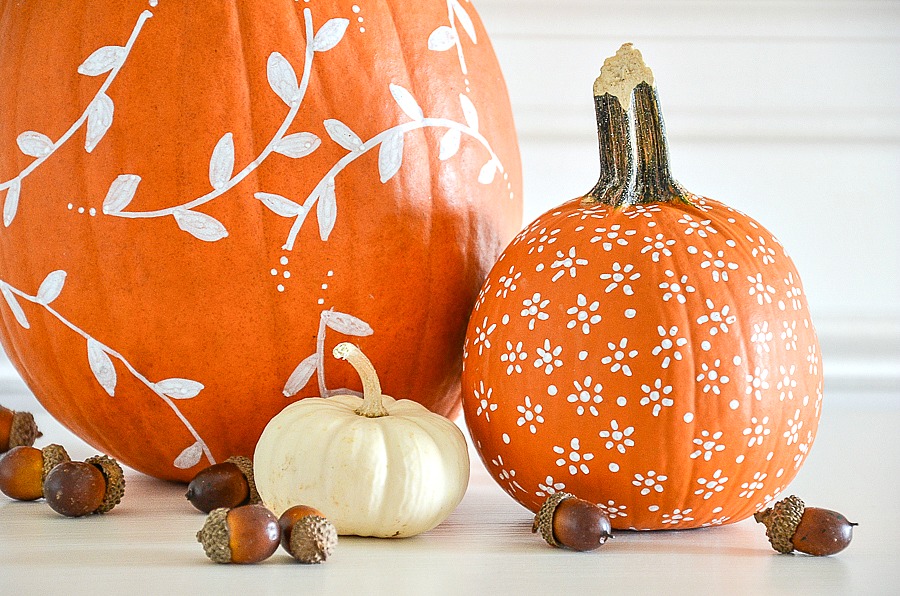
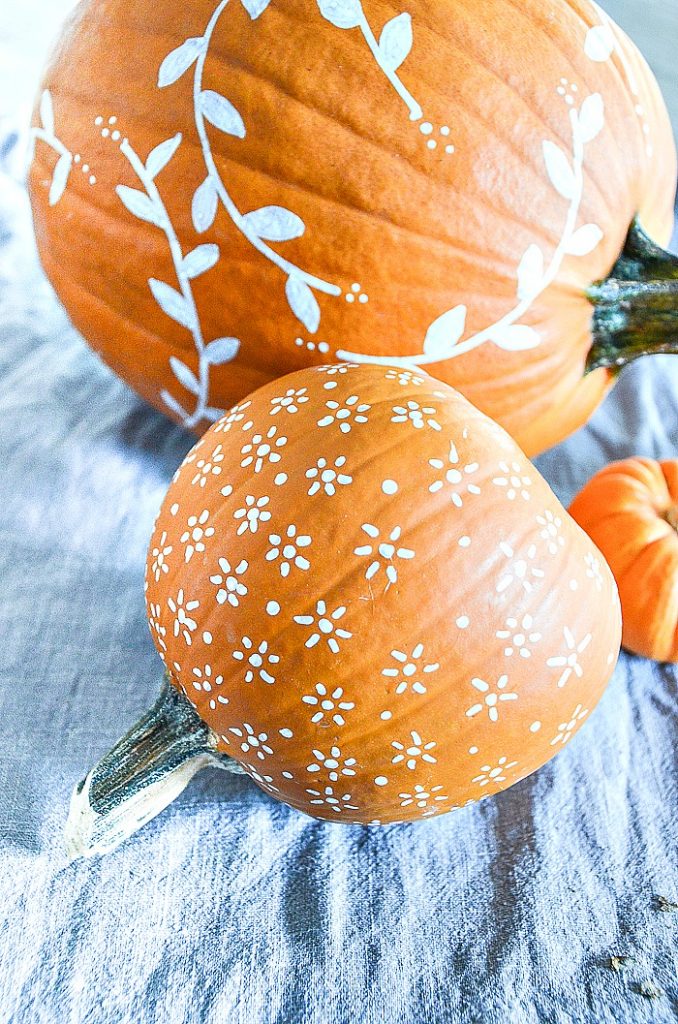
This is a fun and so so easy way to decorate pumpkins. Instead of carving a pumpkin or painting a face on a pumpkin you can create gorgeous motifs and patterns on a pumpkin for a real designer look!
Just think of all the ways you can decorate pumpkins for your fall decor!
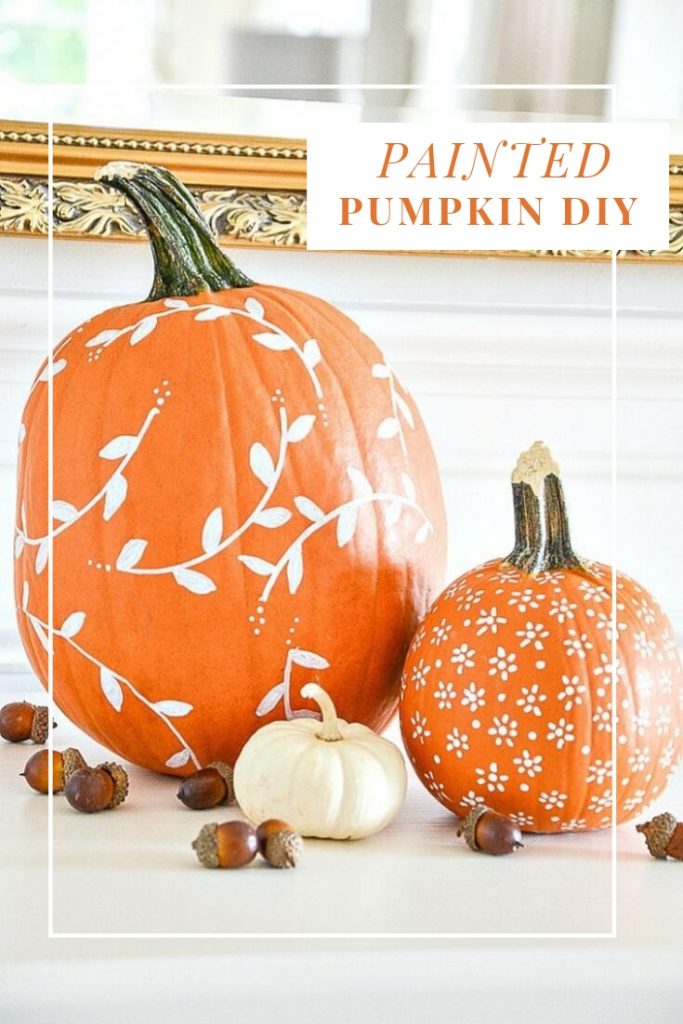
The little flowered painted pumpkin took under 20 minutes to create and was very addictive! I could have gone on and on making little flowers!!!!
The leaf design took a bit longer and was even more fun!!!!
I hope you will give these upscale pumpkin diy a try!
HERE’S WHAT YOU WILL NEED
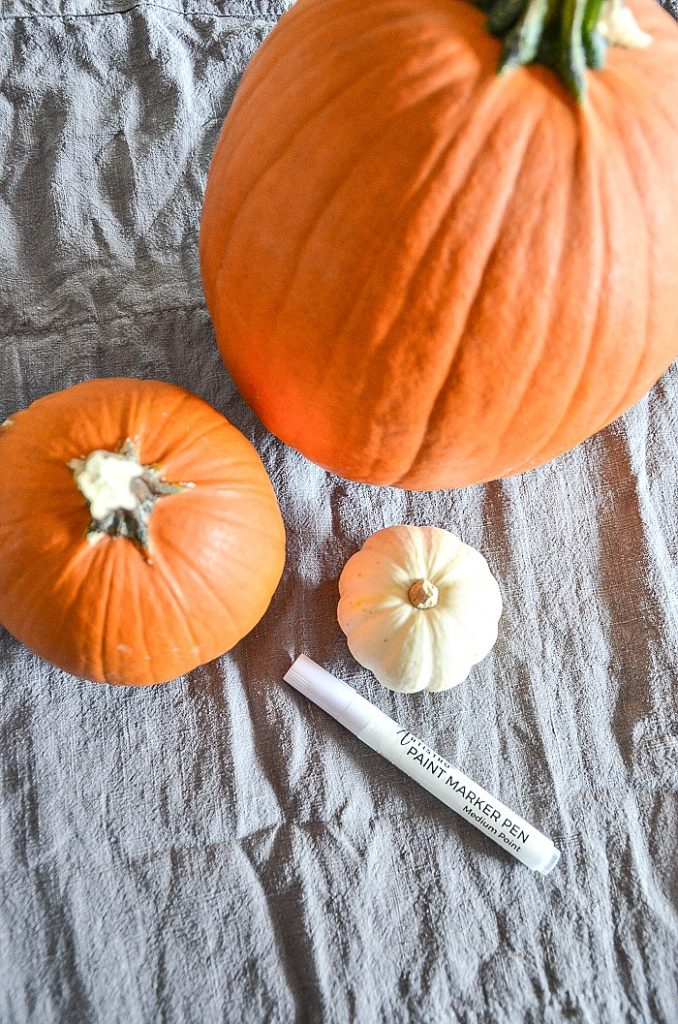
- pumpkins without deep ribs
- medium tipped acrylic paint pen markers HERE FOR A SET
- plastic lid for making the curved vine
PAINTED PUMPKIN DIY INSTRUCTIONS

This is such an easy painted pumpkin diy!
Clean pumpkins in sudsy water and rinse. Dry completely before beginning this project.
Because I did not know what pattern I wanted to create on the little pumpkin I experimented on the bottom of it. If you are using waterbased markers they will wash off if you want to experiment or if you make a mistake.
To clean up a mistake use a damp Q-tip. And wait for the area to dry to paint it again.
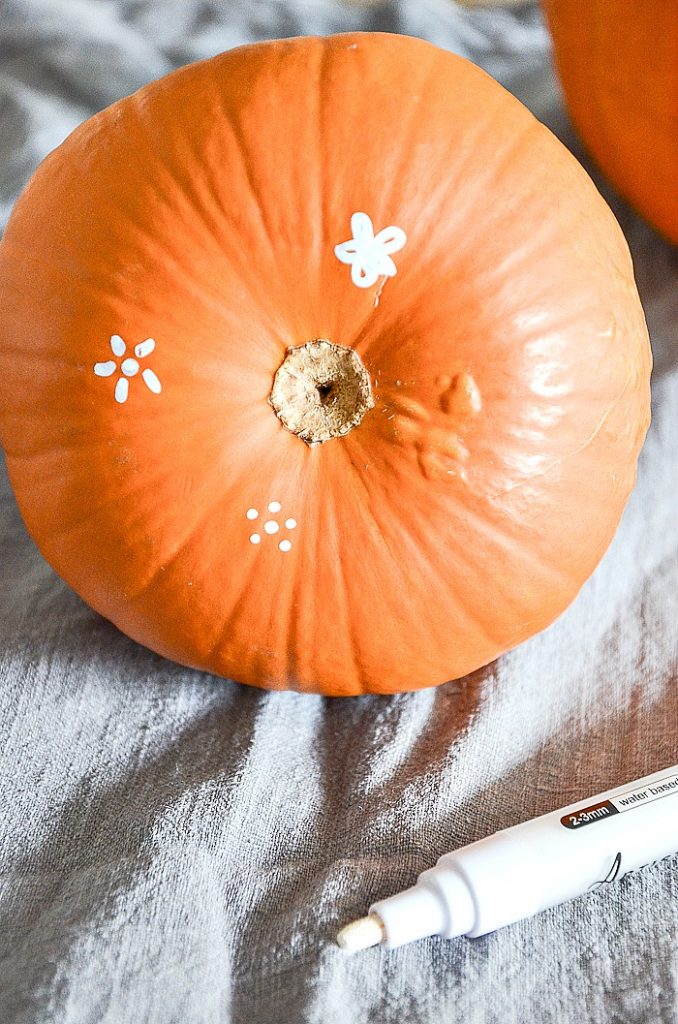
I chose a little stylized flower for the pumpkin’s overall look. Here’s how I made it…
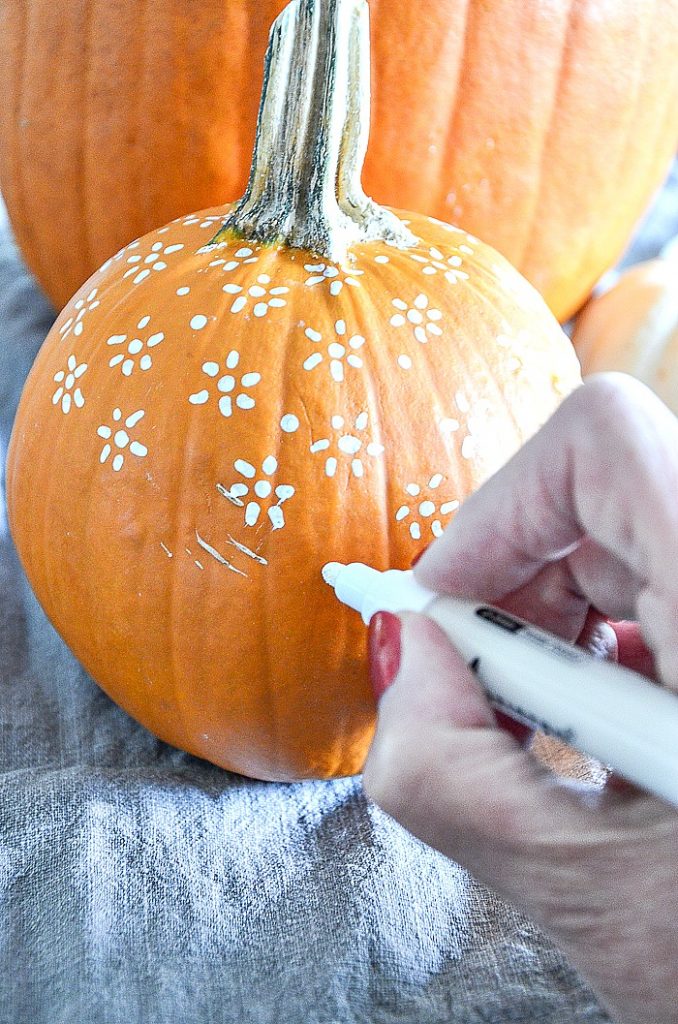
- a center dot and six little strokes around the dot.
- this was not rocket science so I did not get concerned if a flower came out a bit extra stylized!
- I added dots in between some of the flowers so the overall pattern looked more cohesive
It is important to work on a section of the pumpkin at a time. The acrylic paint pen dries fast but you don’t want to smudge your work.
What cute little painted pumpkins!
VINE AND LEAVES PUMPKIN DIY
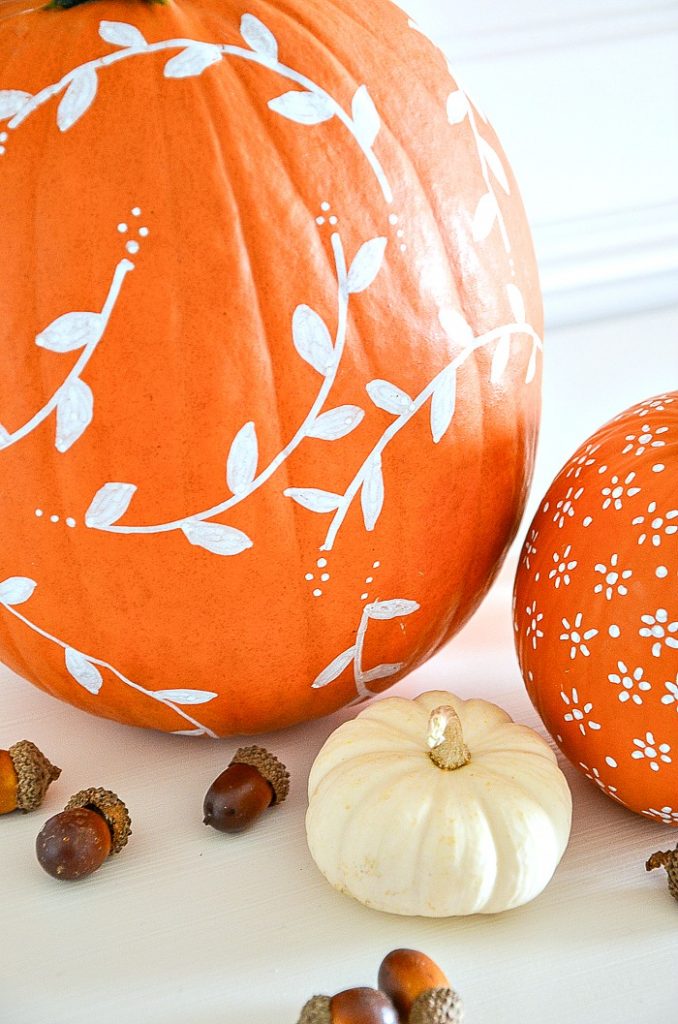
The taller vine and leaves painted pumpkin was just as easy to make. It only took a bit longer.
The great thing about these painted pumpkins is you can work on them and stop and then come back to them again. This is especially nice if painting the pumpkin takes a little time.
Here’s how to make this pumpkin…
Use a lid of a plastic container (because it bends easily) to trace an arch onto a pumpkin.
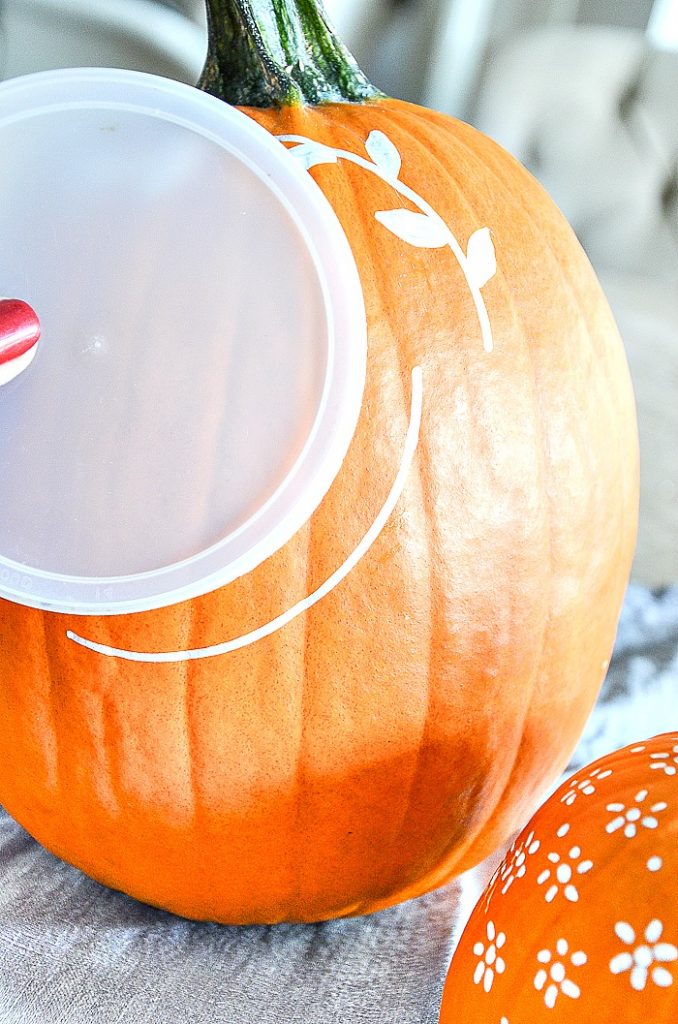
Wait a just a minute to make sure the vine was dry and then draw leaves along the vine and color them in as shown. At the beginning and end of each vine, I add a few dots to add a pretty look.
Continue to create vines positioning them differently around the pumpkin. Add leaves going in different directions too!
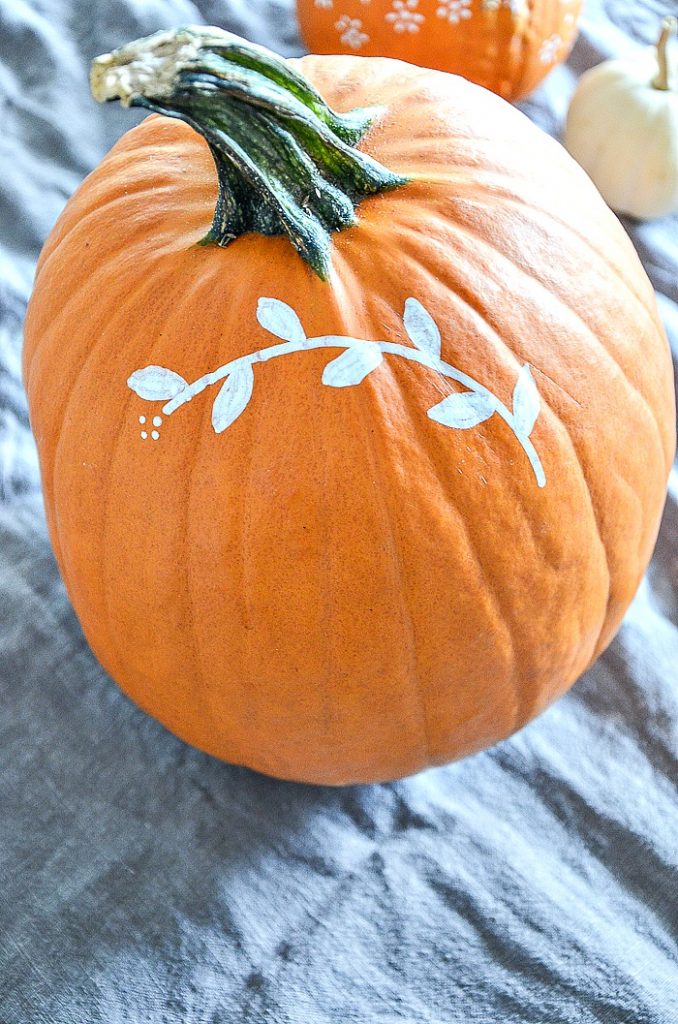
Easy, right?
Just think of all the fun ways you can decorate pumpkins. You could use real or faux pumpkins! Orange or white or any color in between.
And think of all the really pretty patterns you can add to a pumpkin that will give it a designer look!
If you like the white painted pumpkins you might also want to check out…
- PUMPKINS IN VELVET
- BEAUTIFUL BLUE AND WHITE CHINOISERIE PUMPKIN DIY
- HOW TO GILD A PUMPKIN
- 100 WAYS TO USED PUMPKINS IN YOUR FALL DECORATING
Please visit my blogging friends and see what great 20-minute decorating ideas they are sharing today…

On Sutton Place | Cozy Fall Kitchen Decorating Ideas
Shabbyfufu | Glitter Candles & Pumpkins
StoneGable | White Patterned Pumpkin DIY
Designthusiasm | Fall Guest Bedroom Ideas
French Country Cottage | 20 Minute Autumn Patio Decor

This post contains affiliate links.


Hello sweet friend – I simply adore this. ❤️
Hi Barb! I am so thrilled to hear from you!!!!!! Hope all is well. xo
Love this idea!? Thanks for sharing!
Hi Chris, I hope you will give it a try!
This is an easy and adorable idea! I plan to try it.
Ooooh! I’m thrilled! You will love this fun fall diy1!
Yvonne, these came out fabulous! I would never have thought to use a paint pen. What a great way to simplify a painted project!! They look awesome!
Such a sweet project and I may have to try it over here!
Yvonne,
I follow you religiously and use your inspiration over and over in my home. Your style is totally me. I am single, 66 years old and still working, living in my great grandmother’s 107 year old home, and your ideas are often a perfect fit. I’m longing for the days when I will have more time to focus on all things home and leave the corporate world behind. Finances are tight, so I am not able to splurge on decor, but an occasional purchase does happen! I just opened a package from UPS that contained the wool Buchanan throw you use in so many photos. I’t been on my want/need list for several years. 🙂 thanks for the joy you bring to my little part of the world here in the midwest.
Hi Kay! That throw will be a favorite of yours for years and years!
I love seeing this new DIY on the blog! So easy, and pack a punch for fall season decor! Pinned!
Oh, and by the way, you are one of my features this week at TTA! 😉
THanks, friend!
I can hardly wait to get to the store so I can try this. We have National Night Out at our home this evening. I’ll have the cutest pumpkins on the block!
What a simple but beautiful way to dress up pumpkins. I love the different patterns you chose. Just lovely!
I made one of these painted pumpkins this afternoon and it is adorable! Thank you for sharing – I’m hooked and can see myself doing this year after year after year!
Hi Penny, I’d love to see a picture! I’m so glad you tried this fun fall diy!
Theses pumpkins are the cutest,I will have to try this.
Very nice!
Oh this is so simple and fun! I love to paint pumpkins with the kids but hadn’t thought about using paint pens. Can’t wait to try this out. Saw your post on homestoriesatoz link party—thanks for sharing!
Love this! You were my favorite pick for Waste Not Wednesday this week.
You are one talented lady, very creative! I love all your decorating ideas, your home is beautiful! Thank you for inspiring me. ?
Really cute and I have to try it. Hope my leaves turn out half as good as yours! Thanks
They will! So easy!
Absolutely gorgeous! I was blown away when my son and two of his friend helped me decorated pumpkins last year. I had a little bit of everything, from google eyes to pinning leaves from the yard on the pumpkins. I wish I had taken pictures. After the coronavirus, hopefully I can get them together and do that again. It was funnnnnn!
What a wonderful memory, Ivory!
That lid tip is a good one Yvonne! I was glad to see you didn’t use a paint brush and used markers. I think the markers could give a not so steady hand a better looking design.
Pumpkins last year were so expensive. Curious to see what we get this year. Wish I had room to grow my own.
I’m so ready for fall already. Looking forward to more fall ideas before things get to be short on supply.
We grew our own for decades. And when we threw them away the next spring pumpkins were growing from our compost.