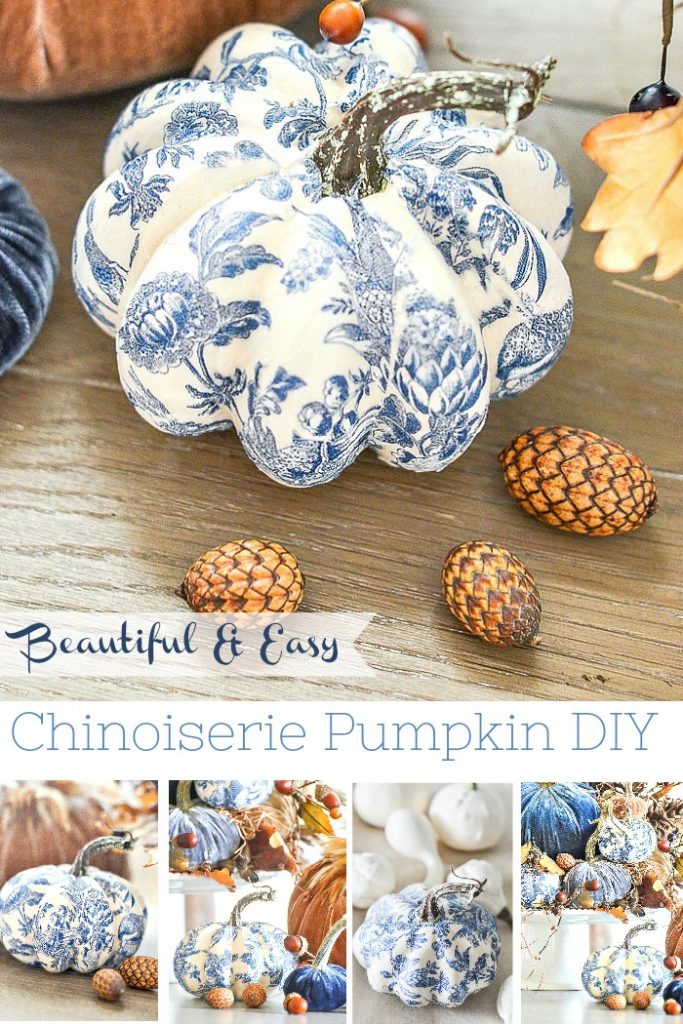
Beautiful Blue And White Chinoiserie Pumpkin DIY
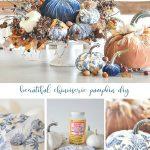
Chinoiserie pumpkins are a beautiful addition to fall decor and they are sooooo easy to make! You really don’t need to be crafty to make these blue and white pumpkins! All you need are three things to create these stunning little pumpkins!
This post contains affiliate links.
Yup… three! Small faux white pumpkins, Mod Podge and cocktail napkins! In no time you can have a pumpkin patch of the most stunning chinoiserie pumpkins!
I made the instructions for these really beautiful blue and white pumpkins very detailed. I am holding your hand and cheering for you! I’m so excited for you to make these pretties!
These pumpkins came out even better than I thought they would. Here are a few things to help make your chinoiserie pumpkins amazing!
- use matte Mod Podge
- remember to remove the pumpkin stem before you begin and put it somewhere you can find it
- this diy is not rocket science so don’t get stressed!
- if the tissue tears don’t worry just paste it back on
- I used one napkin per these pumpkins. The size of the pumpkin will determine how any napkins you will use.
- the tissue can get sticky and lift so don’t handle Mod Podged tissue
- Don’t drench the pumpkin or napkin with Mod Podge. Make sure you have a nice even layer.
- I put my pumpkins in progress on a piece of wax paper so they would not stick to my working surface
- make multiple pumpkins at a time so you are not handling wet Mod Podged pumpkins
- put your paintbrush in a glass of water during Mod Podge drying times
- if the chinoiserie paper seems a little bit wrinkled after applying Mod Podge, don’t worry. Those wrinkles will be barely noticeable when dry
- have fun!!!!!
MATERIALS
- use white pumpkins (I got mine HERE and HERE)
- matte Mod Podge (HERE)
- cocktail napkins (HERE, HERE and HERE)
- paintbrush
- scissors
LET’S MAKE BLUE AND WHITE PUMPKINS
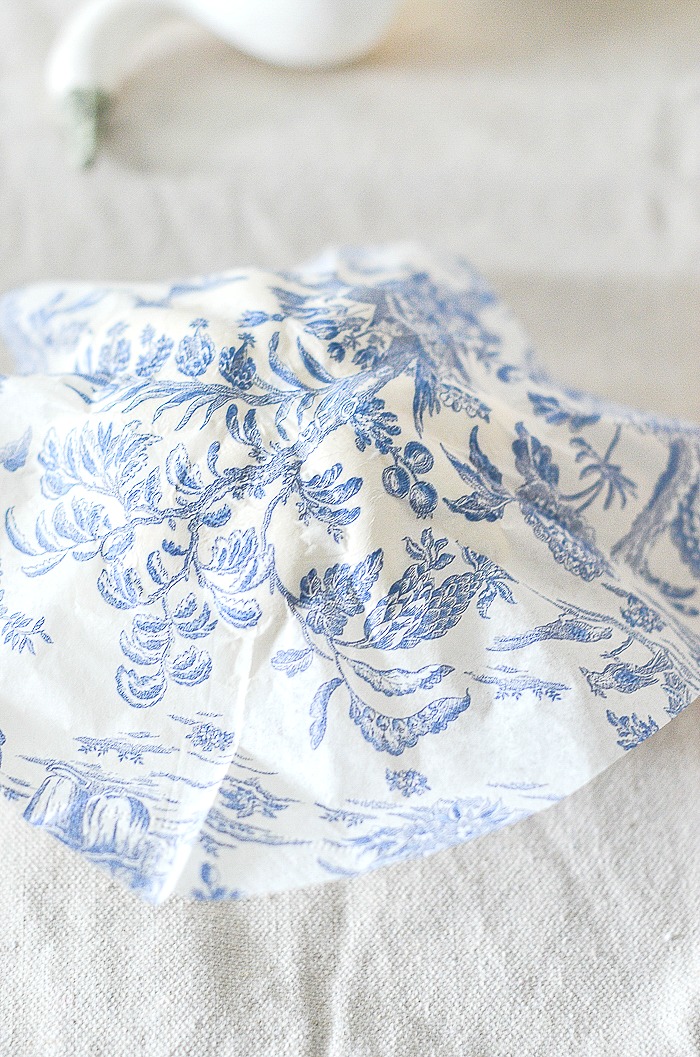
First, cut the cocktail napkin to make a circle as shown below. Make the circle about 2/3 the height of the pumpkin.
The napkin I used was 3 ply. Separate each ply and only use the top layer printed with the chinoiserie pattern.
Remove the pumpkin stem. Just pull and it will pop right out! This will make it easy to lay the napkin over the top of the pumpkin preserving the chinoiserie design.
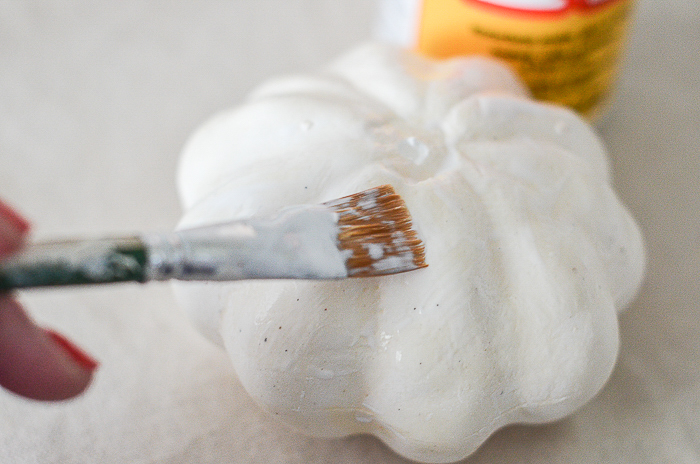
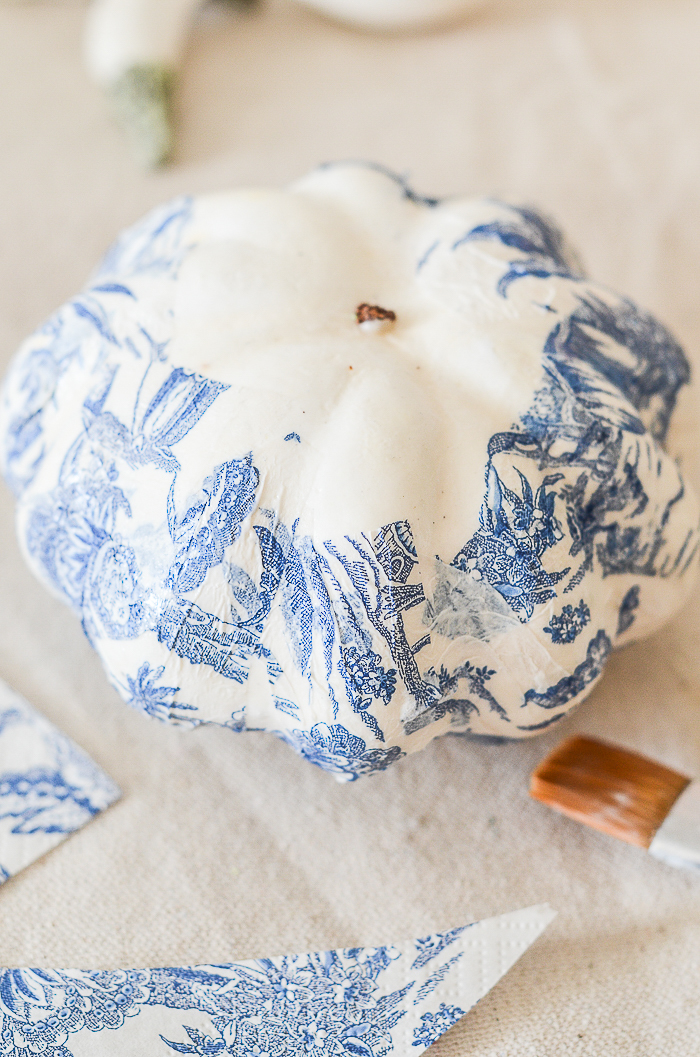
Paint Mod Podge over the top 1/3 of the pumpkin. Again, don’t worry if the tissue tears, just position it again.
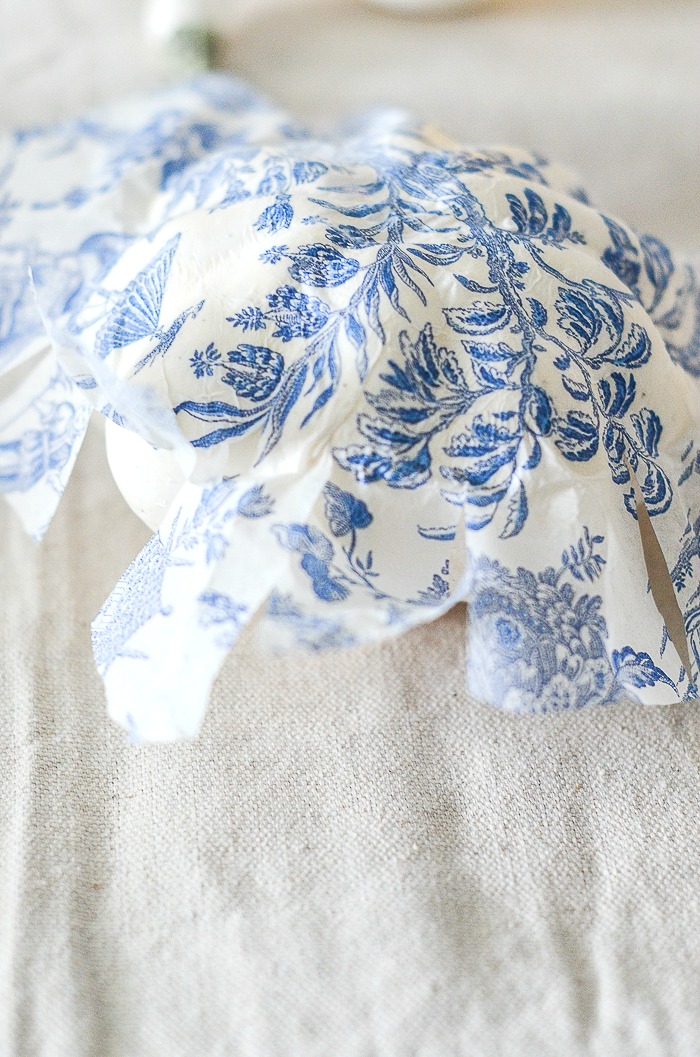
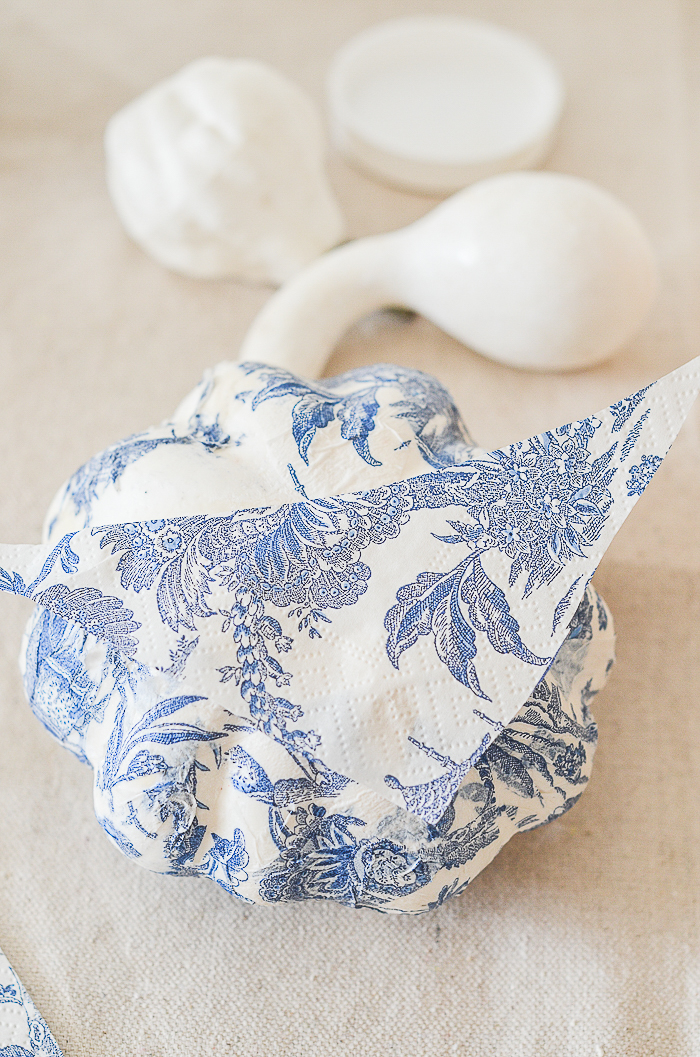
Lay the chinoiserie tissue over the top of the pumpkin with the middle of the circle over the hole where the stem was.
Paint Mod Podge over the top of the tissue and gently press down. Only paint over the tissue as far down as it has adhered to the pumpkin.
Here’s another big hint. I use a little bit of Mod Podge on my finder and smooth out any wrinkles. The tissue is delicate so don’t rub it too hard. If it tears no problem, put a patch of chinoiserie paper over it.
Using scissors cut the tissue that is not glued down into strips.
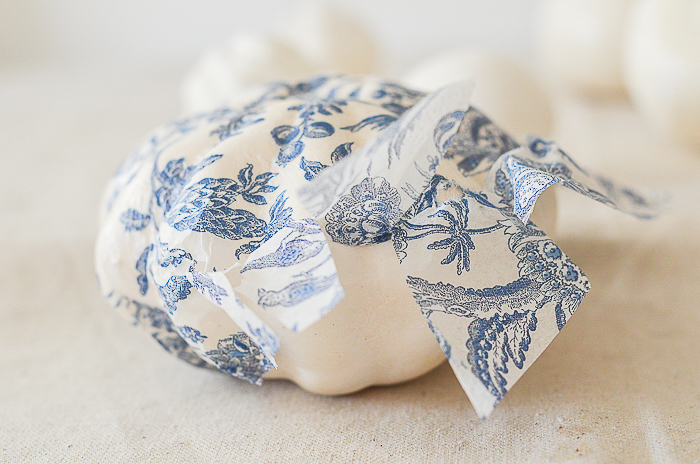
One by one, paste each strip down to the pumpkin. Add a little bit of Mod Podge to the pumpkin and then smooth the tissue down on the pumpkin using your brush and finger with more Mod Podge.
The strips will overlap a little and you can cut any excess off as you go along. What makes these pumpkins so beautiful is that most of the pattern is intact and not patchworked together.
Once all the side strips adhere to the pumpkin and it is dry, turn it over.
Cut and rip the tissue into a shape that will fit 1/2 of the bottom of the pumpkin and adhere using the same process above. Finish the final piece of tissue the same way.
I first cut a piece of tissue a little larger than I needed and then tore the edges to fit.
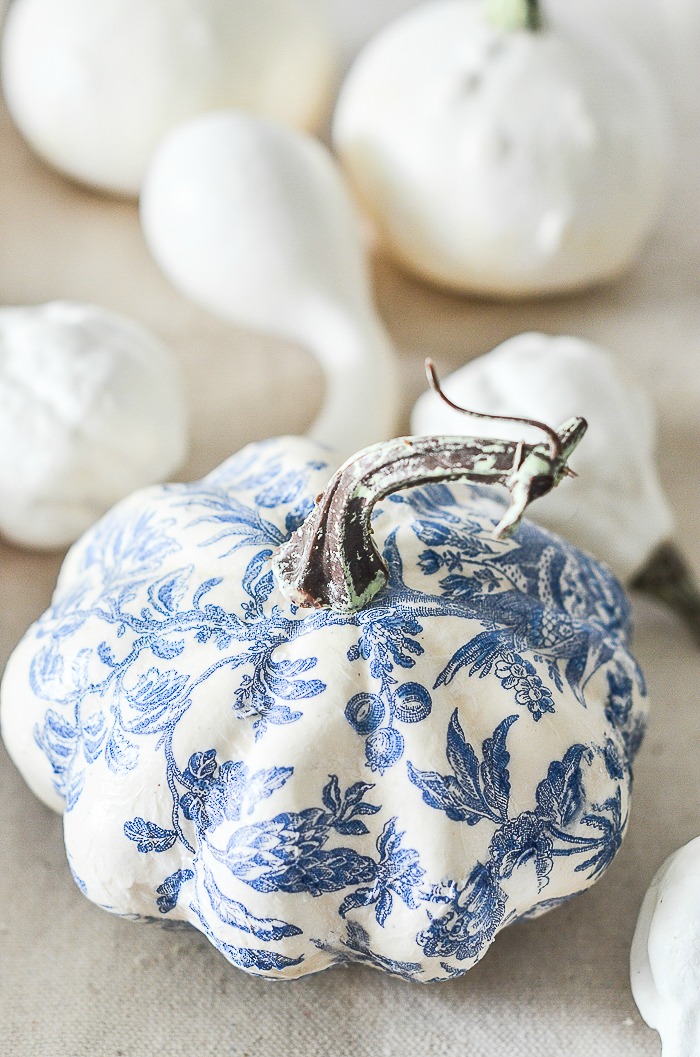
Let the chinoiserie pumpkin completely dry. I poked through the hole through the chinoiserie paper in the top of the pumpkin with the back of a small paintbrush and then put the stem back in.
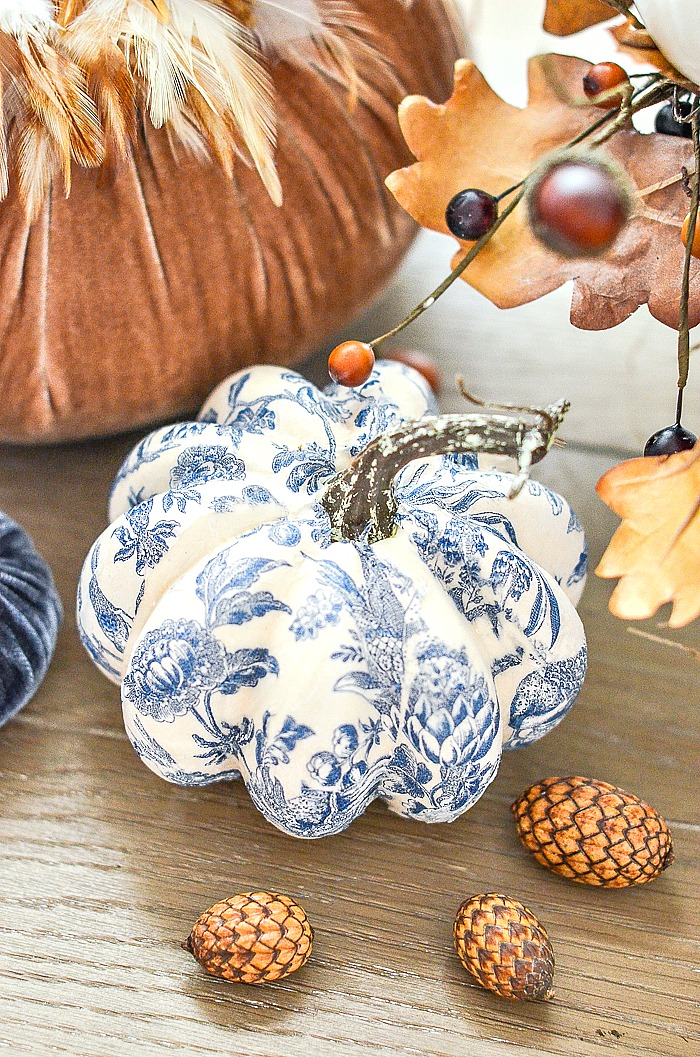
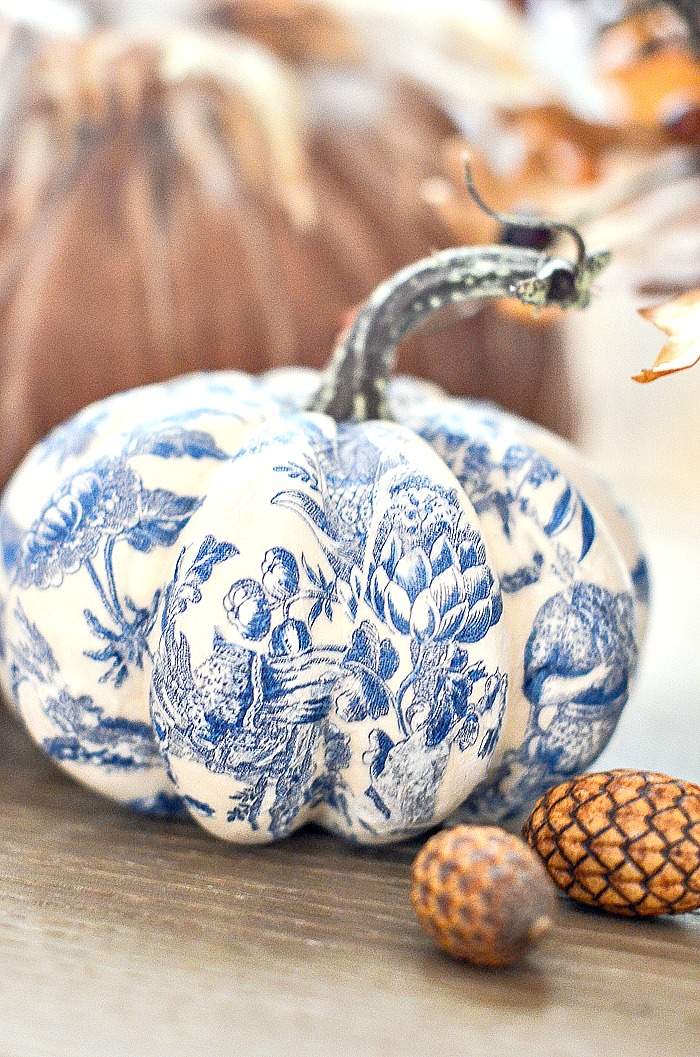
Notice how beautiful the top of the blue and white pumpkin looks! The chinoiserie design is totally intact! This diy is so easy-peasy!
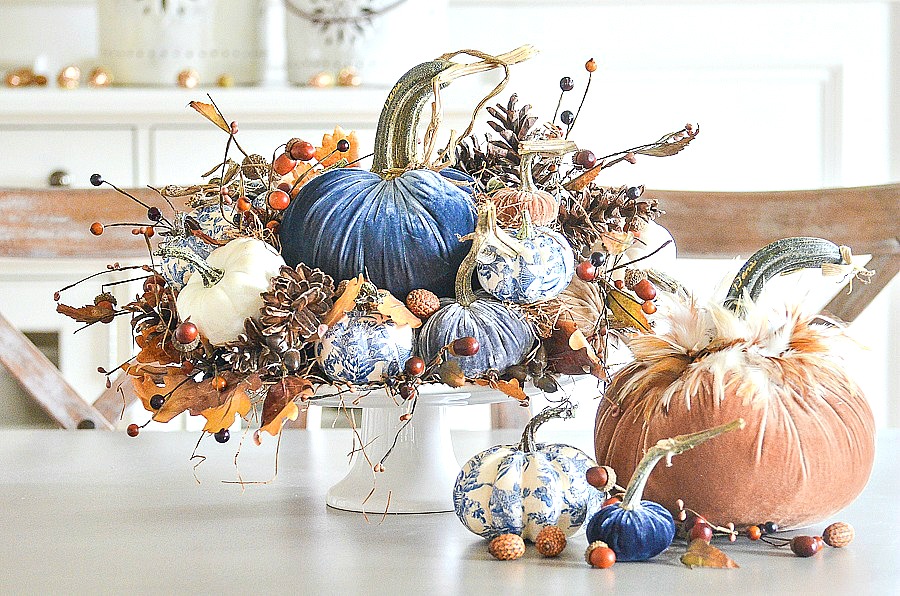
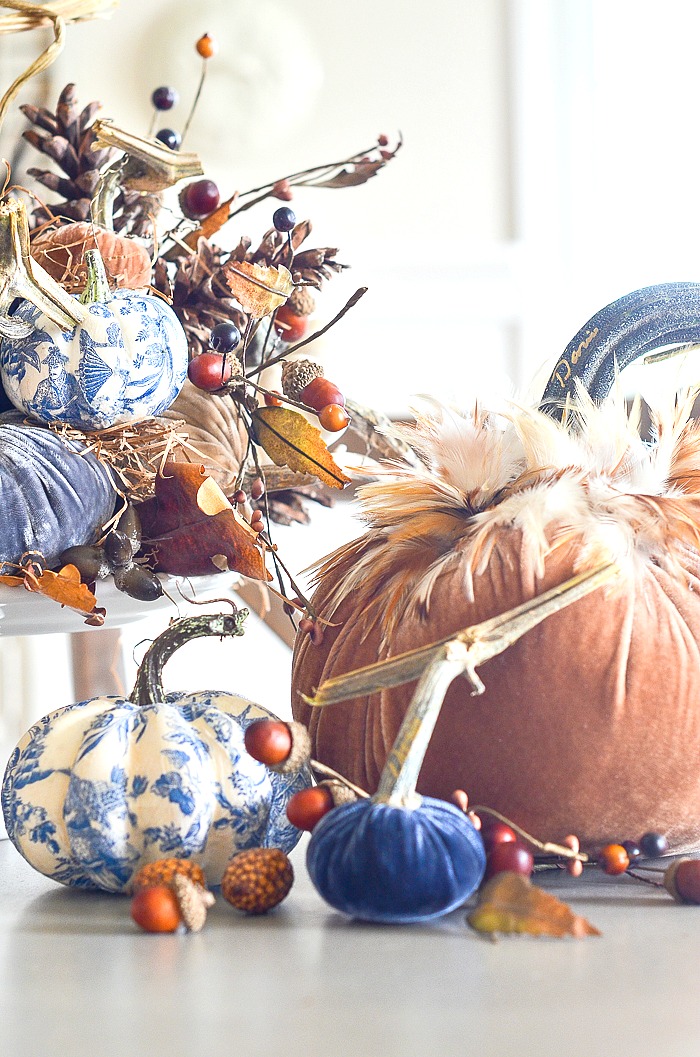
In in a fall arrangement, they steal the show!
Think about using these blue and white pumpkins…
- as a hostess gift with a couple other fall elements
- in a tablescape topping each place setting
- hiding in a white teacup
- lined up on a shelf
- in a white bowl with green moss
- resting on top of a silver candlestick
- grouped with bittersweet (my fav)
- arranged with dried artichokes and white pumpkins
- the top cut off and a real or faux succulent added
- with a hot pink ribbon tied around the stem of the pumpkin
The possibilities are endless. If blue and white is not your style you can use any cocktail napkin! Think of all the delicious patterns and colors your pumpkins could be!
I hope you make these gorgeous blue and white pumpkins for your home this fall!



Hi! Love your style! A year or so ago you featured a plaid throw for your porch and I lost the link to it. Do you know if it is still available? I regretted not buying it!
Thanks in advance.
Here it is:https://rstyle.me/n/c8rt9sb6by7
Oh my gosh these are gorgeous and so simple! I love blue and white, but also love the idea you could use any color or pattern of napkin. Now I want to make some! Thank you, what a fun project this is going to be. I love the idea of giving them as gifts.
These are beautiful! Funny how blue goes with orange so well too. May I ask where you found the napkins? I’ve never seen any so pretty!
You can find them here:https://amzn.to/2QfSCPs
Thank you for the tutorial! I love the blue and white pumpkins and also the idea with the dough bowl. Ready to get rid of all the shells in my house now!
It’s about that time!
To Colleen – Caspari paper goods can be found at high end card stores and even some of the Hallmarks I have been in carry them.
YES! When I found them on Amazon I knew they would be beautiful napkins.
SO beautiful!! I love this and anyone can do this!! xo
This is so attractive and I love how you used it with the velvet pumpkins!
So pretty and an easy project.Lovely addition to your collection.
What a beautiful DIY project. Thanks for sharing these thorough instructions. I have some left over silver leafing I may try to add a tiny bit to the stem to give it a small shimmering hilight.
I LOVE these Yvonne, thankyou for the diy. I really want to try this myself!
So pretty, great instructions, what fun! Thanks so much! Deb
I LOVE your tutorial! So detailed and helpful! You rock, friend! 😉 I’m using napkins the next time I Mod Podge pumpkins (we have a local upscale nursery that carries and array of cocktail napkins… the possibilities are mind-blowing!)
I know! thanks for your lovely comment!
Thank you, thank you, thank you! I love toile and I love these pumpkins! ?
They are beautiful! Thank you for the detailed tutorial. Saving to Pinterest and going out to find some great toile napkins.
absolutely beautiful! can’t wait to try this 🙂 really love the blue & white w the orange…
Sooo pretty! Love it!
These are brilliant!!!! so easy and pretty and the possibilities are endless!
Thanks for sharing!
I have been in gray mode with my house for awhile. I absolutely love the blue and thing I have some new projects to tackle! Thanks for the inspiration!
LOVE this craft idea! Your pumpkins are just beautiful.
Beautifully done…love the color combinations. Thank you for the tutorial. Happy Fall!
Thank you for this tutorial and idea, such a gift! After checking two of our local stores for the napkins and came up empty handed, I clicked on the napkin link and would have paid the high price they are asking but the delivery time is one to two months! I know I can use any napkin, but these are really beautiful! Will keep looking……
Such a clever craft project! I love the print you chose!
I love this idea! I just spent 30 minutes browsing beautiful paper napkins on Amazon. I found a floral design that has the phrase Friends Gather Here in small enough writing that it should work on a slightly larger pumpkin.
I love this idea! Since I would rather have a different color, I just spent 30 minutes browsing beautiful paper napkins on the internet. Can’t wait to try this.
I’m usually not a fan of blue but these are stunning along with the autumn colors you have chosen. It goes so well together. I ordered some of the napkins on Etsy. Can’t wait to make these. I have been decoupaging pumpkins for many years but never did them the way you demonstrate. I’ll have to try your way for this pattern. I have a friend who loves blue and I’ll make her a couple of pumpkins for Thanksgiving. She’ll love them!
Yvonne, I love your use of designer napkins for the beautiful chinoiserie pumpkin! It turned out just lovely. I’ve chosen you as one of my features on Share Your Style this evening. I hope we’ll see you at the party!
Kim, thanks so much!
These look fantastic! Now while fall items are on sale I’m going to buy a bunch and try them! Thank you for the tutorial.
Love this tutorial. Can’t wait to try this. Sure hope I can find some pumpkins and pretty napkins. the arrangement is beautiful; how did you get everything to stay on the cake plate? It’s so beautiful. Thanks for sharing your talent with us again.
jean
I’m great at balancing things and the base of pinecones help
This is a wonderful idea . I want to make them and a table runner for a gift for friends. Love your website. Encouraging and just enjoy the ideas. I love to decorate my home.
What clever ideas you have. Thank You for Sharing.
I just made these this past weekend. I have never decoupaged anything in my life and this was my first time using Modge Podge. They turned out stunning. Your tutorial was very easy to follow.
Yay!!! I’m so thrilled! They are so easy, right? Send me a picture!
So ADORABLE!!! I had a blast making these!! They will go with my willow blue themed thanksgiving table this year!!! Thank you!
Hi Hilary! I’m so glad you are happy with your pumpkins. I love them!
You constantly amazing with your gorgeous ideas….don’t tell you near enough how much I enjoy reading your blog!!!!! XXOO
Yvonne, I love your DIY projects (and everything else on your blog)! But these pumpkins and the velvet ones are so adorable! Thank you 🙂
omg, STUNNING !!
These are truly beautiful!
I just stumbled across your blog and these DIY pumpkins. Thank you for the detailed instructions. I am hopeless when it comes to craft projects but I want these so badly that I am going to give it a try. I clicked on the Amazon link to the napkins and all 3 items are shown under Frequently bought together. You must have inspired quite a few people to make these! Fingers crossed that these end up displayed in my home and not in the trash.
I had heard they sold out! Sorry!
So, the pumpkins are sold out. Ugh. So for this year was wondering if real white pumpkins would work
They are available on amazon as of September 10. I just ordered them!
Thanks, Janet!
Good Morning!
I love reading your posts
I learn so much from you regarding decor and enjoying
life itself. Thank you for being there.
Recently you had a free Pumpkin print out on one of your posts. Is it still available?I would love to frame it
I’m a new subscriber and enjoy all of your posts, especially this one. Just ordered all 3 items to make these pumpkins ; can’t wait!! We visit Lancaster county from northern Virginia occasionally and hope to run into you one day!!!
Hi Joanne, we have family in Northern Virginia and visit there often! I know you will love the chinoiserie pumpkins.
These are not easy peasy and I am an experienced crafter. I’ve spent so much on supplies and very disappointed with the final product.
So sorry you found this craft disappointing.
beautiful pumpkins
How long will the pumpkins keep?
I love these pumpkins. I could not find the napkins, so I used a blue & white fabric to decoupage on the pumpkins & it worked great. I just can’t decide if I should spray the finished pumpkin with gloss sealer.
Hi Valerie, I would leave them or spray them with a matte sealer.
I’m so glad I came across this amazing pin and blog. I feel so inspired and very excited to try this out. ??
Oh, this is such an easy diy! And the pumpkins look great in fall decor. Have fun!
I love your centerpiece with the chinoiserie pumpkin diy! It’s absolutely gorgeous.
Your painted pumpkins are AMAZING! Thanks for stopping by! Happy Fall.
Wow! So beautiful and great instructions. Thanks so much…you really have a gift!
Hi Jacqui, I hope you will make a few this fall.