Easy Torn Tissue Covered Books
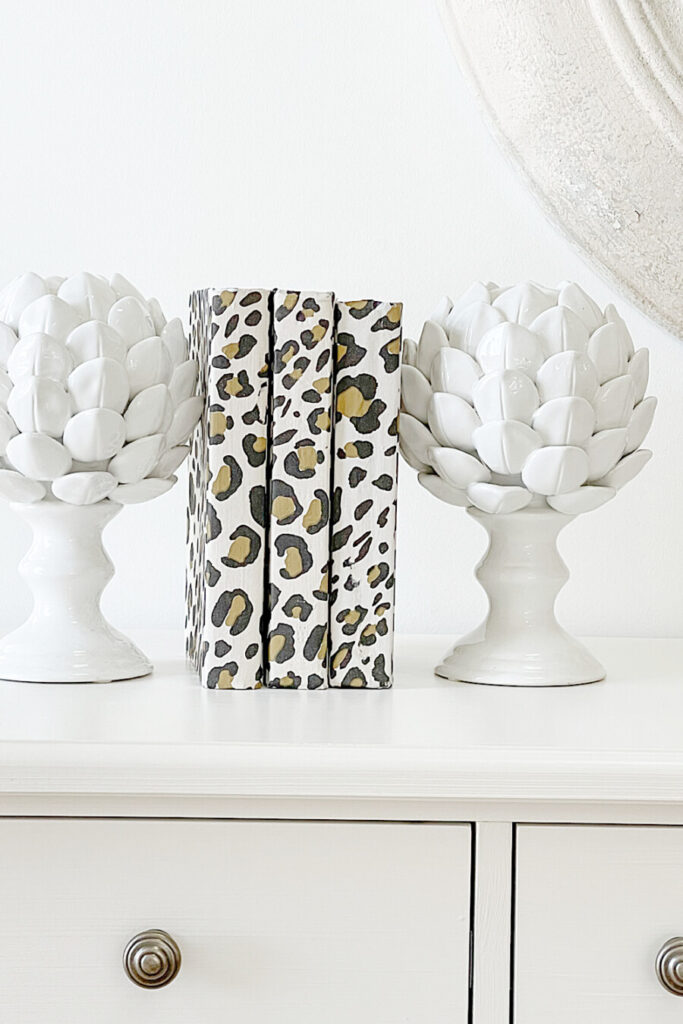
Create one of a kind designer book covers to work with your decor using paper napkins and old books. Such an easy home decor DIY!
I like to use books as part of accent decor in our home. So I cover books with burlap and paint books and now I’m using the torn tissue technique to create books that have the most fun designs!
Let’s make Torn Tissue Covered Books! This DIY is so easy you don’t need to be crafty to have designer looking books to use in your home decor!
This post contains affiliate links. That means when you click on some of the links in this post and you make a purchase I earn a small commission at no cost to you. All my opinions are my own. You can view my full disclosure here.
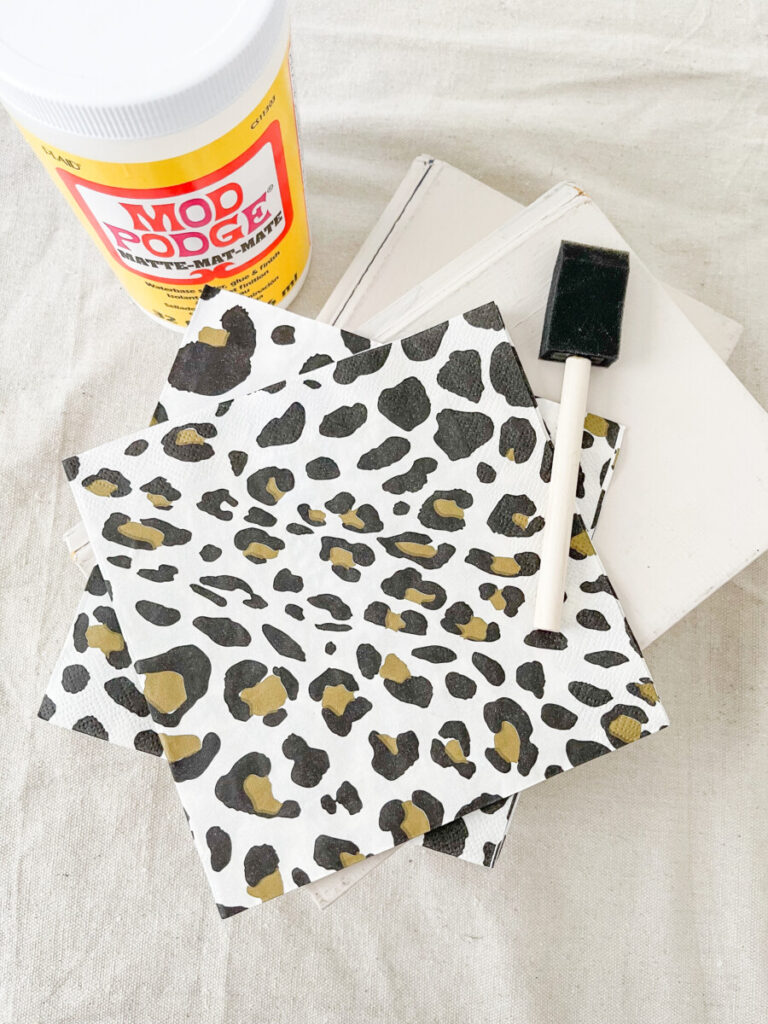
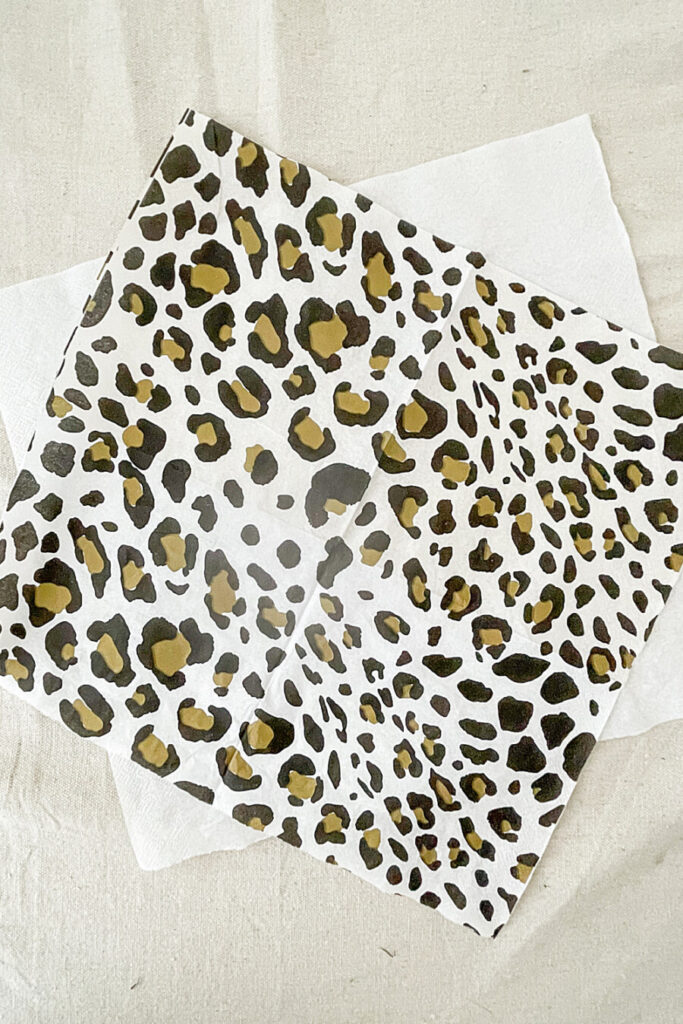
I recently found adorable leopard napkins and knew I had to use them in some sort of torn tissue project.
HERE’S WHAT YOU WILL NEED
- regular size napkins- not cocktail napkins (see the leopard napkins here)
- matte Mod Podge
- foam paint brushes
- paper towels
- jar of water
- scissors
- books, painted white (or if you are using a napkin with a dark background match the paint color for the books to napkin color)
HOW TO MAKE TORN TISSUE COVERED BOOKS
The first step in making the book covers is to gather up some old books and using acrylic paint, paint them white. Let them thoroughly dry. Make sure to paint all the edges of the book too.
This is such an easy project. I used two napkins for each 10-inch book. So for the three books I used six napkins.
Separate the ply of the napkin and only use the printed ply to cover the book.
COVERING THE BODY OF THE BOOK
To cover the books think about working in sections. The front of the book then the spine then the back of the book and finally the edges and the inside of the book cover.
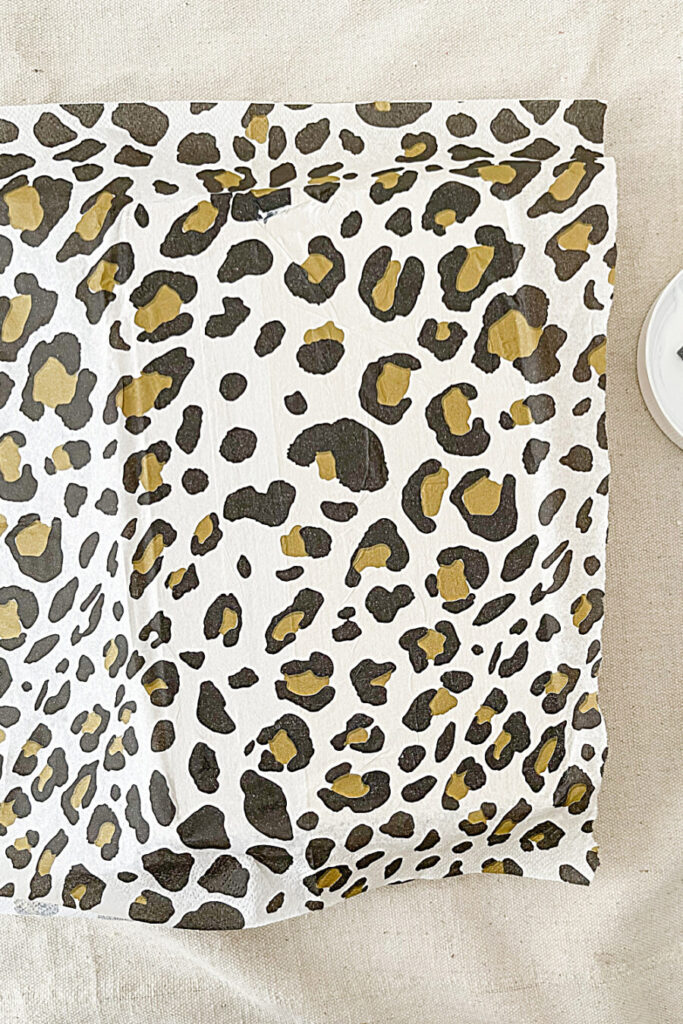
Start by wetting your sponge paintbrush in water and then drying it off on a paper towel. Dip the tip of the paintbrush into the Mod Podge and add a thin layer covering the front of the book. A thin layer of Mod Podge works best as it sticks the napkin down to the book but does not get it too wet that the napkin will tear.
Center the napkin on the front of the book.
Starting at one corner of the book gently smooth the napkin onto the book with dry clean fingers. You can gently lift the napkin up and reposition it if needed. There will be wrinkles in the napkin so gently smooth them down with a dry finger as best you can. Many of the small creases won’t be noticeable when the glue dries.
Let the front of the book dry before moving to the spine and back of the book. You can start covering another book while you wait for the first one to dry. I made a small assembly line with the three books. I would cover part of one book and while it dried worked on another book.
Continue working around the book gluing down the napkin to the spine and then to the back of the book.
One napkin did not completely cover the whole book I was using.
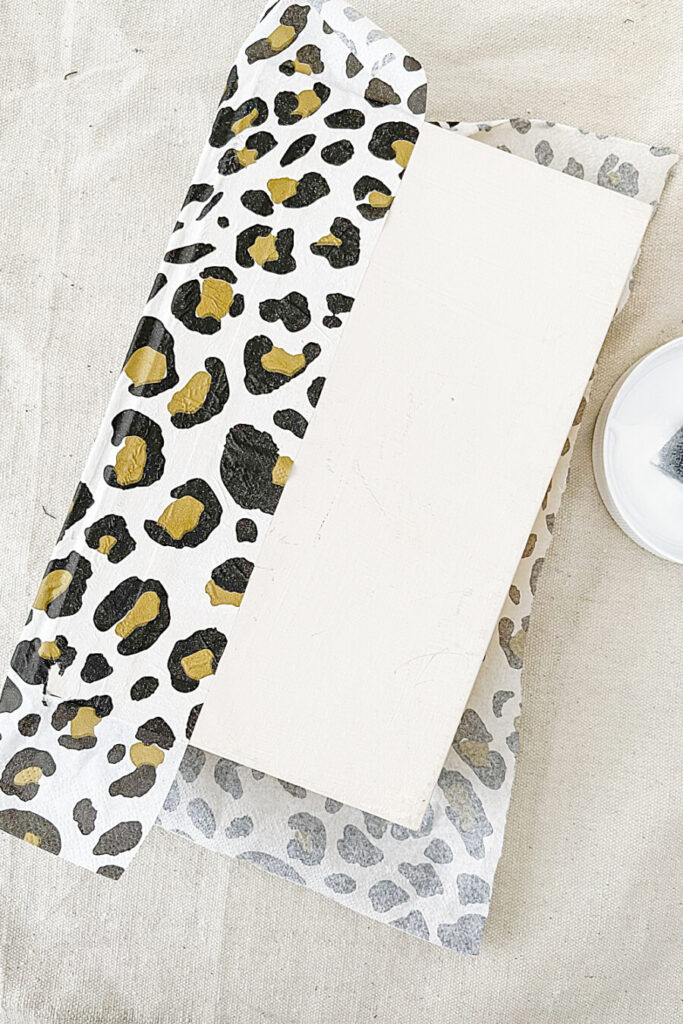
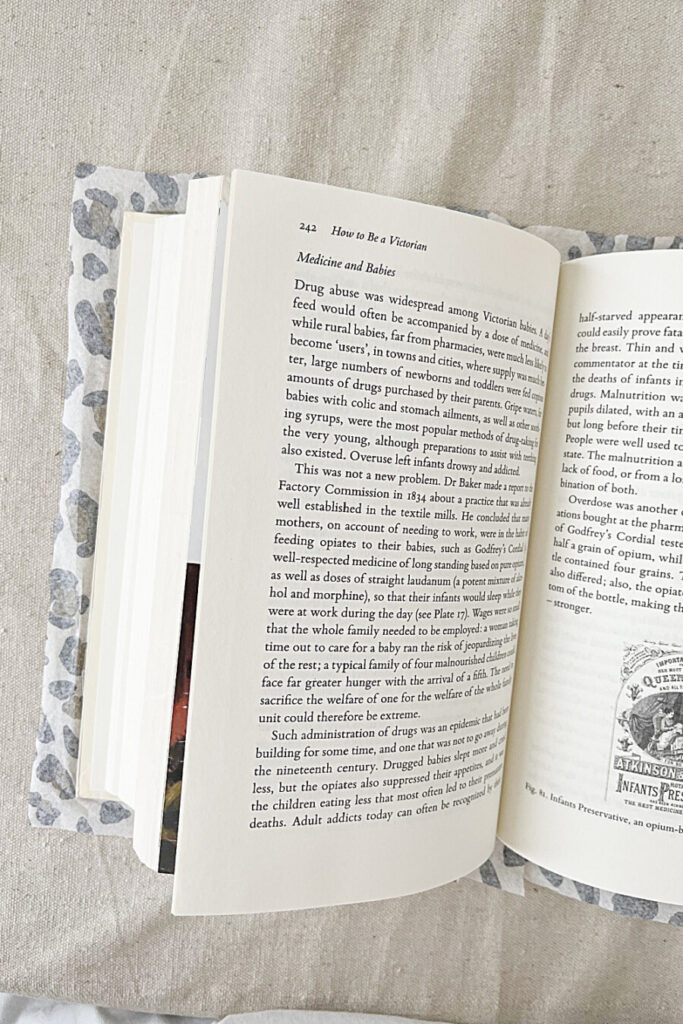
When the first napkin is glued to the book, continue where you left off and glue a new napkin to the center of the book overlapping the first napkin by 1/4 inch.
FOLDING THE TISSUE OVER TO THE INSIDE OF THE BOOK
Now let’s cover the edges of the book to give them a nice finished look.
Cut off all but about 1 inch of the excess napkin from around the book.
The excess will be glued to the edges of the book and to the inside of the cover.
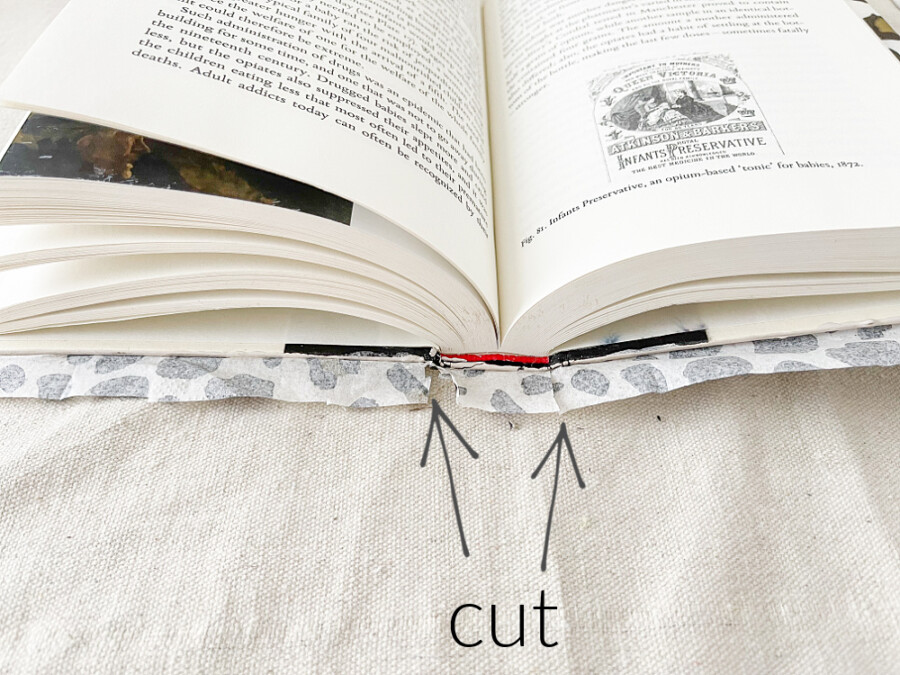
Before you start to glue the edges cut slits in the napkin on either side of the spine, as shown.
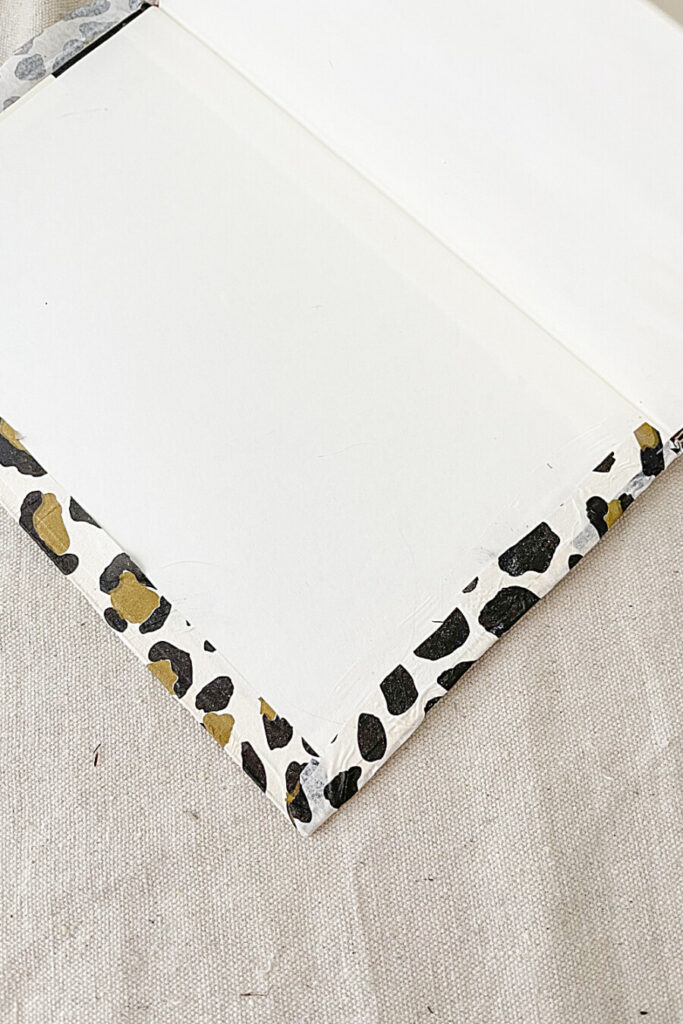
Now working around the book but not gluing down the extra tissue on the spine, glue the excess tissue onto the edges of the book and to the inside of the book, as shown.
The last thing to do is to tuck the excess tissue between the spine the the binding of the book and put a dot of Mod Podge in there to secure it.
It will make sense if you refer to the image below.
To loosen the spine from the binding and make a little opening to tuck the excess tissue in I usually stick the sharp end of the scissors between them and then turn my scissors 90%. This makes a nice opening to tuck down the napkin to make a nice edge across the spine.
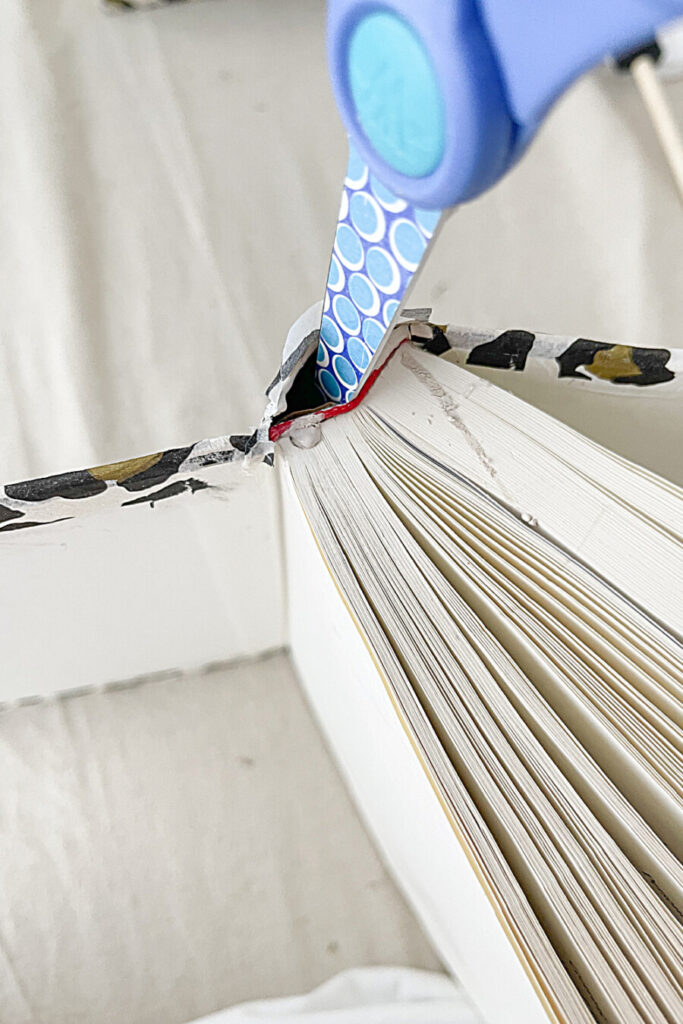
Secure the tissue with a dot of Mod Podge.
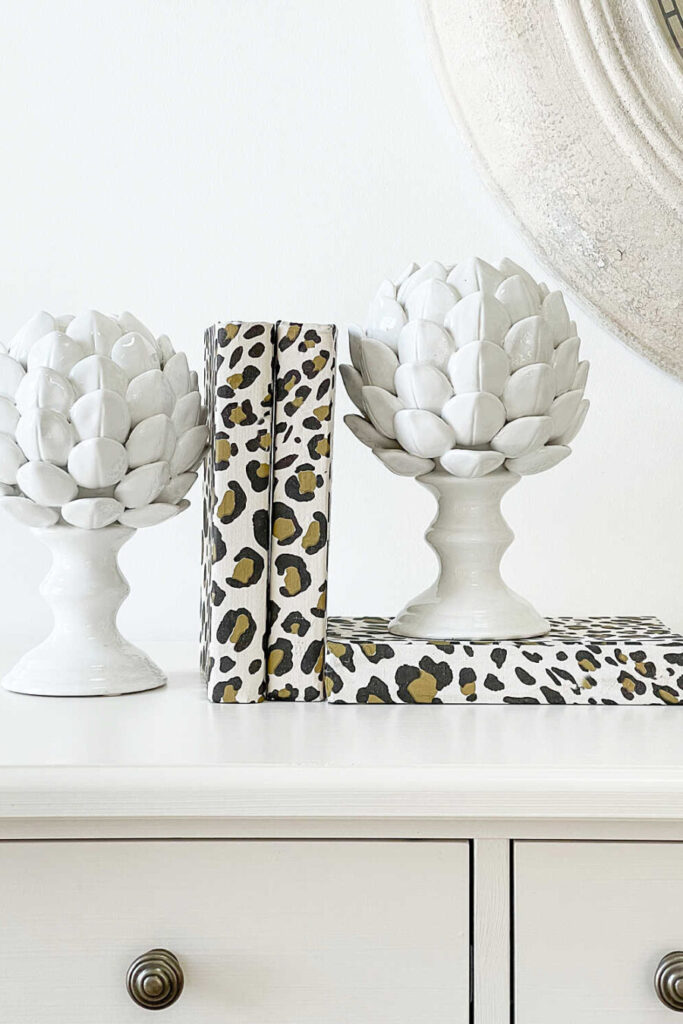
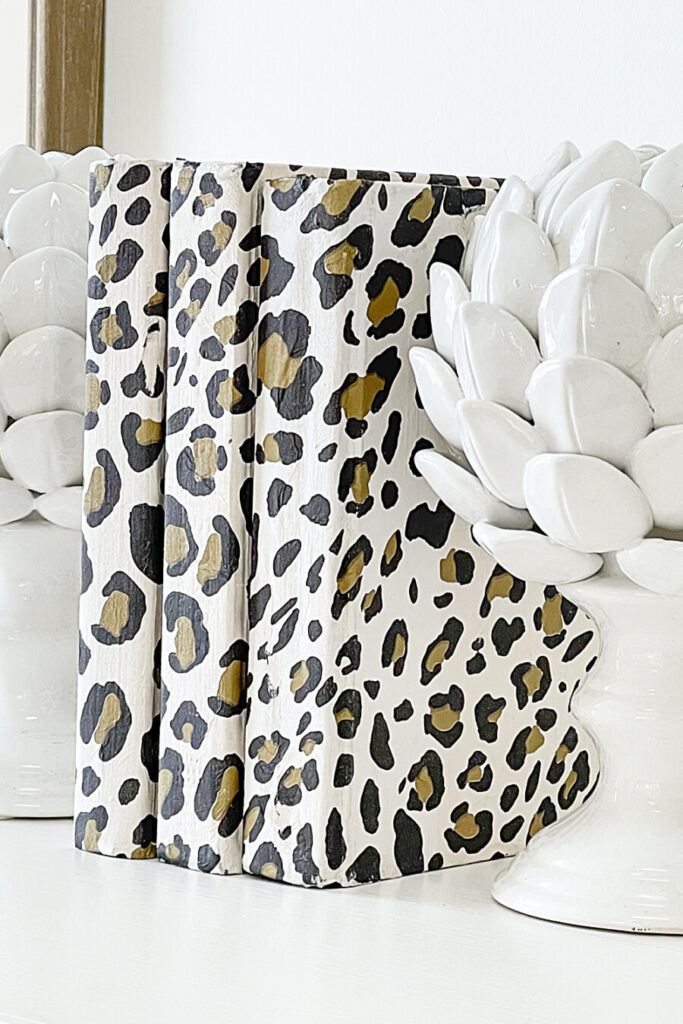
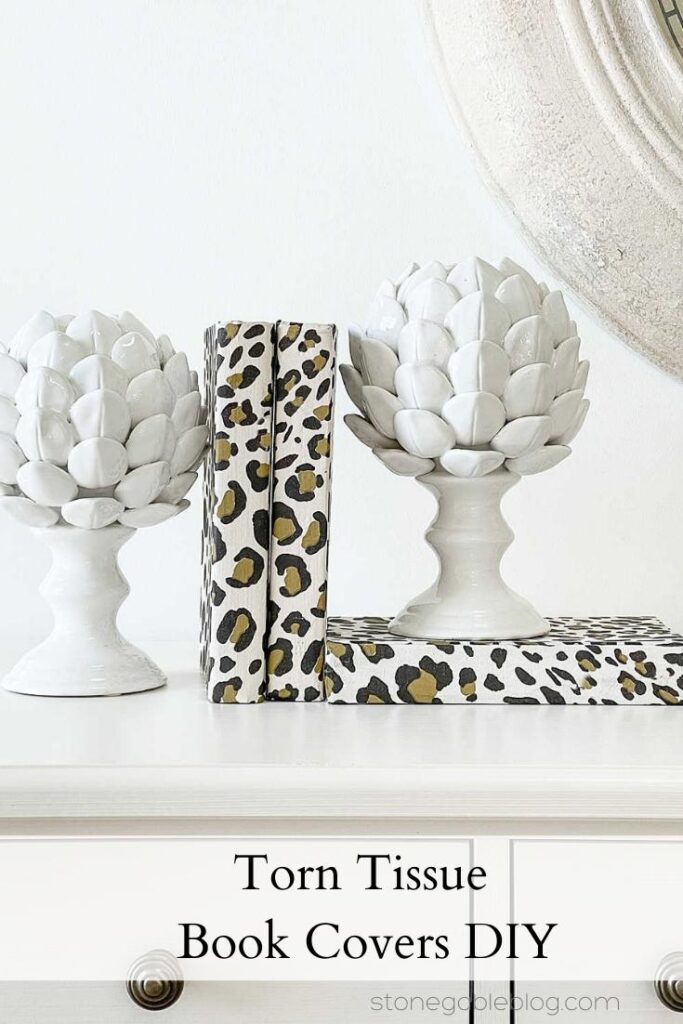
That’s it! Once you try one you will see just how easy books are to cover with paper napkins and give them a designer look!
And this DIY is a bit addictive! Just think of all the pretty covered books you can make to go with your decor!



Cute idea, but would be so much simpler just using nice wrapping paper and covering books the old school way
Yes, you can! Using the torn tissue method literally fuses the tissue to the book and makes is too gorgeous!
I love this idea. I’m a sucker for anything animal print. Hugs to you.
This is the cutest idea! Thanks for the inspiration! Pinning!
Just so fun too! Thanks for visiting Jennifer!
Yvonne: Thank you for all of your great ideas, I enjoy everyone of them.
Sincerely,
Marilyn
You are so welcome!
Such a great idea, Yvonne! I am going to cover a few books this week!
I still have the burlap covered books in our Den which I made! This was another great tutorial! Thanks for always sharing your wonderful ideas with us!
Friends always notice these and want to know how I covered the books! The books are so unique and something you just don’t see!
I have also covered a few books in a thin material and they look so pretty, too.
You will love using the napkins, Mary Ann! So easy!
I love all your decorating tips and ideas! How can I find the instructions for covering books with burlap? They would be perfect in my home.
Hi Yvonne,
In covering the book, do you use another layer of decopage over the napkin?
I absolutely love this idea, I can’t wait to try it.
#diylover
I’m looking forward to covering books and flower pots with beautiful tissue of napkins.
I appreciate your directions so ver much. I’m a new follower and send some of your ideas to my sis in south GA and my niece near Atlanta.
Decorating is my first love and orchids my second.
Our Lord has given me the opportunity to do both.
I could read your info all day. Thank you for sharing your gift of creativity with all of us.
Welcome to the StoneGable family, Fran! I hope you and your sister get our StoneGable newsletter so you don’t miss a post!