How To Decoupage And 6 Easy Decoupage Tutorials
Transform everyday items in your home into personalized works of art. Learn how to decoupage. And start with six easy tutorials to make now.
Welcome to the creative world of decoupaging, where everyday items are transformed into unique and extraordinary creations! Whether you’re a beginner… or a seasoned, devoted podger, this is the ultimate guide to decoupage. Filled with everything you need to start on your decoupaging journey or elevate your skills for even more incredible projects. Decoupaging is a fun, easy-to-do and addictive DIY!
Affiliate links included. See our Discloser Policy. As an Amazon Associate, I earn from qualifying purchases.
What Is Decoupage?
Decoupage is the art of gluing thin, pliable items, like paper and napkins, to another smooth surface. This art form has been around for centuries. Decoupage, derived from the French word “decouper,” meaning “to cut out,” was an intricate paper craft in 17th-century France.
Now, decoupage has evolved into a simple and enjoyable crafting technique. It involves embellishing various surfaces with paper cutouts or thin materials and securing them with glue creating a smooth surface. Decoupage can be applied on numerous surfaces, including wood, glass, ceramics, canvas, terra cotta, metals, fabric, and more. It provides a fun, cost-effective means of personalizing or refreshing items in your home according to your unique style and preferences.
What You Will Need?
The beauty of decoupage is that it only takes a few items to create something beautiful and one-of-a-kind.
I’m a minimalist when it comes to decoupage. I can create beautiful projects without extra equipment. Here is a list of the essential items I use for my decoupage projects:
Like most things, you can get all kinds of handy equipment to help you decoupage:
- Silicone Mat– a non-stick work surface for adding adhesive to the items you want to decoupage.
- Brayer– a small roller to smooth the paper down and seal it to your surface.
- Craft knife– to cut out paper to be decoupaged to your surface.
- Squeegee-tool for smoothing down items and getting into the corners of the paper when applied to your surface.
- Small Brush Applicator– to evenly distribute the adhesive onto the cutout pieces.
- Large Brush Applicator– to evenly distribute the adhesive onto larger cutout pieces.
What Can I Cover My Decor With
There are many decoupage items to adhere to a surface. My favorite things to decoupage onto a surface are paper napkins with pretty motifs or designs on them. The most important thing to remember is that thin, flexible materials work best for a decoupage project.
Here are some more popular items to use in a decoupage project:
- tissue paper
- wrapping paper
- decoupage paper
- scrapbook paper
- wallpaper
- book pages
- fabric
What Is Mod Podge?
Mod Podge is a non-toxic, water-based craft sealant, glue, and finish product specifically made for decoupaging. Mod Podge does contain acrylate resins, so it is not food safe and should not be used around small children or pregnant women.
It comes in different types of finishes. The originals are matte, gloss, and satin. I have used matte Mod Podge for all of my decoupage DIYs. However, you can also get Mod Podge in specialty formulas like:
- Mod Podge Dishwasher Safe
- Mod Podge Water Resistant
- Mod Podge Outdoors
- Mod Podge Crackle
- Mod Podge Ultra Satin
- Mod Podge Fabric
- Mod Podge Glitter
I think I’ll try Mod Podge Fabric for my next decoupage project.
Is Mod Podge Waterproof?
Because the original Mod Podge is a craft glue, it is not considered waterproof. However, it is a durable glue. If you want a project to be waterproof, pick Mod Podge Water Resistant or Mod Podge Dishwasher Safe.
Can I Make My Own Mod Podge?
The simple answer is yes. It’s easy to make decoupage glue. Put 8 oz of white craft glue (like Elmer’s) and 3-4 oz of water in a jar with a tight-fitting lid. Stir to combine. This will make a matte finish decoupage glue. However, I skip the mess and buy Mod Podge because it is made specifically for decoupage.
Choosing The Right Napkins
Choosing the right napkins for a Mod Podge project is essential to ensure a successful and visually appealing result. Here are some tips to help you select the perfect napkins:
- Design and Theme: Consider the design and theme of your overall project. Choose napkins with patterns, colors, and images that complement the style you want to achieve.
- Napkin Quality: Look for high-quality napkins made of durable and thin paper. Thin napkins adhere better to surfaces and are less likely to create lumps or wrinkles when applying Mod Podge.
- Number of Layers: Check the number of layers in the napkins. Most patterned napkins have three layers, with the top layer featuring the design.
- Texture: Choose a smooth napkins to use for a decoupage project
- Size and Shape: Depending on your project, choose napkins with patterns that fit well on the surface. Consider the scale of the patterns and how they will look when applied.
- Color Fastness: Make sure the colors of the napkins are colorfast, so they don’t bleed or fade when you apply Mod Podge and seal the project
- Ultimately, your choice of napkins is up to you and should work with your personal taste and creative vision. Trust your instincts and go for designs that resonate with you.
By considering these factors, you can select the right napkins that will enhance your Mod Podge project and create a beautiful and satisfying finished result
Is There A Mod Podge Curing Time?
There is a difference between drying time and curing time. Mod Podge tries to touch in a couple of hours. Curing time is a chemical process when all the solvents in the product evaporate, and the end result is at its strongest. This takes about 3 to 4 weeks.
How To Prepare The Surface Of a Project
The prep for most smooth surfaces you are decoupaging with napkins is very easy.
If you are Podging things like terracotta, glass, or any other smooth surface like a metal tray or glass vase, wipe it clean with a damp rag and let it dry.
Depending on the background color of the surface you want to podge onto, you may need to paint the surface with acrylic paint.
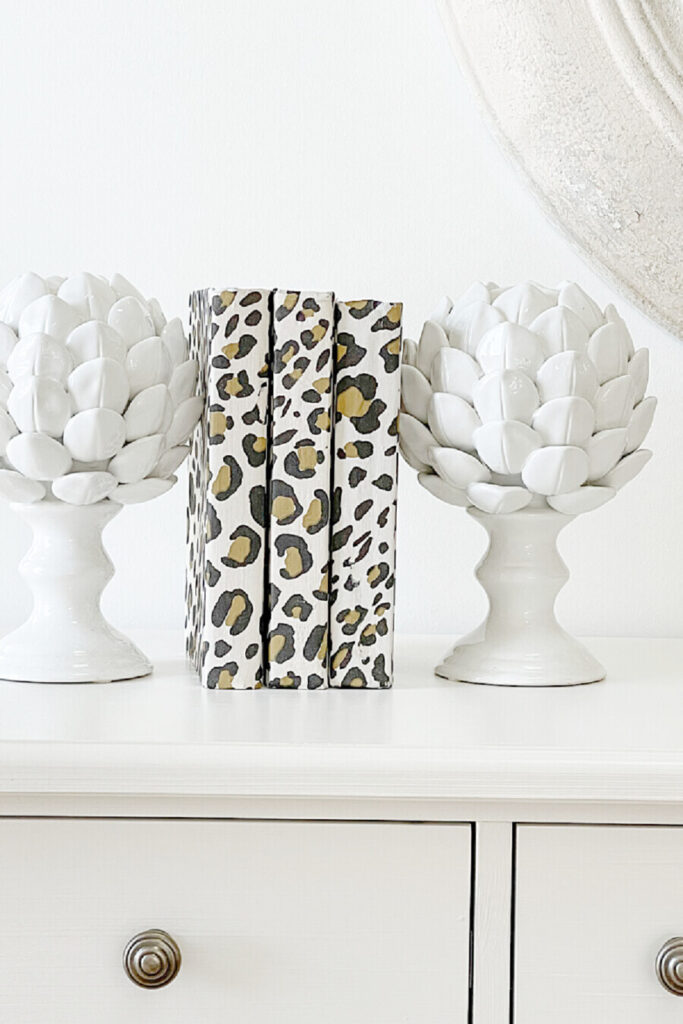
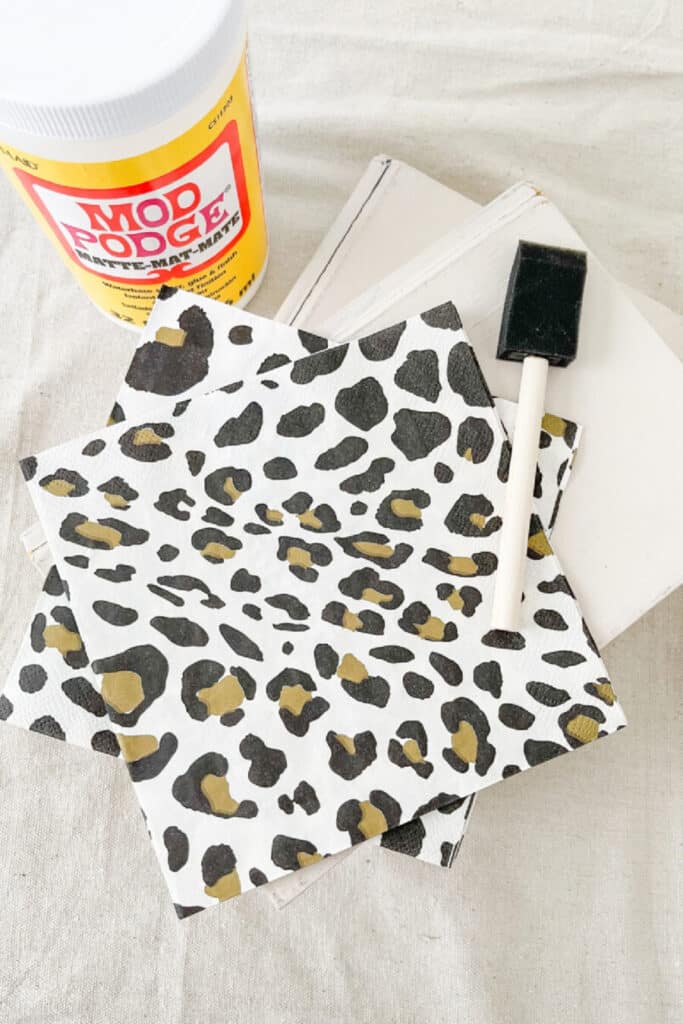
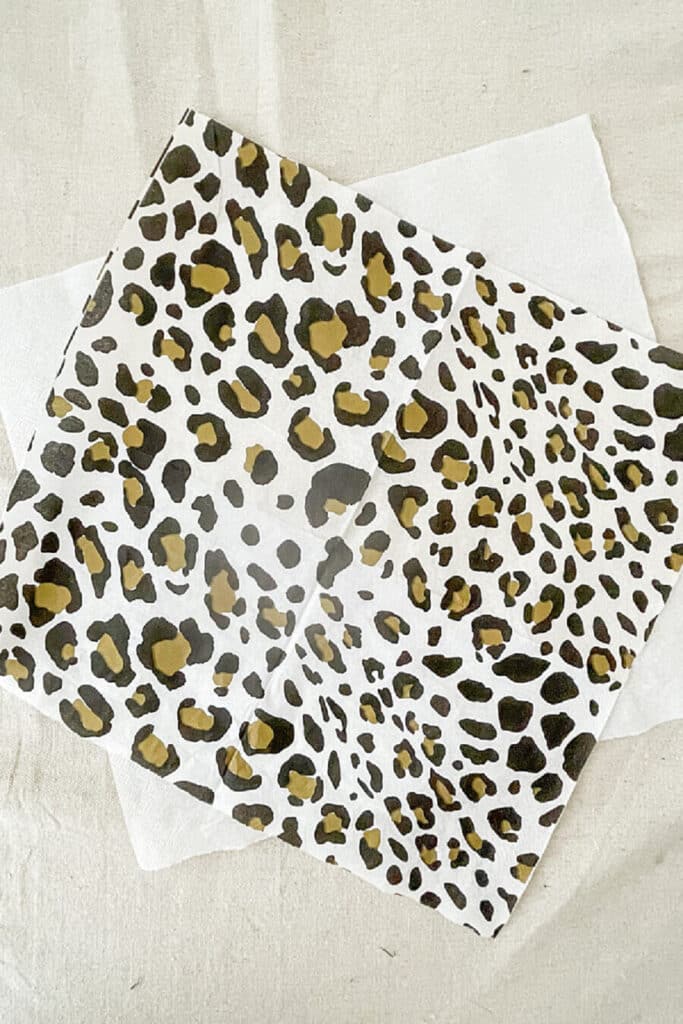
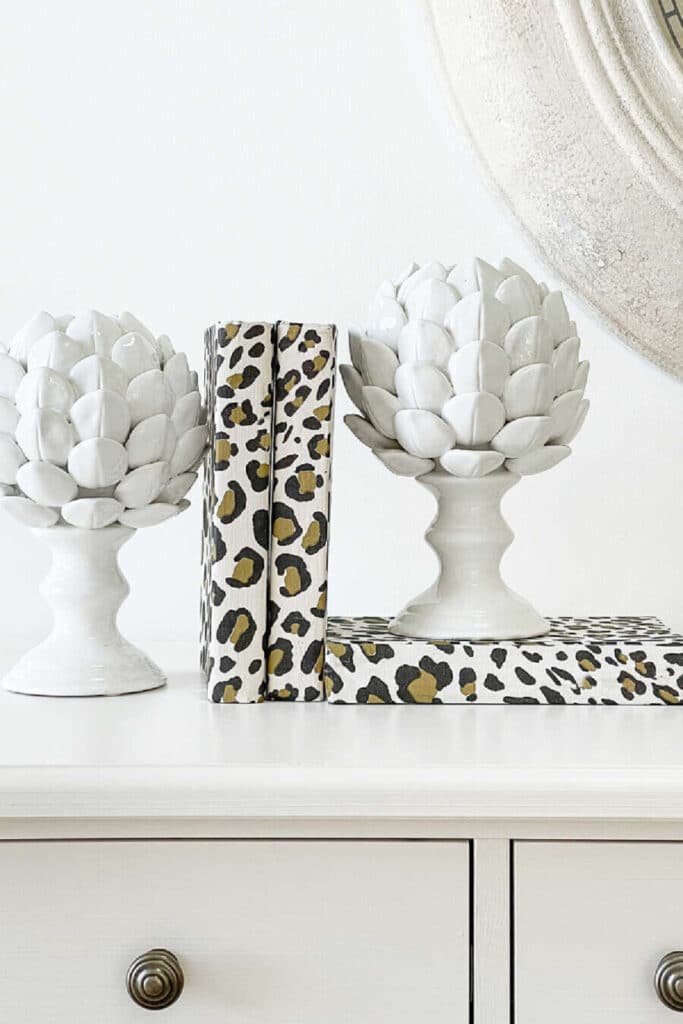
I painted these book covers white because the background color of the leopard napkins was white.
If you want to decoupage on wood, you should go over it with 400 grit sandpaper and clean it with a damp cloth. You might also want to paint it the color of the napkin background. Use acrylic paint for this.
How To Decoupage Step By Step
Here’s an easy 6-step guide for learning how to decoupage. If you have never decoupaged before, I suggest you start with something simple like a frame or a glass vase. It’s best if the surface you are using is smooth.
Choose the Mod Podge that fits your project the best. If you are a beginner, I suggest you use Matte Mod Podge. Gather all the materials and work on this project in a well-ventilated area.
Also, you will want to choose the napkins you want to use for this tutorial.
These directions are for Decoupaging paper napkins onto a smooth surface.
Step 1
Surface Preparation
- Begin by cleaning your surface using a damp cloth. If you’re working with wood and plan to decoupage, consider sanding it with 400 grit sandpaper first, and then clean it with a damp cloth.
- Optionally, you may paint the surface with acrylic paint to match the background of the pieces you intend to use for decoupaging. Check out the example HERE.
Step 2
Cutting or Tearing the Napkin
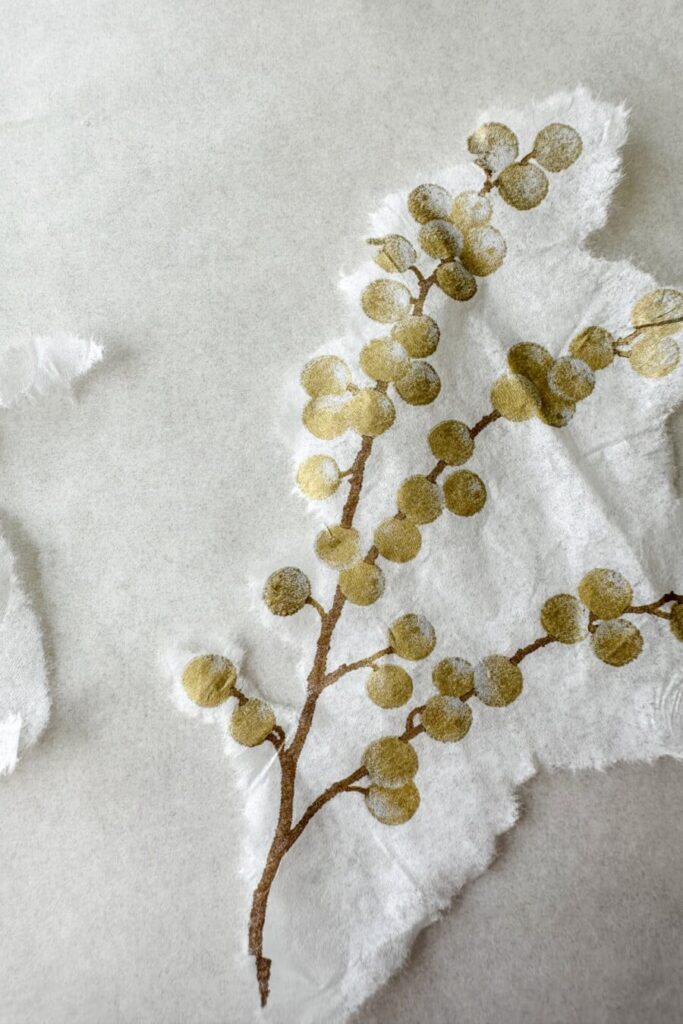
- Separate the layers of a paper napkin. Most patterned napkins have three layers. Discard the two white layers and keep the top ply with the color and pattern.
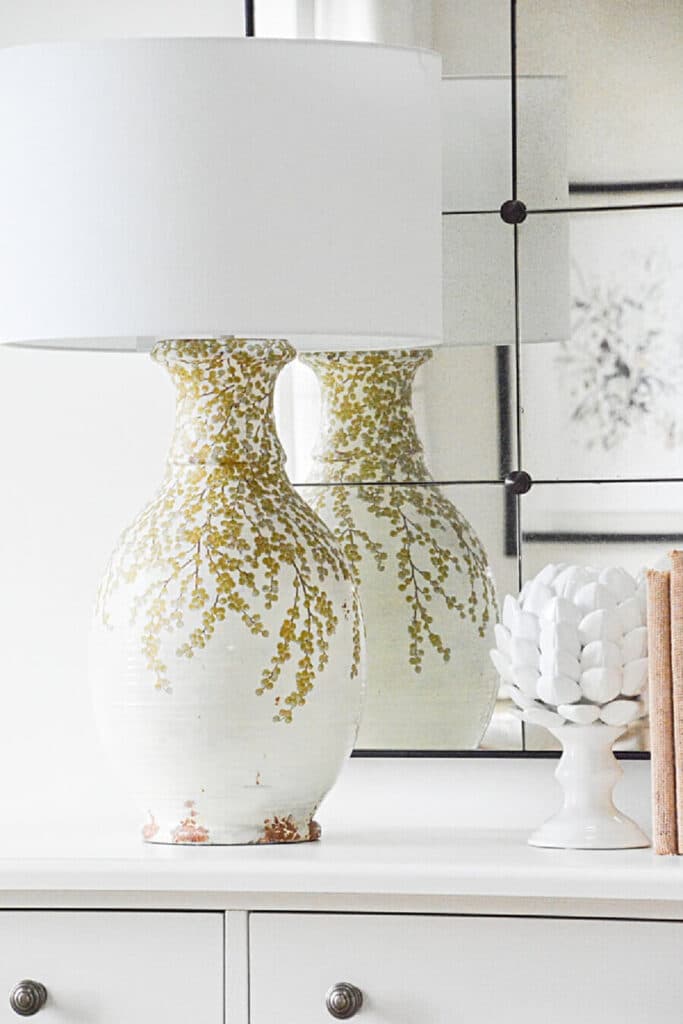
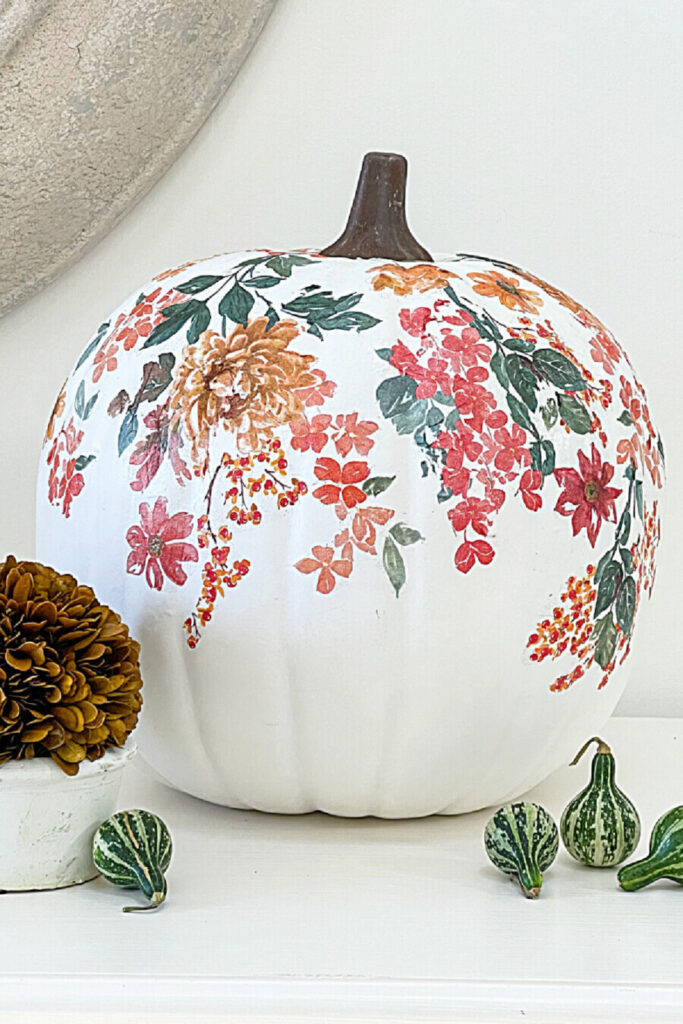
- Cut out or tear the desired patterns from the napkin, keeping in mind how you’ll layer them to create a beautiful design. If working with larger motifs, consider using multiple napkins, as demonstrated in the large white pumpkin project and lamp project.
Step 3
Applying Mod Podge
- Prepare the foam brush by soaking it in clean water, then squeeze out the excess water until it’s slightly damp.
- Apply a thin but complete layer of Mod Podge on the surface, covering an area similar to the size of the torn napkin paper.
- Ensure you use enough Mod Podge to prevent the napkin from wrinkling or drying too quickly. If excess adhesive is applied, wipe it away.
- Carefully place the napkin paper over the Mod Podge on the surface, making sure it adheres smoothly to the project.
Step 4
Smoothing the Napkin
- Gently press the napkin onto the surface to ensure it sticks firmly. If the napkin starts sticking to your fingers, add a little Mod Podge to your fingertips to help smooth it down.
- Lightly work out any wrinkles, understanding that some may remain until the napkin dries. Bubbles can be flattened with a pin or your finger.
- If you accidentally applied too much adhesive, smooth it out from under the napkin or wipe it away.
- Repeat this process for every piece of napkin you add to your project.
Step 5
Working on Different Areas
- Avoid adding napkin pieces to a single area consecutively to prevent accidentally disturbing the ones you just worked on.
- Work on different sections of your project, allowing each area to dry before adding more tissue.
Step 6
Adding a Protective Coat
- Once all the napkin pieces are glued down, let the entire project dry.
- Apply a final thin coat of Mod Podge as a protective layer over the entire project using a foam brush.
- Add at least two thin protective coats, allowing each coat to dry completely before applying the next one.
Troubleshooting
If you encounter any issues during the decoupage process, refer to the following tips:
- Wrinkles: Most wrinkles will smooth out as the napkin dries. Lightly press them down or use a pin to prick and flatten them.
- Fixing A Hole: if your wet design rips and crates a hole, you can cut out or tear part of a tissue to match. Add Mod Podge over the hole and press the new tissue to match the pattern.

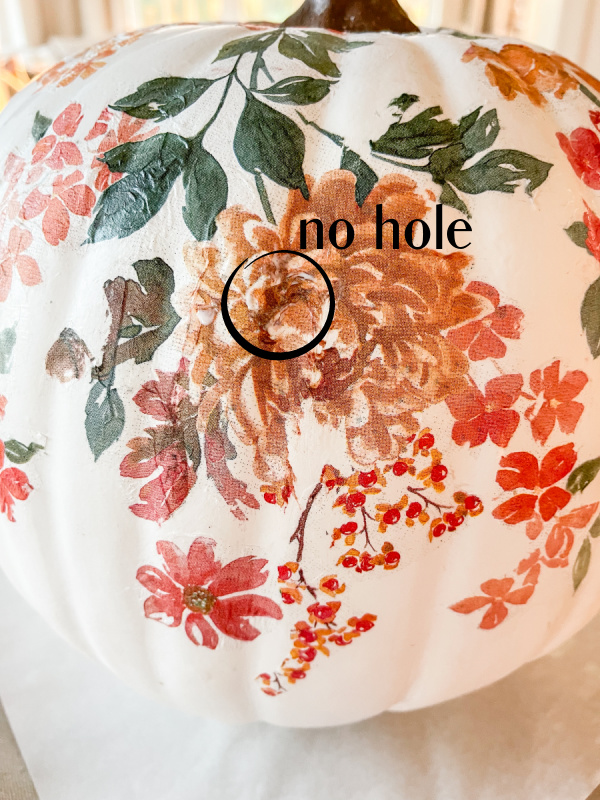
- Excess Adhesive: If you applied too much Mod Podge, remove the excess from under the napkin or wipe it away.
- Disturbing Wet Areas: Avoid touching wet napkin pieces while working on other sections of the project.
- Ripping The Design: If your design rips, you can either place the ripped piece back where it belongs or wipe away the whole piece and start over.
Decoupage Ideas You Might Like To Try
Here are 6 easy Home Decor decoupage ideas you might like to try…
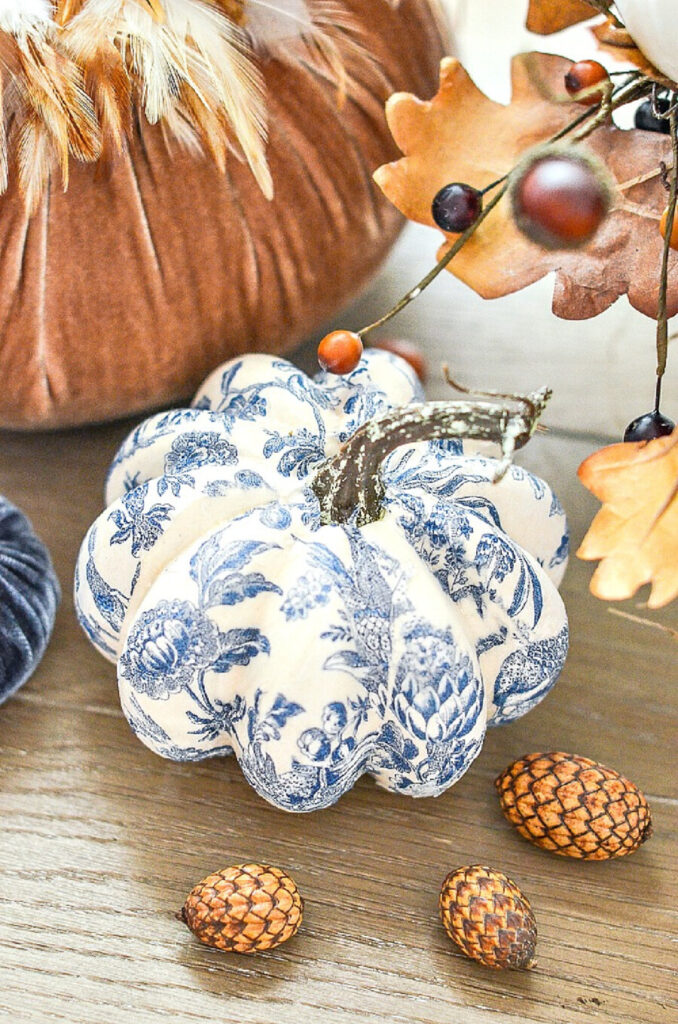
Torn Tissue Decoupage Chinoiserie Pumpkins
These beautiful little blue and white pumpkins will be the highlight of any fall decor. They look so charming standing alone or in arrangements.
There are a few easy secrets for getting them to look so smooth! Hint: the napkin goes on in one piece!
Decopagued Large White Pumpkin
Keeping with the pumpkin theme, this large white decoupaged pumpkins uses big waterpainted flowers cut from hand towel napkins.
These fun leopard book covers use two sheets of napkins to cover the whole book. So easy! Your books can coordinate with your decor.
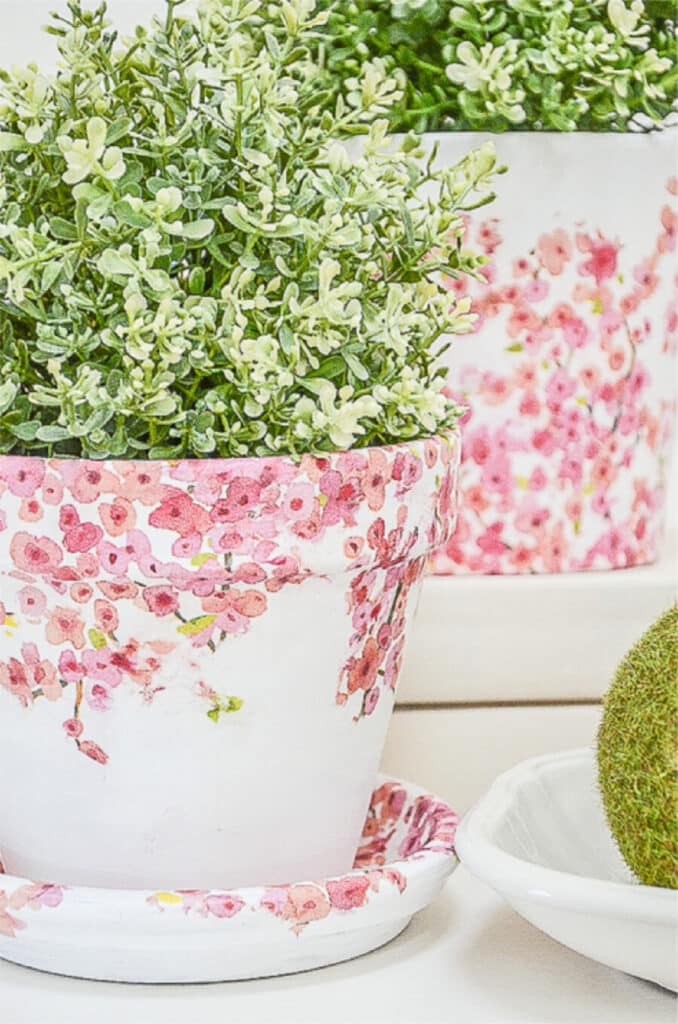
Decoupaged Planters And Saucers
These were once terracotta pots and saucers. Now they are beautiful planters with delicate pink flowers adorning them. This is such a fun beginner decoupage project.
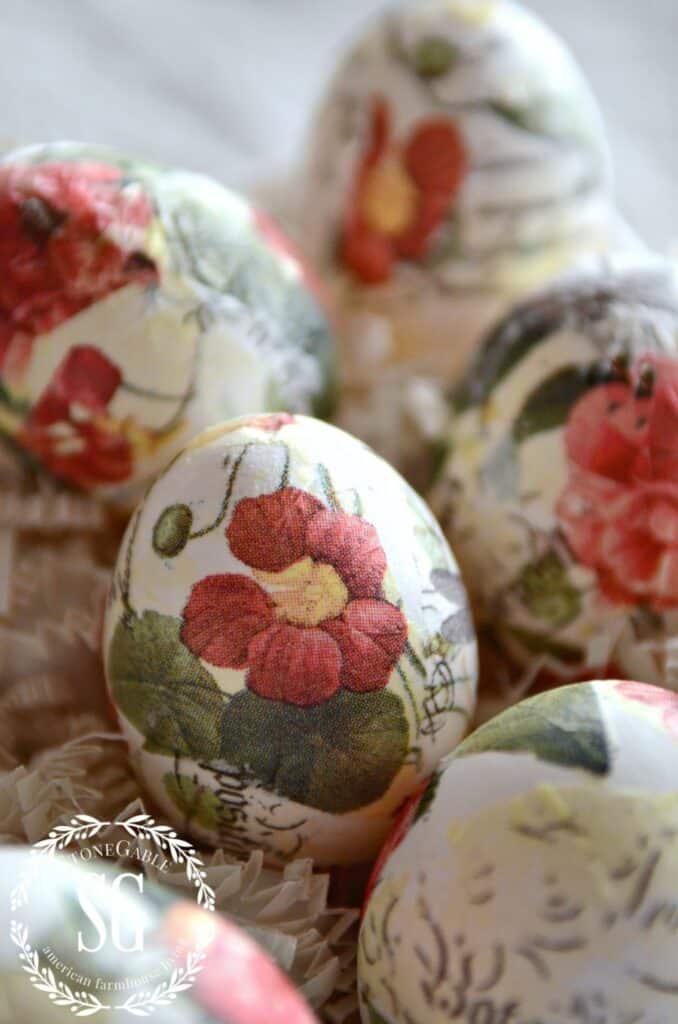
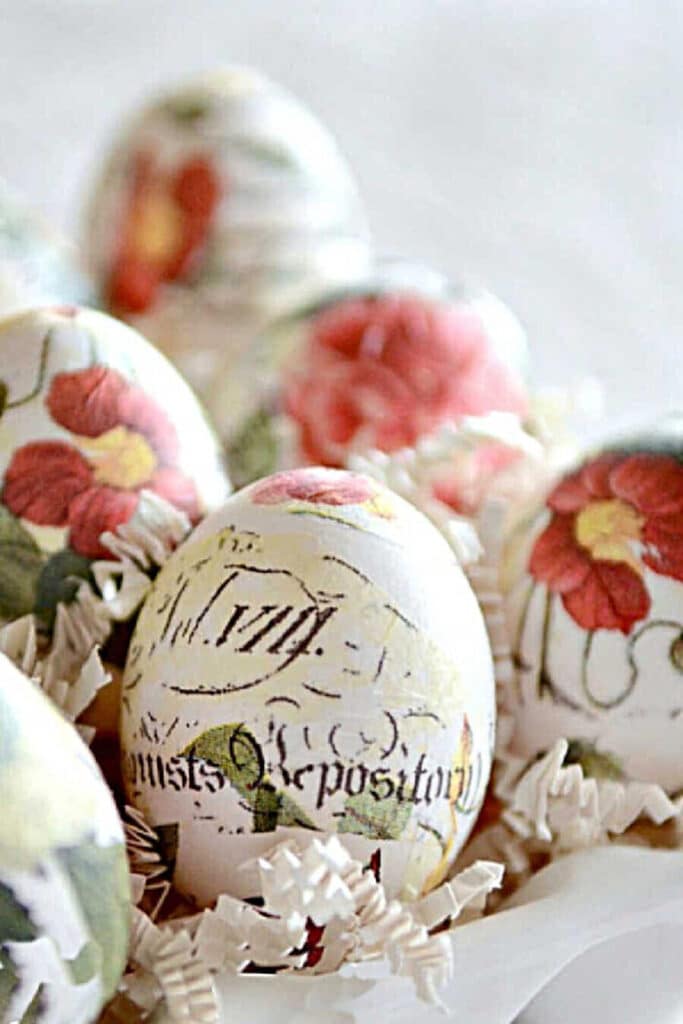
Make these sweet decoupage eggs to coordinate with your decor or your Easter table. And don’t forget to add a few to everyone’s Easter Basket. So easy to make! Perfect beginner project.
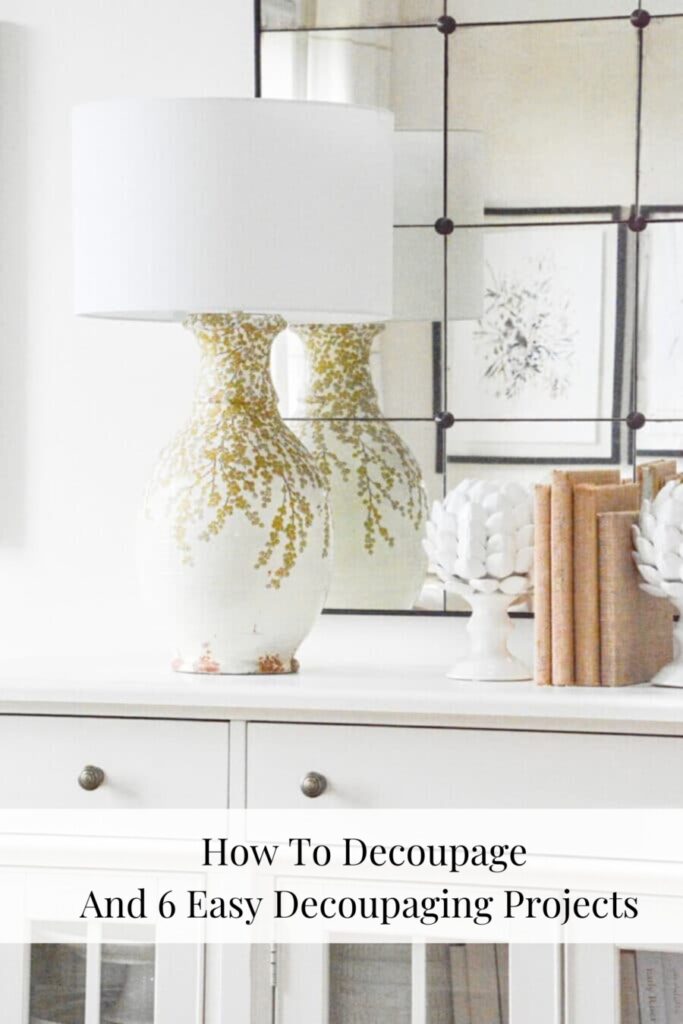
What was once an ugly lamp I almost got rid of it’s now a beautiful lamp I get the most comments on. Everyone loves it!
Decoupage is such an enjoyable and addictive craft that lets you create personalized works of art from everyday object
Click On The Decoupage Video Below
Frequently Asked Questions
What is the difference between Mod Podge and decoupage?
Mod Podge is the craft sealant, glue, and finish specifically made for decoupaging. And decoupaging is the craft of adhering paper to a surface with glue.
What is the best sealer other than Mod Podge for decoupage?
The best sealer is an acrylic sealer. They dry to a hard dry finish.
What are the best surfaces to decoupage on?
Smooth surfaces are the best surfaces to decoupage on.
More DIY Projects
Create one of a kind decor for you home!

I love your tutorial on decoupage and it reminds me how much fun it is. Our craft group will start up again in the fall and I see some beautiful decoupage pumpkins in our future.
Hi Kathy, you will love to make these pretty fall pumpkins.
Such creative ideas. I love it.