Beautiful Torn Tissue planter diy
Beautiful torn tissue diy planters are an easy home decor DIY. You can make them using just a few things to put them together. You can create beautiful home decor with paper napkins and you don’t even need to be crafty!
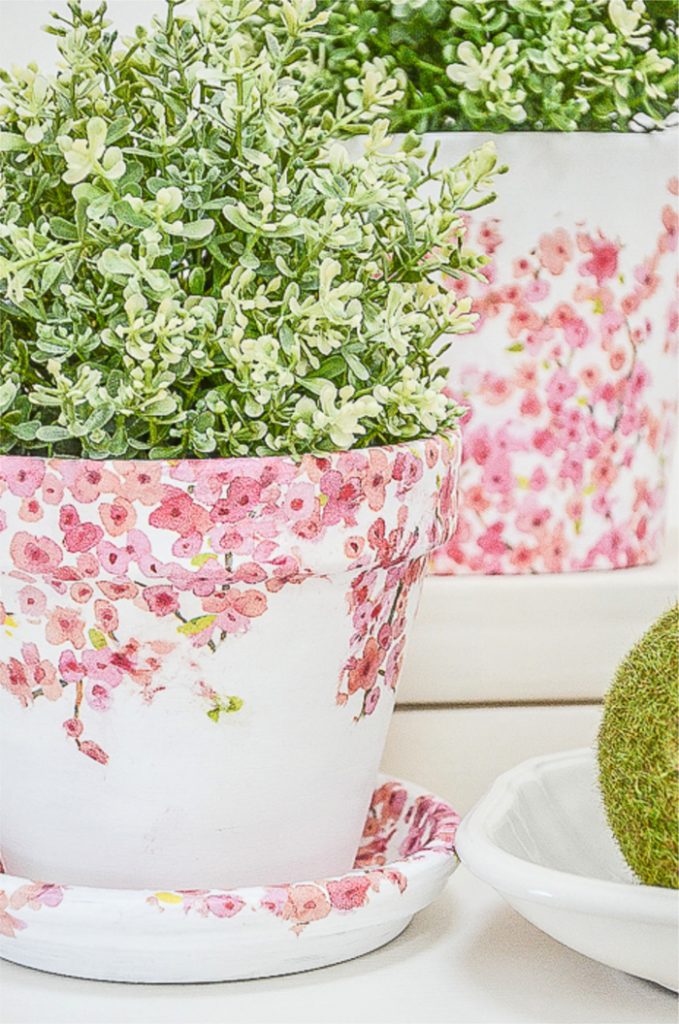
Spring is the perfect time to make something pretty for your home. Let’s make a diy planter that is covered with the beauty of blooming spring branches! It’s so easy, you don’t have to be crafty to make these! Ready? Let’s create!
This post contains affiliate links. I share what I love and to help you find the things you see on each post. As an Amazon Associate, I earn from qualifying purchases.
Today is part of our STYLED + SET series celebrating spring. My blogging friends and I are sharing a spring craft, DIY or wreath! I’m so excited to share how to make a Torn Tissue Planter!
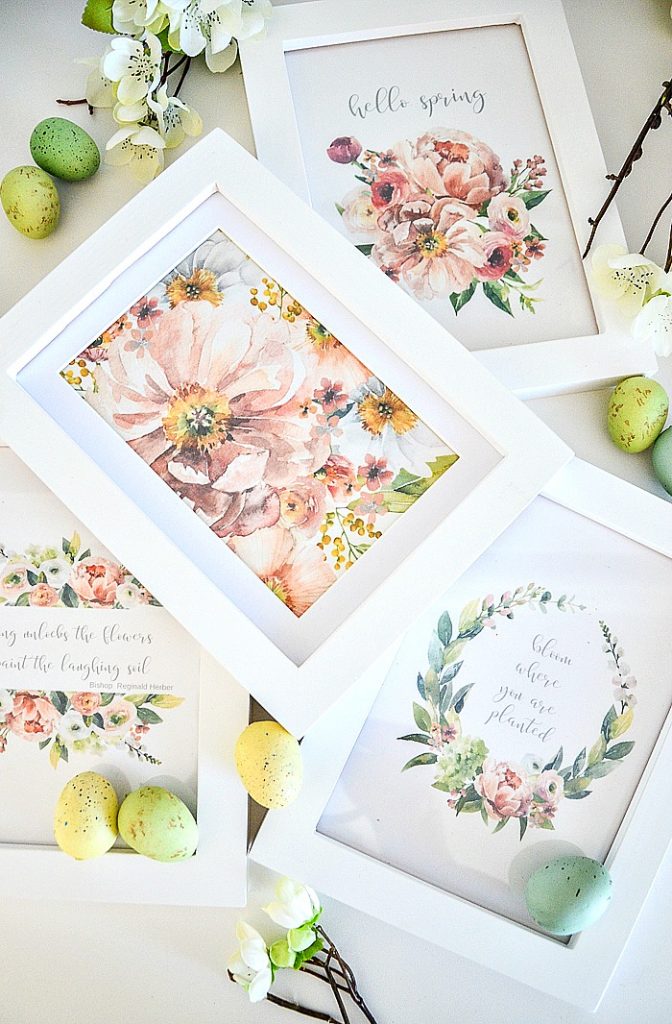
As part of this spring series, we shared pretty printables. You can see my SPRING PRINTABLE COLLECTION HERE.
I must admit, I’m a little obsessed with torn tissue and ModPodge! It’s quite addictive! I’ve made Torn Tissue CHINOISERIE EGGS and Torn Tissue CHINOISERIE PUMPKINS, Torn Tissue EASTER EGGS and TORN TISSUE COVERED BOOKS.
So the natural progression from eggs to pumpkins was a terracotta pot to covered books!
I love cherry blossoms this time of year! So when I saw the cherry blossom cocktail napkins I knew I wanted to make a torn tissue planter with them!

Let’s make a diy planter!
Here’s what you will need…
MATERIALS
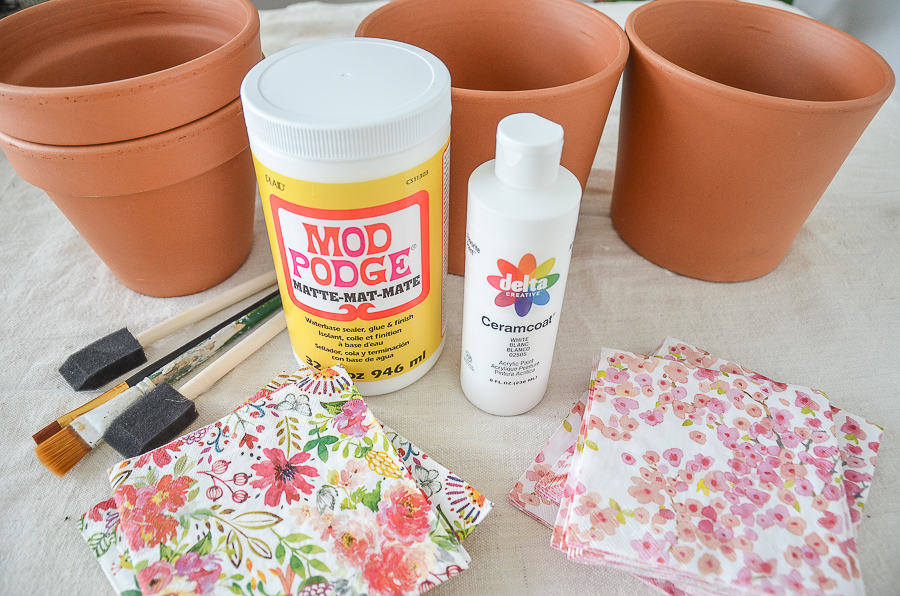
- terracotta pots and saucers
- white craft paint
- paintbrush and foam brush- see them HERE
- spring-inspired cocktail napkins- see mine HERE
- ModPodge- see it HERE
LITTLE TIPS THAT WILL HELP
These tips will help the process making this pretty planter easier…
- keep damp paper towels on hand for cleanup and to wrap the ModPodge paintbrush in so it won’t dry
- put a container of water near where you are working to keep paint brushes and foam brushes in for easy cleanup
- TEAR the patterns from the printed ply of the tissue for a softer edge
- use a bit of water on your finger and gently rub over the wet ModPodge to smooth out wrinkles
- not all the wrinkles will smooth out of the paper but it will look smooth once it is dry
- coordinate a planter with a saucer done in the same tissue design
HOW TO MAKE A TORN TISSUE PLANTER
Paint a terracotta pot and saucers with white paint. My pots were very thirsty and they took three coats of paint to cover them completely. But don’t worry they dry quickly!
Separate the ply of one of the napkins. There are usually 3 plys. Tearing a corner of the napkin can make it easier to separate.
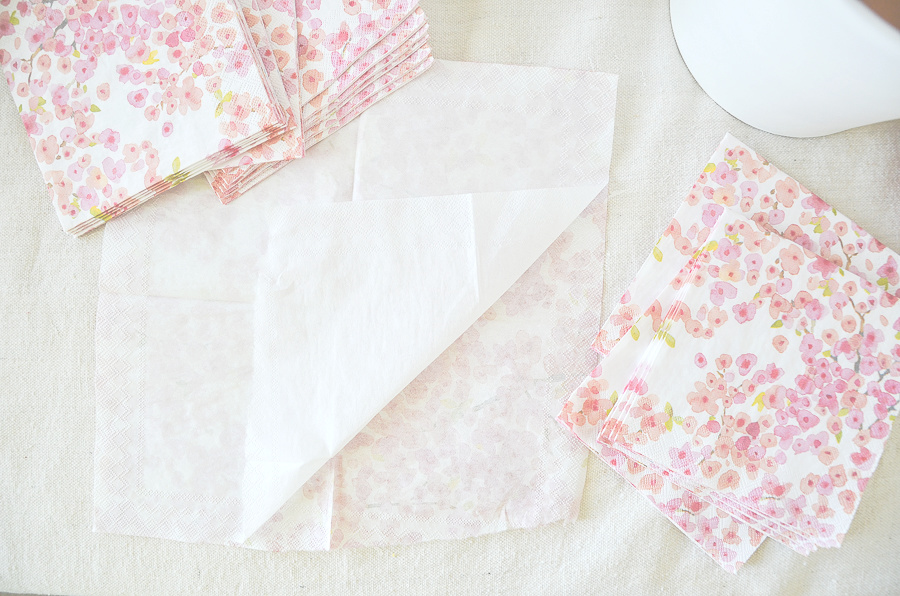
Keep the printed ply and toss the others.
Tear the napkin into sections. I find tearing the napkins makes a softer edge than cutting the napkin.
Paint a bit of ModPodge onto the pot where you want to put the torn tissue. Lay the tissue on top of the ModPodge and using a bit more ModPodge on the paintbrush glue the tissue down to the pot. Be gently so the tissue does not tear.
I like to work in sections and then wait a bit until an area of the ModPodge dries before I continue so I don’t accidentally pull up the ModPodged tissue on the pot.
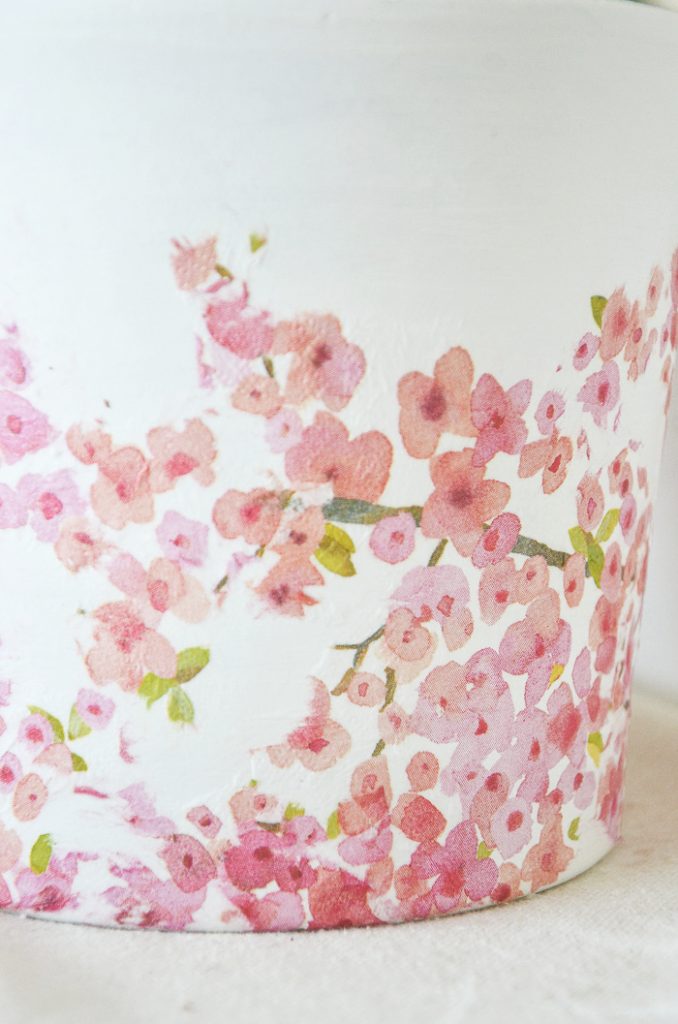
Keep working around the pot until you have a pattern you like.
Let completely dry. And finish the planter with one more coat of ModPodge.
A humble terracotta pot and some paper a napkins! I love my diy planter!
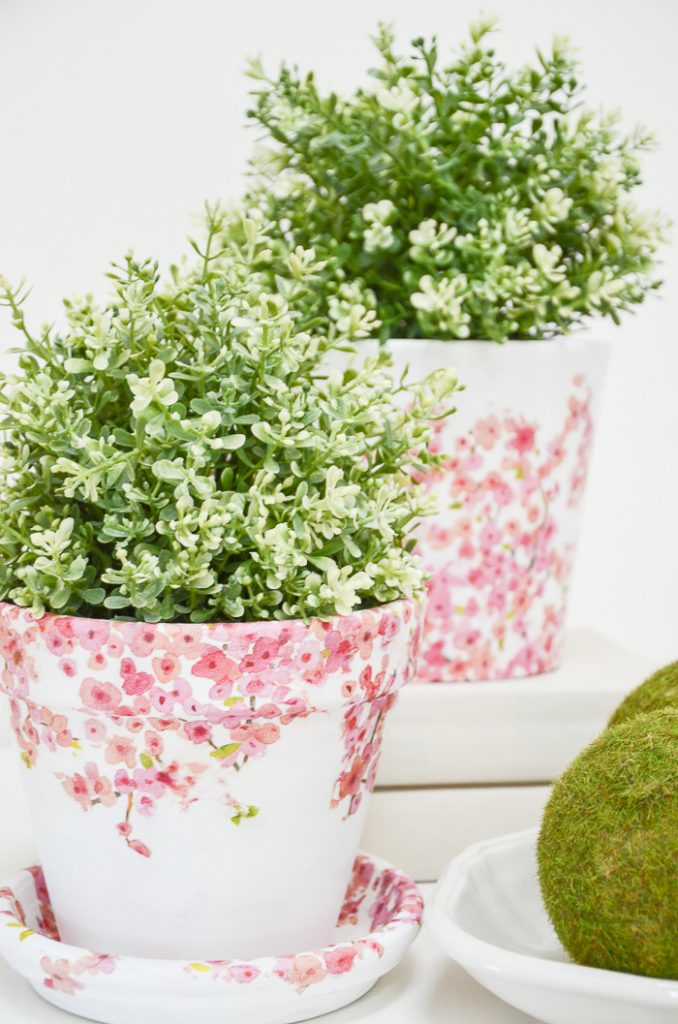
Just think of all the fun possibilities!!!!
Just look at my favorite cocktail napkins to use for this easy spring project…
Now gather up the supplies and make some spring-inspired planters!
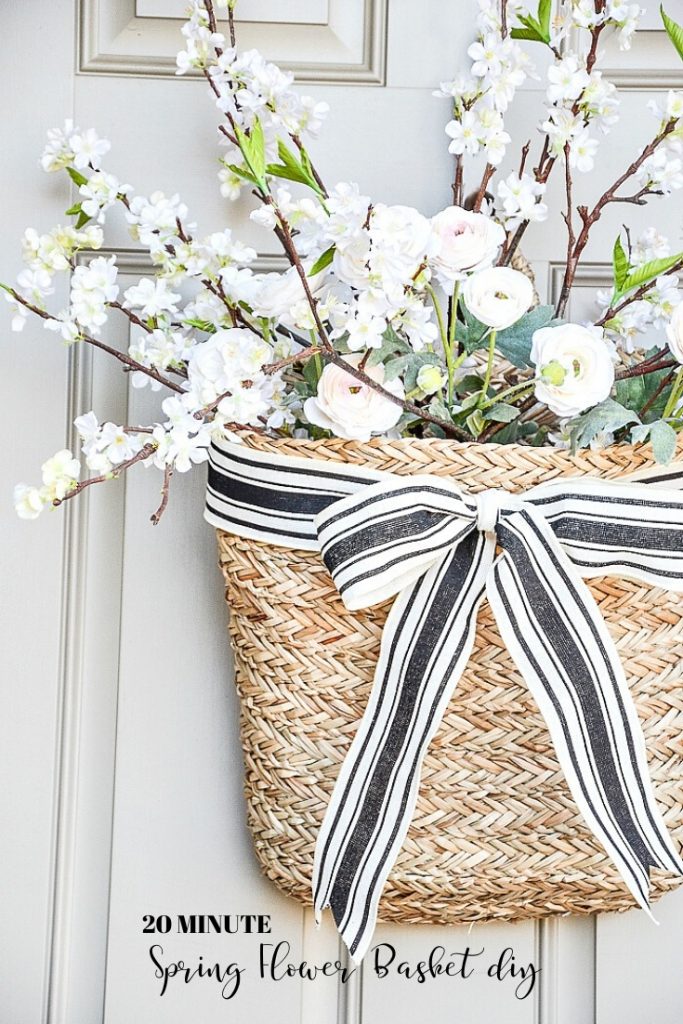
I thought you might also like my latest “wreath” I made for the front door this spring. It is a bit different but full of spring beauty!
PRETTY AND EASY SPRING FRONT DOOR BASKET DIY
Enjoy the pretty spring projects my friends are sharing…

On Sutton Place | Designthusiasm | Shabbyfufu

Craftberry Bush | Town n Country Living | StoneGable

Rooms for Rent | My 100 Year Old Home



Thank you for such adorable ideas ! I am not good at crafting but I think I will try these flower pots ! They are so cute !! thanks for what you do !
Char, I know you can make these!
Love all you do, but especially these! Where did you find the napkins with the pink water flowers? Just beautiful!
Hi Sara, I put links and images in my post. Look there.
I had so much fun doing your chinoiserie eggs last year that I continued on to all sorts of things. I did the flower pots and saucers and then filled the pots with small gardening tools, gardening gloves and seed packets. Wrapped in cellophane these made beautiful spring gifts. I also did a pot with pink and white flowered napkins and then filled it with a pink wave petunia. The pot sat in a small black wrought iron chair and was just stunning all year through. This is such an easy and fun diy that even I could do it. I use spray paint for the terra cotta pots and just about anything else I want to cover. Thanks, Yvonne for a great post.
Margo, you are a girl after my own heart! I so love hearing from you!
I love this idea and just ordered napkins from Amazon. Other posts I’ve seen recommended spraying the pots inside and out with a sealer. That way the pots don’t absorb water and your pots stay beautiful for a long time!
That is a good idea when you want to plant something in them and not just use faux plants.
This is absolutely gorgeous! Now I must try one myself! Thanks for the inspiration!
Yes, you will love this diy!
Thank you for the great idea. The pots look so pretty.
I have two more on my desk to finish. One is going to be a blue and white chinoiserie! I can’t wait to share it!
I love the planters – a must make. I also love the printables!! I will be borrowing these with pride. Thanks for all of your beautiful postings. In our home the name Yvonne is synonymous with friend. My daughter will say – did you see what Yvonne posted today? When I need inspiration – both in decorating and spiritual – I will also visit your posts. You have been a remote friend, teacher, mentor and have given me tons of inspiration for so many years. So much of the décor that is in our home has been inspired by your decorating style. I have a little bit of a dish obsession and love to tablescape. Again; so much of what I have has been inspired by you. Thank you for helping me create a beautiful home.
Oh, Vanessa! How wonderful! I blog because I believe YOU are a friend!!!! Thank you for your warm comment! Sending love your way my friend!
I love your tissue decoupaged items! I live be in a tiny town and haven’t been able to find pretty napkins Caspari is pretty expensive when u just need a few. Where do u find yours? They are gorgeous! God Bless you!
See the post. I have a few options there. I also have a “cocktail napkin stash”. When I see pretty napkins I collect them to use when friends come. So I often find a napkin or two to use in a ModPodge project.
These are beautiful, Yvonne! I tried my first Mod Podge project today too. I definitely could have used some of your tips, like letting one side dry first. I kept tearing the paper with my fingers, but at least the medium is pretty forgiving in the end… 🙂 Love how yours came out!!
I know!!! I learned the drying lesson by the school of hard knocks. Your vases are gorgeous!
Yvonne, these are SO adorable!! I love them and how easy they are, even “I” a professed non-crafter might try them!!
LOL! These torn tissue planters are so so easy to make!
Thank you! I spent the morning looking for a birthday gift (March 29) for a friend who also loves gardening. Your pots are perfect, and I can easily match her decor. Absolutely going to make several of these ASAP.
I think these would make the most lovely gifts!
Talk about gorgeous, my friend! These are like a breath of fresh air. Love the decoupage method you used for these diy spring planters!
Thanks, dear Julie!
I love the idea of making torn tissue planters, very pretty. Question – does the Mod Podge keep it waterproof or is there something that should be painted over it for waterproofing? Thank you!
If you want to use live plants that you will water you will want to seal it. Use a waterproof spray on sealer. Hope this helps.
How pretty your cherry blossom pot and saucer are, Yvonne! What a cute idea! Thanks for always sharing your wonderful ideas with us! Have a great week!
Yvonne, another great idea. You inspire me. I was trying to come up with an idea for our outgoing Garden Club President. This is Perfect filled with a fresh plant.
Thank You, Yvonne
What a lovely idea, Elizabeth
These pots turned out great!
Hi Yvonne.You never cease to amaze me. Love the pots and eggs.Can these pots be set out doors.I dont have a back yard.Only a small porch.But I would love to do something like that to brighten my space.you are so
Talented. Hope you and Bobby are in good health and thank you for sharing your knowledge with us.You are sooo special.Gid Bless ? I pray for Bobby to be safe.
Great question, Sharon. Like any pots, they will get lots of wear and tear from the elements. If you do set them outside make sure you seal them with a few coats of spray sealer. I’d keep them under a porch or somewhere where it is partially free from the outside weather!
Yvonne,
Several years ago we made these with Christmas/Holiday napkins and put small Christmas trees or Poinsettias inside the pots and shared with an assisted living near our home. They were beautiful! Love this idea. Thank you.
Adorable and Pinned! Thank you, Yvonne. The possibilities are endless. Cute friend gift, as well.
I was browsing at Tuesday Morning and saw some beautiful napkins; so I purchased several. Wasn’t sure what I could do with them but now I know!!! Love this idea, thanks for sharing!
I love these pots they are beautiful. This is a project I can get behind and do. Thank you…
I love the look of these pots! But I think I did something wrong, I tried these last year and the pots looked great for a bit and then started looking like mold was growing on them in places. I only painted the outside of the pots with the white paint. Should the pot be painted inside as well? Help! I want to try again!!
Did you plant something in the soil in the pot and water it? You would have needed to seal the inside of the pot first. The greens in my torn tissue pots are faux. Sorry, I should have made that clear. Hope you will try these pretty pots again!
flower pots are so beautiful!!!!!!
Can you use a plastic pot?
Yes, you can. Just make sure it is white, or spray paint it white. Hope this helps.
I love your decorating with the napkins!!! So neat and easy!!! I love seeing the ideas you come up with!!
Thanks, Sharon! Decorating with pretty patterned napkins is a little addictive!
Thank you. So very beautiful
great fun site!!!! thanks for the super great tips
How long would it take to complete the pot project with the napkins per each pot? Am doing a luncheon and would need multiple pots. They are so pretty.
Hi Carolyn, it really depends on the size of the pot. I worked on it in stages. First I painted the pot- about 20 or so minutes and then added the napkins, about an hours, because I had to wait to some to dry before I put other tissue on. Why not grab some friends to help you?