The best Way To Dry Oranges So They Stay Vibrant
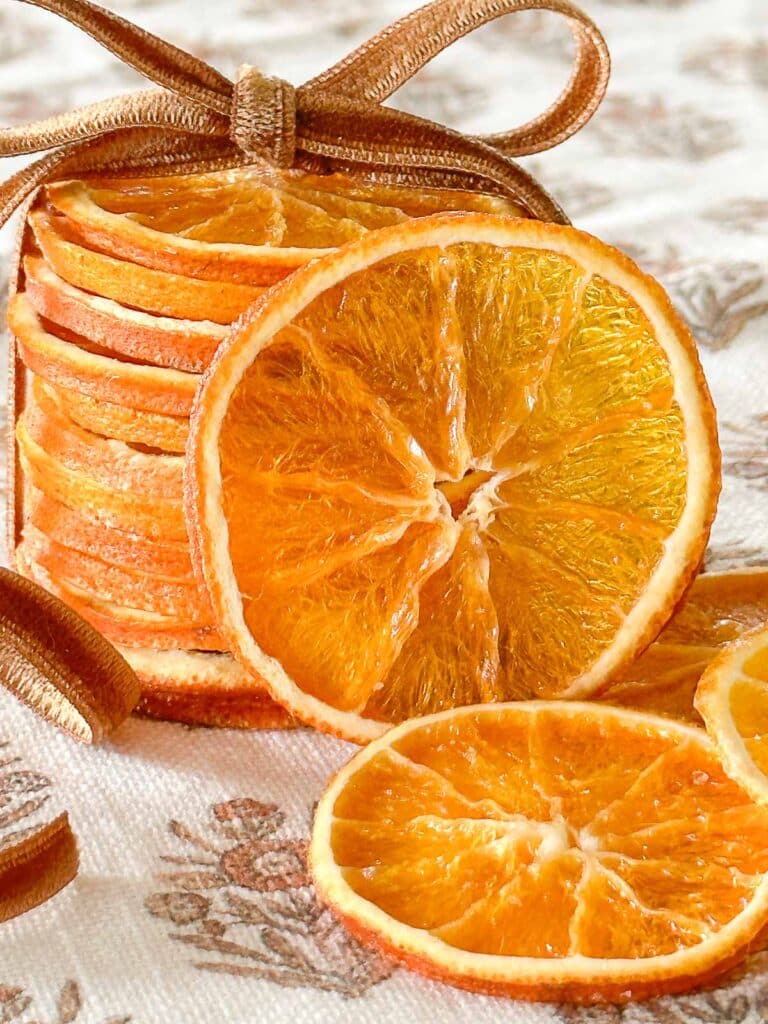
Dried oranges are exquisite, easy to make, and require no specialized tools or equipment. They can serve both decorative and culinary purposes. And I’m sharing the secret for making dried oranges look almost as vibrant as fresh.
On the door of the bakery in Colonial Williams hung the most spectacular Christmas wreath filled with small gingerbread men and houses, bundles of cinnamon sticks, and dried oranges. The oranges stood out from the rest of the wreath as they glistened like shards of glass. They were so unusual and beautiful. I had never seen dried oranges before.
When was the first time you were introduced to dried oranges? Maybe you are like me, and dried oranges feel like an old friend, a blast from the past! And now they are back! And I’m embracing them and using them in my Christmas decor this year.
Have you ever dried oranges. It’s so easy. And decorating with them is very economical and creatively beautiful. I’ve been so excited to write this post for you because I have found a way to keep this dried fruit vibrant so it retains much of its original color. Let’s get on the dried orange bandwagon!
A Little History
The tie between Christmas and oranges spans a few hundred years. But drying fruit was an everyday practice for centuries. It was a matter of preservation and sustainability. They were first used to eat. I tried a few of the varieties I dried without the peel, and they are delicious!
In times past, people decorated their homes with things they had. Things from outside and things they would make. In Colonial Williamsburg, this tradition of using natural elements to decorate for the holiday season continues. Studded oranges were used as Christmas decorations and to lightly perfume the air with the sweet smell of oranges and the exotic scent of cloves. Dried oranges were used to decorate evergreen boughs and make them into garlands. So we have a long history of drying oranges.
Why You Will Love Making Dried Orange Slices
- Drying oranges are so economical.
- They are easy to dry.
- Dried oranges retain much of their nutrients.
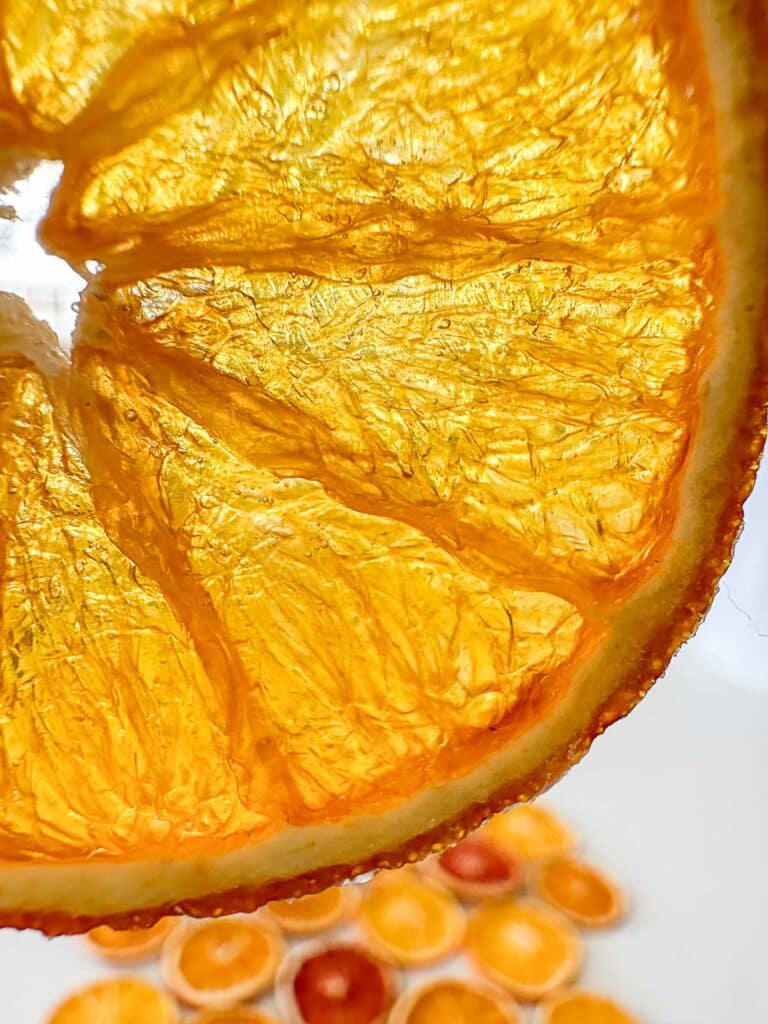
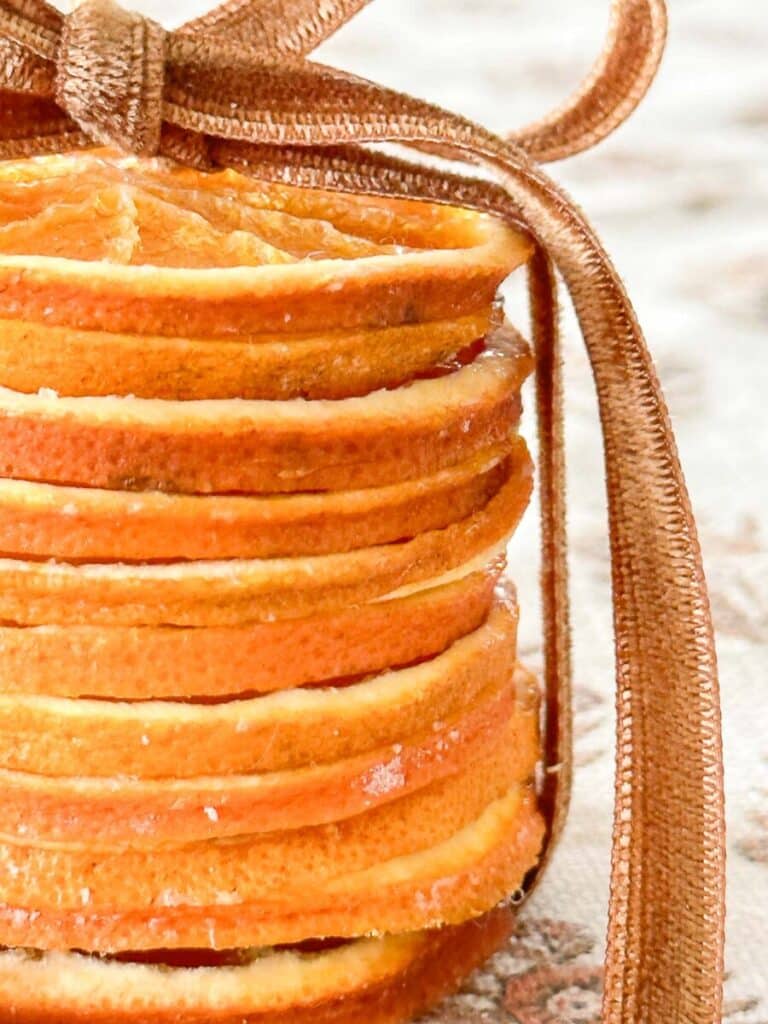
- Their stained glass look is beautiful.
- They can be used as decor or in recipes.
- Dried oranges have an extended shelf life.
- They can be used as part of a craft or to decorate your fall and Christmas home.
Ways To Dry Orange Slices
There are three primary ways to dry oranges: to dry them naturally, in the oven, or in a food dehydrator. The goal is to dehydrate or remove the moisture from this citrus fruit to preserve it.
How To Start
All the methods for drying oranges start the same: Slice oranges into 1/4-inch rounds using a sharp knife, pat them dry with a soft cloth or a paper towel, and place them in a single layer on a rack.
Drying Naturally
To dry sliced oranges naturally, put the wire rack on your kitchen counter. Turn them every day. They will take several days or longer to dry.
Oven Drying
Probably the most popular way to dry oranges is in the oven. This is so easy! Put the wire rack on a parchment paper lined rimmed baking sheet and dry (bake) them in a low oven, turning often, until they dehydrate.
Food Dehydrator
The easiest way to dehydrate orange slices is by using a food dehydrator, the most modern method of the three. Place the orange rounds on the dehydrator’s rack. Follow the directions for your dehydrator. Turn them every hour until they are dehydrated.
How I Dried Oranges
My goal for drying oranges was to have beautiful dried oranges that retained much of their color and had a stained glass look without browning.
After lots of research and trial and error, I found two best ways to dry oranges. My friend Katie let me borrow her food dehydrator, and this method was so easy! I set the dehydrator at 135° and dehydrated the oranges until they were almost dry, about 3 hours. Then I finished drying them on a rack on my kitchen counter.
The second way I found success in drying oranges was to dry them in the oven at a low temperature. I took them out of the oven when they were just about dry and finished drying them on my kitchen counter.
No matter how you dry oranges, you are in for a treat. Your home will smell delicious, and you will have a beautiful stain-glass piece of dehydrated fruit to use as part of a craft, decor, or to use in a recipe.
Here’s What You Will Need
The ingredient list is very simple! You will need oranges. However, any citrus fruit, like lemons, limes, and grapefruit, can be dehydrated using the same instructions.
You will also need one more thing…
Secret To Vibrant Dried Oranges
The secret to vibrant-looking orange slices is confectioner’s sugar. Liberally sprinkle the sugar on the cut orange slices once they have been dried off with a paper towel and put on a rack.
What If My Dried Slices Are Tacky?
If your dried oranges are sticky or tacky, they are not completely dry. Continue to dry them. I like to finish drying them on a rack on a kitchen counter or other flat surface.
Tips For Success
I’ve made quite a few batches of dried oranges. Here are some of the things I found most helpful to make them turn out their best.
Different Varieties
Different orange varieties dry differently. Each variety has different amounts of juice and different skin and flesh. Experiment with several varieties to find the ones you like best.
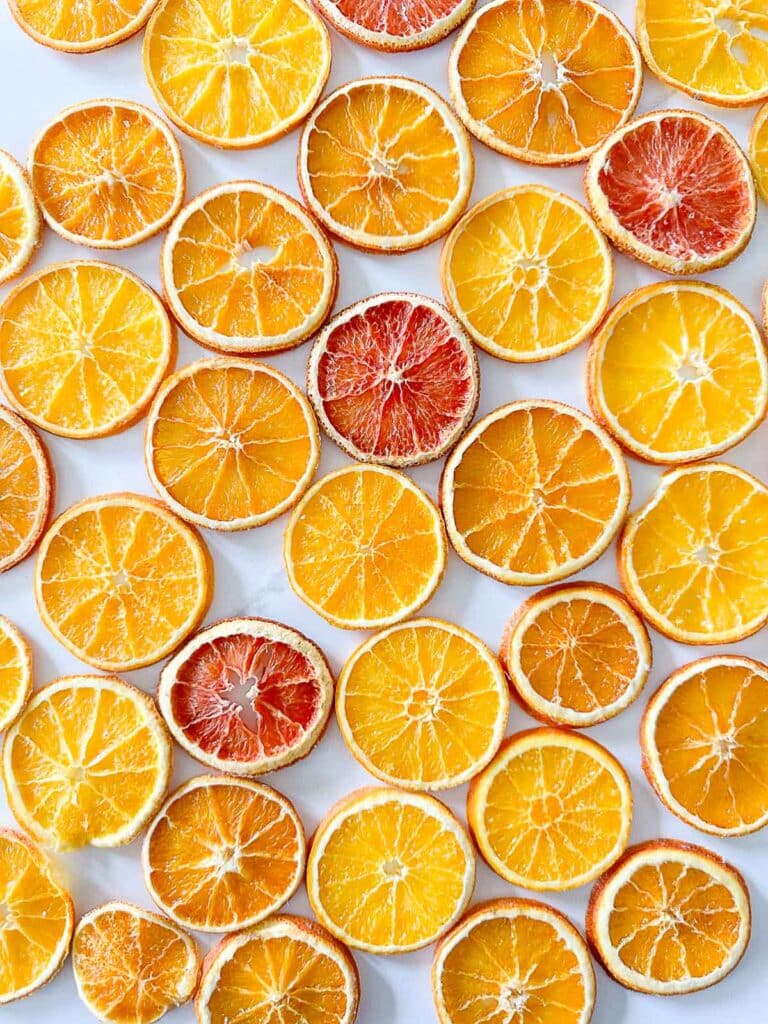
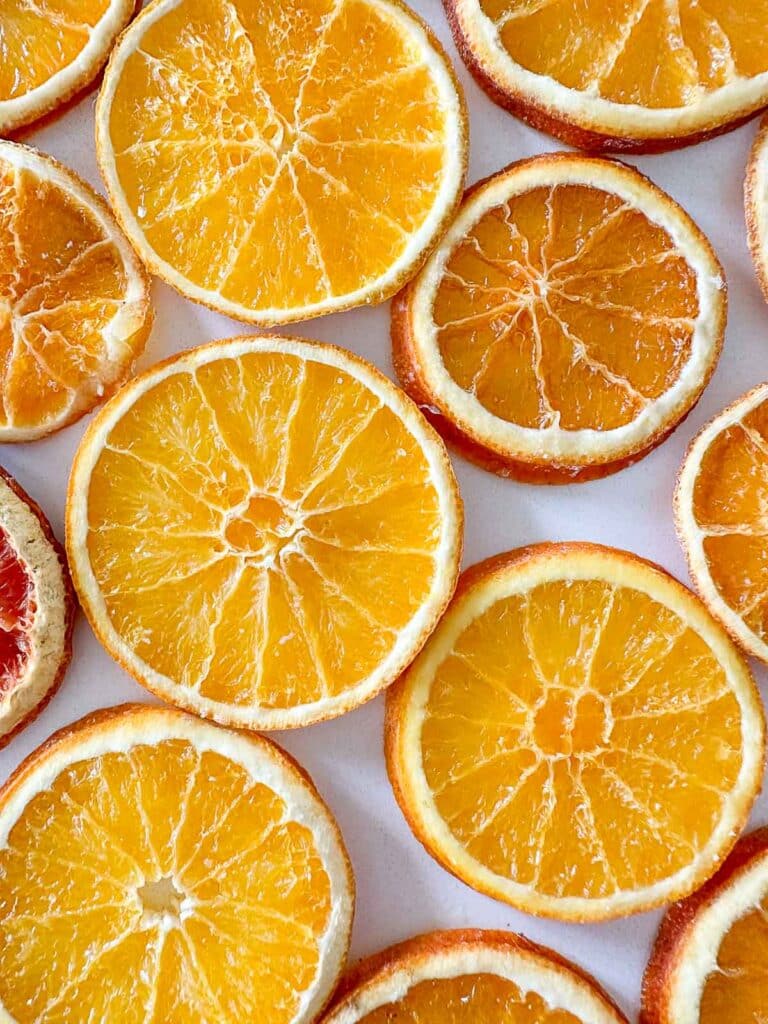
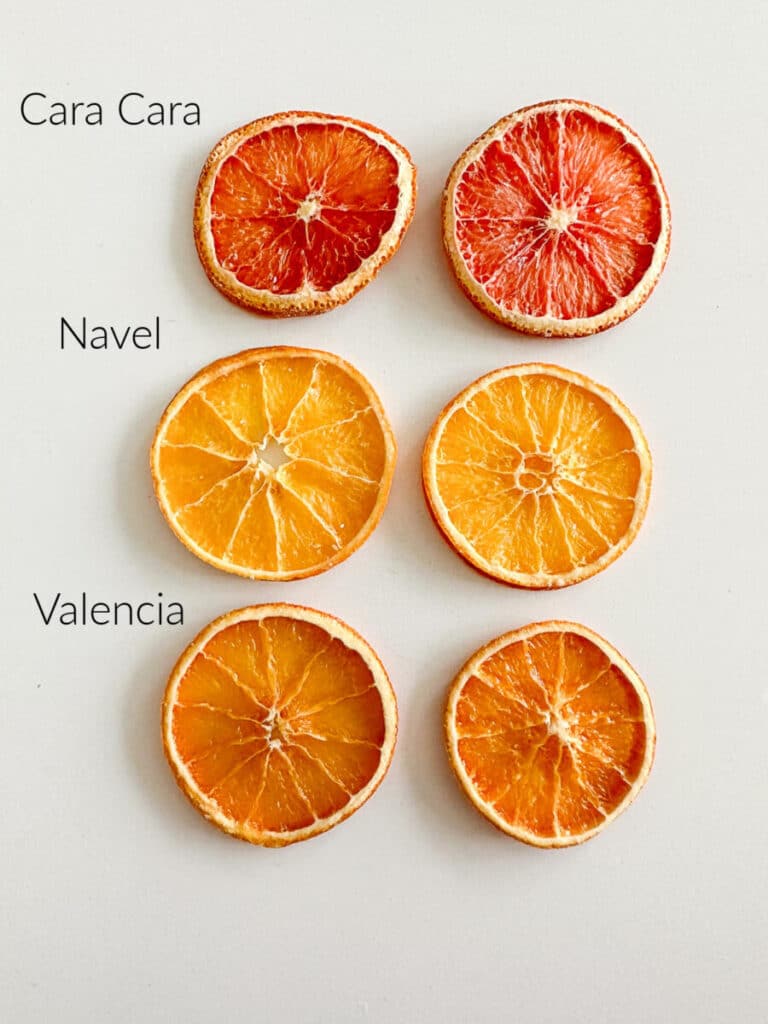
I dried three varieties in the oven and in a food dehydrator. Each variety has a unique appearance. The Cara Cara orange’s flesh deepened to almost red. The navels became bright sunny orange, and the valencia deepened to a beautiful deep orange. What a fun experiment.
Ways To Use Dehydrated Orange Slices
There are so many ways to use dried oranges. They are not only versatile, natural decorating elements, but they can also be used in many culinary applications. Here are ways to use them…
Christmas Decorations
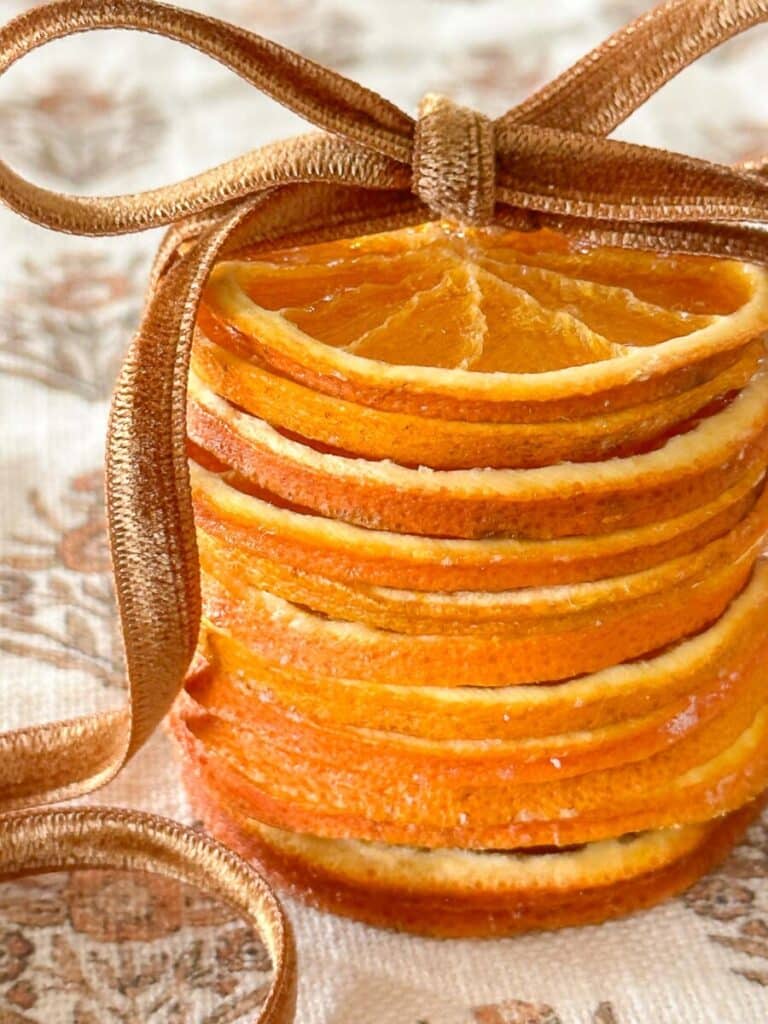
CHRISTMAS ORNAMENT- Make a small hole in the slice with a large needle close to the peel. Thread a pretty ribbon or twine through them, and tie them on your Christmas tree or wreath. They make sweet and inexpensive ornaments.
CENTERPIECE AND MANTEL DECOR-Tuck oranges into Christmas greenery. They look beautiful, and the color is surprising.
GARLAND-String oranges together and make a garland. Add things like small pinecones, beads, bay leaves, cinnamon sticks, and star anise to the garland.
SIMMER POT-Fill your home with the scents of Christmas. Add the dried oranges to a simmer pot.
GIFT IDEA– Put dried oranges along with other dried simmer pot ingredients in a pretty jar to make a sweet gift.
WREATH– Make a wreath. String dried slices together like you are making a garland, then tie the ends together to make a wreath.
CHRISTMAS POTPOURRI– Mix essential oils like citrus, spruce, and cinnamon with simmer pot ingredients to make a Christmas-inspired potpourri.
EMBELLISH GIFTS– Tie an orange or two to a gift.
Culinary Uses
A DELICIOUS SNACK– Dried oranges make a great take-anywhere snack.
COOKING AND BAKING– Add cut-up dried oranges to things you cook and bake for a citrusy twist. Infuse muffins, quick breads, or cupcakes with finely chopped dried fruit. Also, use dried oranges mixed into vegetables or used in sauces. And add them to trail mix or granola.
CHOCOLATE-COVERED ORANGES– Dip half of an orange into dark chocolate for a pretty and delicious sweet treat.
GARNISH– Use dried oranges as a cocktail garnish. Add them to mulled cider or sangria.
How To Store Dried Oranges
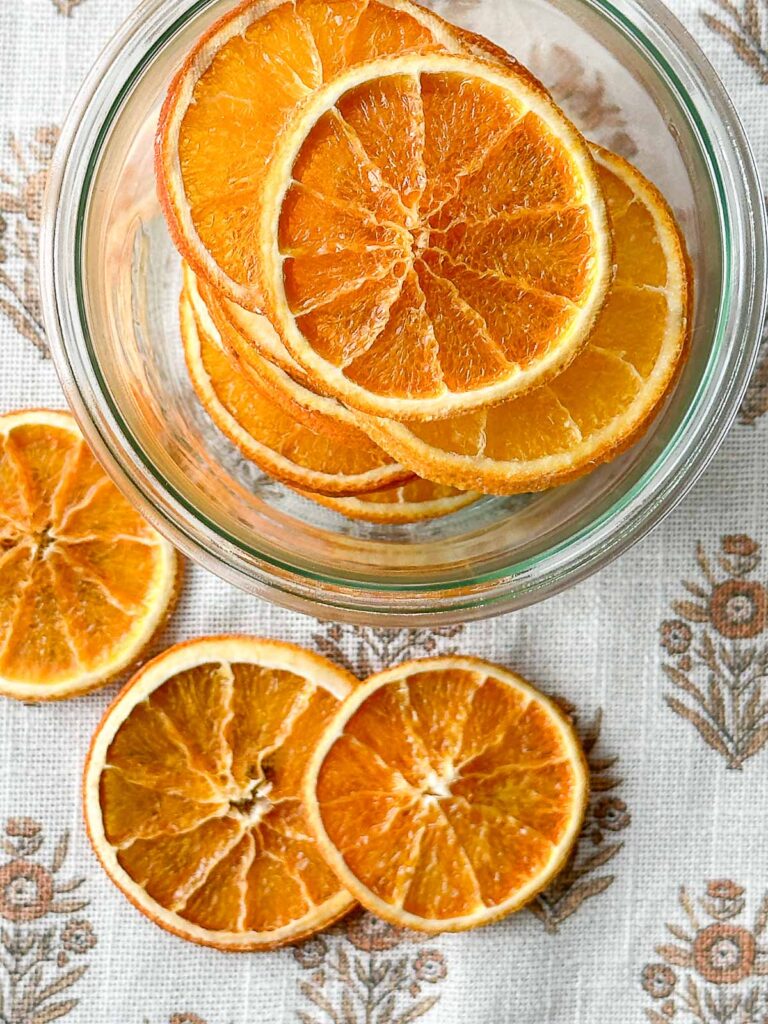
Once oranges are dried, they can be stored in an airtight container. Jars with tight-fitting lids work well. Store them in a cool, dry place away from sunlight.
If you are going to use the dried slices for culinary purposes, oranges will last, if properly dried, a year or two years. Slices used to decorate, they will last indefinitely.
If you can see or smell mold on your oranges, throw them away. They probably were not completely dry when stored.
Instructions-How To Dry Oranges To Keep Their Vibrant Color
- Preheat the oven to 170°.
- Wash and dry fresh oranges.
- Slice them into 1/4-inch rounds and put them on a double layer of paper towels.
- Pat the oranges with another paper towel to soak up any juice.
- Put the oranges in a single layer on an oven-safe baking rack.
- Liberally sprinkle the orange slices on both sides with about 1/2 cup of confectioner’s sugar. I did this over my sink.
- Put the rack on a parchment-lined baking sheet.
- Put the baking sheet in the oven for one hour.
- Increase the oven temperature to 180° and dry the oranges for another hour.
- Increase the oven temperature to 190° and continue to dry the oranges. Keep an eye on them and turn them every 30 minutes until they are just about dry. This will take about 2 1/2-3 hours.
- Take them out of the oven when they are just about dry. Put them on a drying rack on a counter until they are totally dry.
- Use or store.
Drying oranges is such a festive and fun DIY! I hope you will dry oranges and use them this holiday season.
Click On The Video For More Inspiration

Questions About Drying Oranges
Shop Item To Make Dried Oranges
Happy Crafting!


Yvonne,
I used dried oranges on my Christmas tree and mantle last Christmas and it was so pretty with the little white lights making the dried oranges glow. Love the combination of citrus and evergreens. This Christmas I plan on using in my kitchen since my colors in my family room include more red this year.
Williamsburg is one of my favorite places to go at Christmas and the decorations are so beautiful. One year I decided to do a wreath with fresh fruits. Looked great till our southern Va weather turned warm and the fruit started to rot. The following year I used faux fruit! lol 😆 🤣
Kathy, you are a girl after my own heart. I LOVE Williamsburg at Christmas too.
I love this idea- thanks for all the good tried and true info!
You are so welcome Joyce. I hope you will give drying oranges a try.
I love the dried oranges you and and I’ll definitely make some. I can’t wait!
Thank you,
Debbie
The colors you show are so nice. So when exactly does the confectioners sugar go on? After slicing, drying, and put on a rack BEFORE going in the oven? Or after coming out of the oven before finishing the drying on the counter? And about how much confectioners sugar? Thin coat? Thicker coat??
Thanks.
After you put them on an oven proof rack THEN sprinkle them with confectioner’s sugar. Then put the rack on a parchment lined baking sheet and pop them in the oven. Hope this explains the process better.
Ok, got it — thanks for the explanation! I really want to get different varieties of oranges to have different colors like you have shown.
You will love making these!
Thank you for this very thorough explanation for drying oranges. I have been wanting to do this and now you have inspired me. Thanks again.
Hi Carol, you will love this easy and festive DIY
What a wonderful tutorial for drying orange slices, Yvonne. Plus, so much more info! Your powdered sugar tip is so helpful, and I hadn’t thought about dipping the dried sliced in chocolate! Yum! Pinnned!
Thanks sweet friend!
Are these temperatures Fahrenheit or celcius? Thanks!
Fahrenheit.
Thank you so much for this, Yvonne! I made some dried oranges so many years ago that I’m embarrassed to admit, but I still have them in a box with my Christmas things…they have lasted indefinitely! But, they were always a very dark orange. I’m going to finally put them in my compost, and make new vibrant ones this year! I used my old ones as ornaments – strung with dark green thread that blended in with our tree. They are incredibly lightweight, which is great for fresh trees. I’m looking forward to finding new uses for these beauties.
I’m so glad you are making more!
Thanks so much Yvonne for sharing your great suggestions for drying citrus. I have always wanted to try this and now, thanks to your easy instructions, I will!
Happy Holidays!
Hello! What temperature and time would you do this in a dehydrator for with the sugar? My oven doesn’t do well with being on for long periods of time so I try to stick with my dehydrator for these! Thank you!!
Hi Rachel, I dried them at 135 degrees.I dried them until they were almost dry and air dried them the rest of the way. You will have to time the oranges because a lot depends on how thin or thick you cut them.
And you still put the sugar on them for the dehydrater? Or skip that part? Thank you!!
Use the sugar in the dehydrator. They take on a stained glass look.
Maybe I missed this but why do you sprinkle confectioner’s sugar on? Does it make them glisten? I’ve been making these for decades but never used the sugar. Thanks for the post!
It makes them more vibrant. Give it a try Patti.
If you are storing the slices for decoration, should you still use the sugar? Or will it attract bugs?
They are in an air-tight container and should be good.
For folks that think in Celsius, be aware that the temperature of 170 degrees is probably in Fahrenheit. I carbonized the whole batch of oranges in just one hour, thinking that the temperature was 170 Celsius. Well, fingers crossed for the next batch 🙂